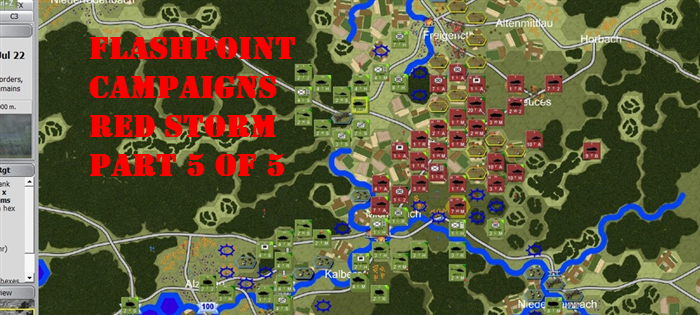
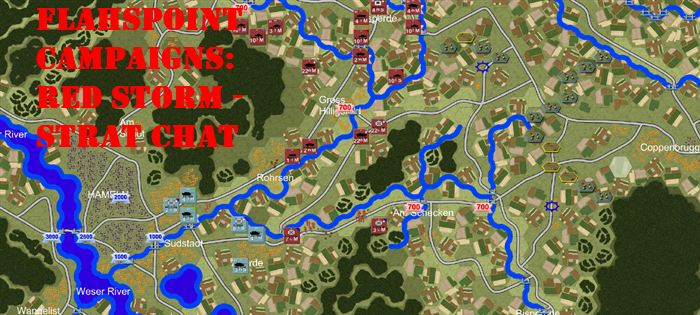
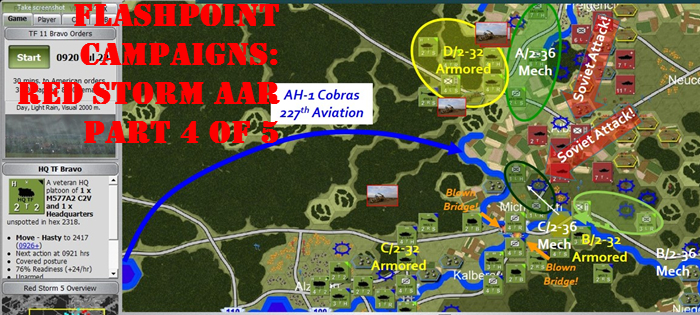
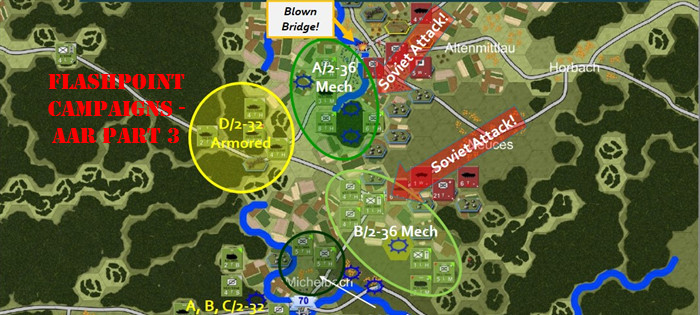
During Part 4 the battle for Michelbach turned into a raging fight. Some badly needed reinforcements arrived in the form of Cobra attack helicopters. Meanwhile my American forces blasted the Soviet attack from three sides. Just as I had identified the position of the Soviet HQ and started to bombard it with artillery the Soviets began to withdraw and the game’s rules kicked in ending the scenario despite the fact that there were still eight hours on the clock.
Turn 8, 09:50-Conclusion: Well my instincts with respect to the Soviet position were good and after a few more rounds flew the Soviet point units began pulling back and the following message was received in Comms (figure 25).
Figure 25
So now that the battle is over how did I do? A review of the Tactical Operations Center (TOC, Figure 26) indicates my defense achieved a 73 percent rating for a “Decisive Success.”
Figure 26
As you could expect the Soviet TOC results (Figure 27) were as lopsided as the American’s with the Soviets suffering a Decisive Loss and loosing 5 Recce, 18 Helo, 78 Tank, 98 APC, 65 Inf, 5 SP AT, 24 HQ, 12 AD and 11 SP Arty enemy subunits.
Figure 27
A finial look at the battlefield before the Soviet began to pull back to more defensive positions (Figure 28)
Figure 28
Conclusions: It is my hope that I was able to both illustrateboth the rich detail in the game and the amount of planning that one can (should) conduct to (successfully) play the game. Like I said, FPC:RS is an easy game to get into but there is a wealth of detail to master. I have found the more thoroughly I plan and analyze the battlefield situation, just as my real world counterparts must, the greater my chances of victory (whether I play as NATO or the Soviets). I would say I personally spend anywhere between one half hour to an hour analyzing the tactical situation and OB/OOB before I even begin to deploy my units. Personally, I enjoy that type of analysis and I hope you enjoy playing FPC:RS as much as I have enjoyed play testing it!
Timing Isn’t Everything, But It Does Help – Flashpoint Campaigns: Red Storm and the OODA Loop
Author: Jim Zabek
“In the loop.”
“Out of the loop.”
We’ve all heard the expression before. But what is “the loop?”
The loop refers to a genius Air Force Colonel by the name of John Boyd. Boyd came up with his OODA loop theory in trying to explain why some pilots had an advantage over others. There is a simple decision process when you’re in a dogfight, and how quickly you can process the information around you, interpret it, and act is vital. Thus the OODA loop was born: Observe, Orient, Decide, Act.
In hindsight OODA seems to be obvious, but it is one of those small obvious things that ends up having big implications. Observing your surroundings, orienting them so you understand what they mean, deciding what to do about them, and acting upon them pretty much describes every decision making process humans make. A quick search of the internet turns up results that suggest a variety of disciplines have adopted the terminology – everything from the military to science to business consulting.
The OODA loop originated in the Air Force, but it was adopted (if not formally at least informally) by the US Army because it was useful in describing how friendly and enemy commanders made decisions about the conduct of battle. The side which could observe, interpret, and act upon the freshest information had a distinct advantage over one that took longer. Troops in the field, of course, observe conditions on the ground immediately. How quickly that information gets passed up through the chain of command is important. Equally important is how quickly that information is processed, a decision is made, the decision passed back down the chain of command, and the troops on the ground take action is vital.
If it takes a colonel of one side fifteen minutes to complete an OODA cycle and it takes the colonel on the other side thirty minutes, then the slower colonel may be ordering troops to do something that was relevant thirty minutes ago instead of right now. That can be a lifetime in a battle of blitzkrieg speeds and deadly Cold War weaponry. An enemy may not be where you thought he was supposed to be because your command cycle is too slow. In a nutshell that’s called “being inside the enemy’s loop.” You’re thinking and processing and acting faster than he is (or he is to you). During the battle of France Rommel’s forces were sometimes called the “Ghost Division” because he was moving so fast that even his own commanders weren’t certain where he was. The name is new. The process is not.
Many Real-Time Strategy games offer hotkeys to allow the player to pump out units as fast as a keystroke. The OODA loop is real-time for both players, and whoever can move through his own OODA loop fastest (and best) will outplay the other player.
Replicating an OODA loop in turn-based games, however, isn’t typically done. Traditionally both sides are given fixed, symmetric turns. They may represent five minutes, one minute, or a say, but traditionally the turns are equal.
A couple of years ago Jim Snyder and I were discussing the OODA loop and the challenge of modeling it in turn-based games. I recall suggesting that turn times be different depending on the speed one side could work through its OODA loop. As events unfolded out that spontaneous conversation qualified me as a playtester for the game.
The estimated command cycle for the West Germans is 31 minutes – the Soviets appear to have only 18 minutes until their command cycle is complete.
Flash forward to today. Flashpoint Campaigns: Red Storm has implemented the OODA loop. In every turn-based game I can remember playing turn times were always symmetrical. Players give orders to units, then a fixed period of time runs. Each player shares an equal amount of time in every turn.
Flashpoint Campaigns: Red Storm has thrown that model out. Instead turn times are variable depending on a number of factors: the amount of EW (Electronic Warfare) hindering your communications, the percent of active HQ units you have active, The percentage of overall subunits you have active, the average unit readiness of your force, and the future command cycle time which can vary according to how many – if any – HQ units you lose in the course of the current turn.
Both friendly and opposition command cycle times are displayed under the C3 tab in the upper right of the screen. I have played games where the Soviets had much shorter command cycles and games where my NATO forces had better command cycles.
During the course of the game I have seen the estimated decisions cycles vary, at one point behind, then ahead of the opfor, only to find that at the end of the turn I had fallen behind again. The key in almost every situation is to keep more of your troops alive and to keep the HQ units alive at all possible costs. There have been times I have found that going “all in” and moving HQ units up to fight has been a good move. However, more often than not keeping them safe was the better move.
When the decision cycles are nearly symmetrical Flashpoint Campaigns: Red Storm plays much like a traditional wargame and players are not likely to notice many differences from other games in terms of how the game plays. However, in cases where the decision cycle is significantly behind the opfor’s I have noticed that my units responded sluggishly to my commands. Orders seemed to take forever to be implemented and when they were events on the battlefield may have evolved to the point where the last order I gave was irrelevant. Delays in orders have been a design feature in some wargames for years, but variable turn length is new. Players will need to anticipate how events on the battlefield will be unfolding and how quickly an opfor with a faster command cycle may be able to react to any plan put in place. Clearly there is also a premium placed on hitting opposing HQ units. The ability to disrupt their function can tip the scales in terms of regaining the initiative in a command cycle.
Sometimes there is nothing that can be done about the state of your OODA loop. Attempting to degrade the opfor’s decision cycle is an important aspect of the overall strategy of winning in Flashpoint Campaigns: Red Storm. Neglecting to take into account the advantage of hindrance it plays in a scenario is done at the player’s peril. It may not be the most important factor leading to victory or defeat, but it can play a substantial role. Enjoying a significant advantage in the decision cycle is a luxury that should be relished. Suffering from a disadvantage in the decision cycle should be a factor in all advanced and contingency plans. The asymmetric turns can be deceptive in how the decision cycle plays out in the game, and it is easy to forget that you may have an advantage or disadvantage until the noticeable difference is too late.
During Part 3 bad weather continued to hamper my plans. Limited visibility meant that the Soviets could get up close and personal before I could engage them. Reinforcements arrived to help out, but a wing of Soviet Hinds was battering one of my Abrams tank companies. Would the Cobra’s arrival come in time to tip the scales in my favor?
Turn 6, 08:50-09:20: The Soviet Hinds circling northeast of Delta/2-32 Armored didn’t disappoint and hit their position about 08:55. As the unit was prepared three (3) Hinds went down within five (5) minutes with the remaining Hind observed headed southwest. Radio warnings were relayed to Bravo and Charlie Companies and within minutes that Hind indeed attacked Charlie Company, majorly pressing its attack. For at least fifteen (15) minutes that lone Hind engaged an Abrams Company before it to exploded into a ball of flames. 2-32Armored’s S-2/Battlefield Information Coordination Center (BICC) has analyzed the likelihood of continued Soviet attack helicopter activity to be low and accessed the Soviet battalion to be rendered combat inoperative due to losses and damage.
Elsewhere the Soviet assault continues to attempt to overrun Charlie/2-36 positions in Michelbach and while they are close to breaking Charlie Co had driven back every assault so far. Plan on them being eliminated within the hour, but they have bought time for Bravo/2-32 Armored to enfilade the Soviet assault’s southern flank (Figure 23).
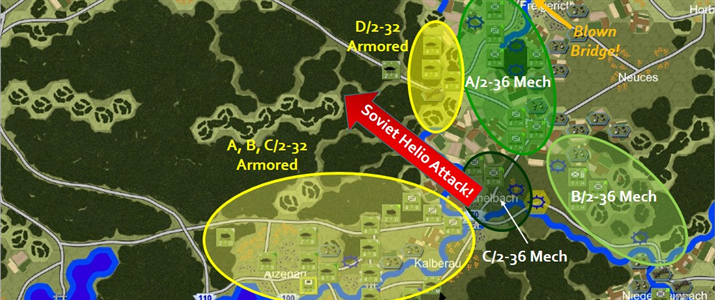
During Part 2, the first turn kicked off with several surprises. A Soviet helo attack inflicted serious damage on Bravo and Charlie companies of 2-36. However, Alpha company managed to set the charges to blow a critical bridge to impede the Soviet advance. The 2-32 armored battalion moved into position in good order. During the second turn Alpha company took heavy fire from the Soviets as they now attempted to blow the bridge, but the arrival of Delta company brought some armor into the fight which quickly dispersed the Soviet mechanized company giving Alpha so much trouble. Let’s see how Turn 3 unfolds.
Turn 3, 07:07-07:45: Things continue to go well with the general defensive plan this past 30-45 minutes. The northern Soviet thrust finally cleared two of the obstacle hexes but not before bombardment from friendly SPA M106 mortars and an F-16 airstrike called in by the FAC caused significant enemy casualties. Rather than trying to bridge the blown span their mechanized units turned southwest along the river running right up against one of Alpha Company’s mechanized platoons. With the American mechanized platoon now blocking the route southwestward the over watching Abrams of Delta 2-32 were able to savage the Soviets. Bolstering the defense were several batteries of the 94th Field Artillery (FA) Battalion arrived on the battlefield and hit the thrust with harassing fire. By 07:40 the Soviet lead units were pulling back (Figure 20).
Figure 20.
Around 07:15 a second Soviet mechanized thrust hit the line of resistance just east of Albstadt. As Bravo Company had been heavily attrited by the earlier helicopter attack this assault was a bit more successful, however one of Bravo Company’s platoons fought a stand up engagement with lead recon and armored elements. As I expected Bravo to be hit hard and planned for them to fall back, I’m not totally surprised but it looks like they will have to fall back to Michelbach earlier than I had planned.
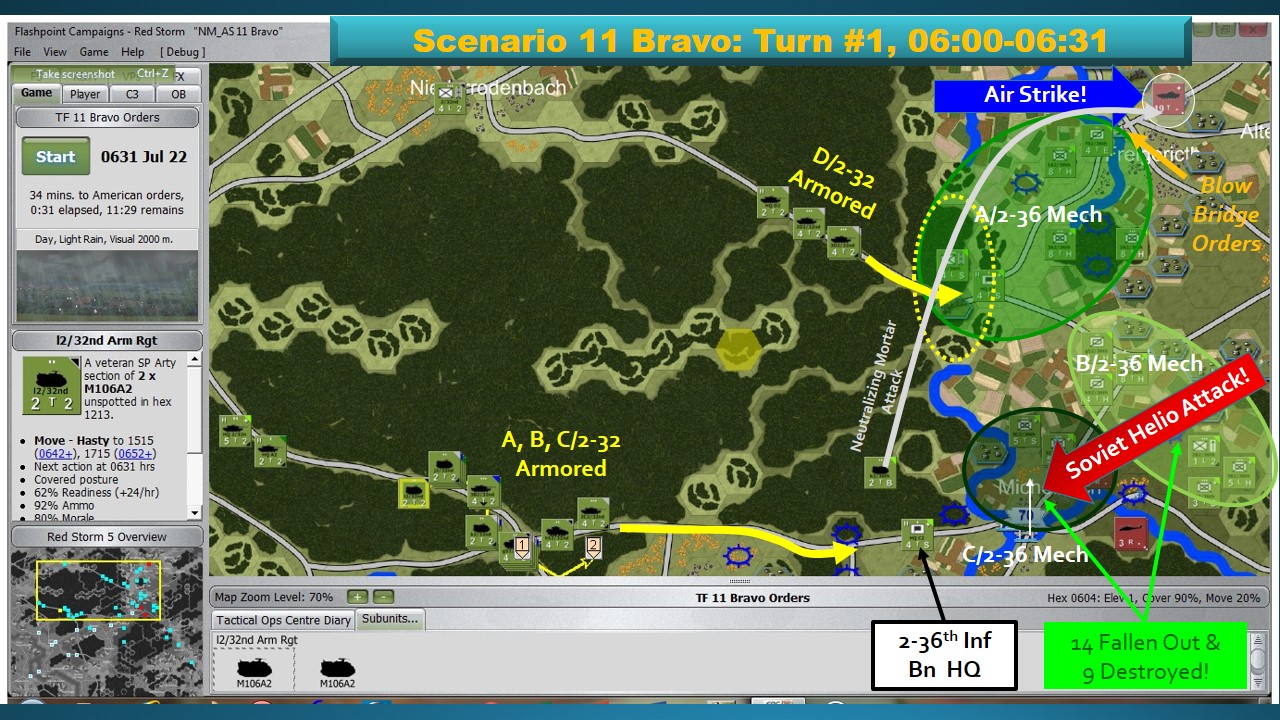
Turn 1 06:00-0631: Turn 1 started with a few quick surprises! The first was a Soviet attack helicopter assault that savaged Bravo and Charlie Companies of 2-36! For about 25 minutes they hit both companies knocking out 23 vehicles/units with 9 destroyed and 14 reported as falling out. It wasn’t totally lopsided exchange as two Mi-24 Hinds were brought down but still very damaging to my position! Probably the main thing that saved me was heavy rainfall moved in reducing visibility to 500 meters at the height of the fray. That actually was my second surprise of the turn, if we had maintained 1,500 meter visibility my Forward Air Controllers (FAC) would have been able to call in some F-16s to strike the Soviet units attempting to breach the obstacle belt (figure 18). Another thing that went wrong was my M106 mortar unit didn’t drop smoke as ordered leaving the Scout unit assigned to blow the bridge exposed. There appeared to be some kind of mix up with the fire orders.
All of that said some good things happened for me this turn as well. The previously mentioned scout unit attached to Alpha/2-36 did move up to the bridge and began to wire the preset charges. The OPs safely returned to my lines, and an exchange of fire between 1st Platoon/Alpha Company and the Soviet mechanized unit attempting the breach the obstacles resulted in some Soviet losses.
Elsewhere units from 2-32 Armored Battalion were advancing in good order and were close to assuming their defensive positions. Overall, concern about the Soviet helicopter battalion continuing to assault my mechanized infantry, and the variable weather/visibilities aren’t helping my cause right now either. Current visibility is 2,000 meters (about 1.25 miles) and if that holds I might try to call in more airstrikes toward 07:00-07:30.