When we left Part 4 I was sensing the tide of the battle had shifted. The Soviet offensive was stalled and I decided to start pushing forward and take advantage of their degrading communications and battered offensive forces. Make no mistake – the Soviets can still pack a punch. They have plenty of armor and massive amounts of artillery that can quickly reduce my small force to nothing if I’m not careful. But if I do this right I can capture some objectives, score some points and crush the Soviets.
Turn 11 – 26 minutes elapsed
The game is now four hours and twenty-six minutes into the fight. The scenario can run another five and a half hours, but I think the Soviets are in trouble. What I’m not feeling good about is the lack of damage I’ve taken. Aside for the beating my engineers took up north, I’m in good shape. Usually the Soviets beat me more badly. That tells me there’s some tough fighting yet to be done. Hopefully we can keep on the move and stay out of their artillery umbrella.
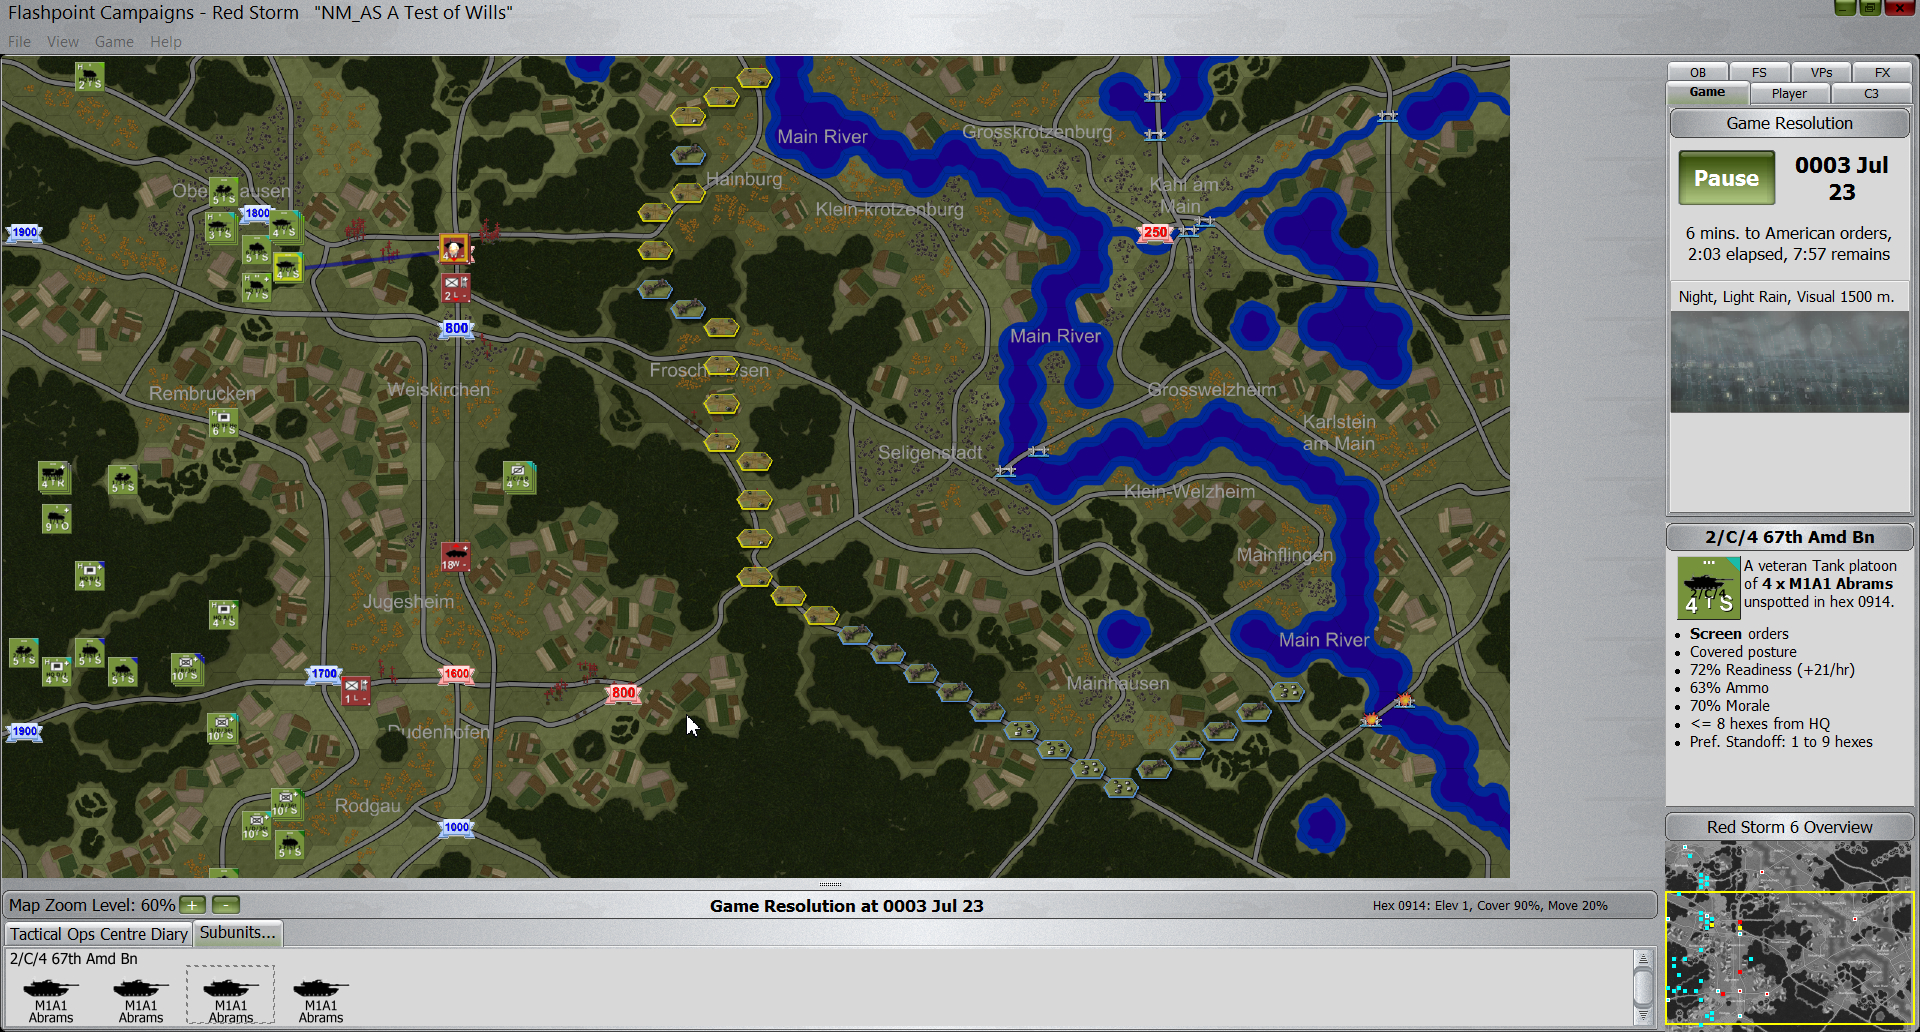
My luck is holding. Because my troops are on the move several barrages of Soviet artillery fall on empty fields in the south. Keep moving, men!
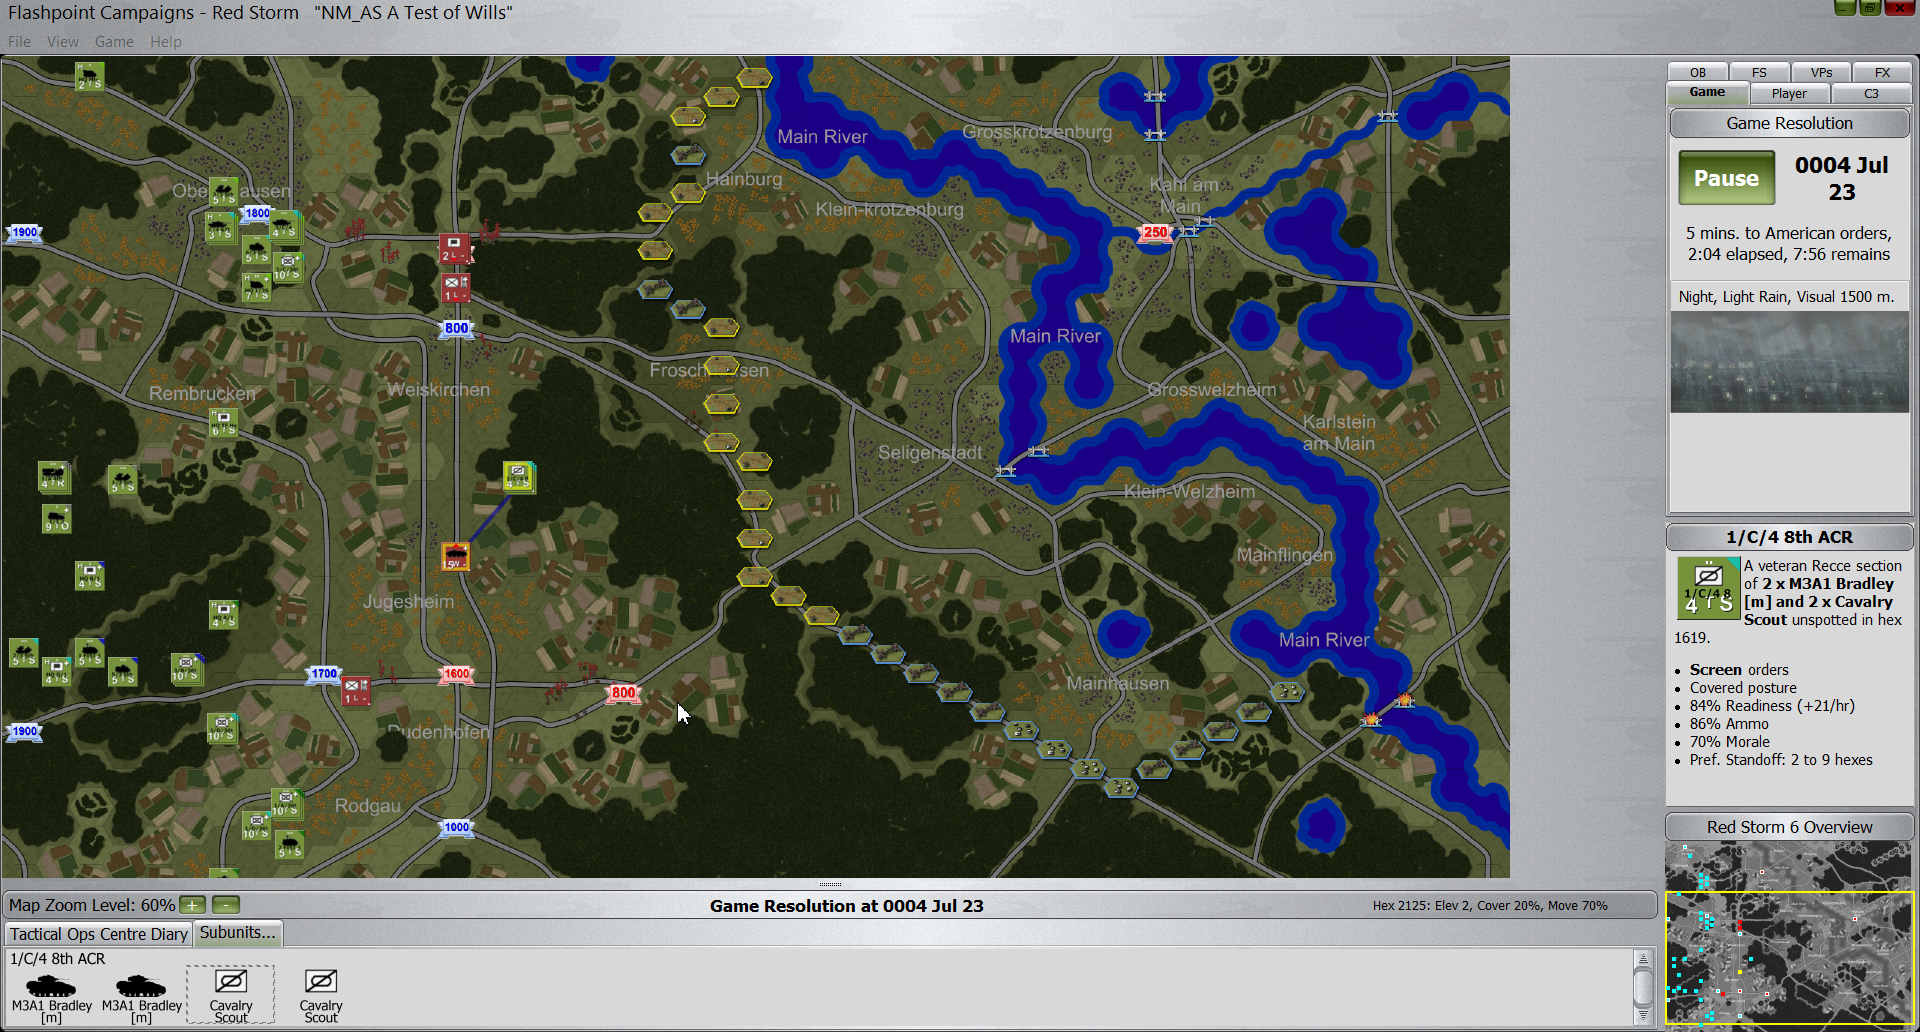
The mines I drop on a VP take out a couple of units. They’re hidden from me, but I hear the reports of their explosions. Fighting in the south heats up with heavy exchanges between all visible units. A suspected Soviet recce platoon is spotted near my HQ area and my mechanized units moving north to the central objective spot it and take it under fire. More Soviet artillery misses and we continue to push forward.
The turn comes to a close. Lots of Soviet artillery has fallen and none of it has found its mark. I intend to keep that streak going by making some unpredictable changes to the line of movement of some of my units.
Around the middle objective I can see more units now, including a stack of about nine tanks. Tempting as that may be for my MLRS I’m going to use my regular artillery to fire at it.
Turn 12 – 27 minutes elapsed
This round goes badly for me. The Soviet ground forces aren’t much of a threat, but their artillery seems to be everywhere and on target. Entire units go from full strength to zero and it hurts. Normally this kind of response is only drawn when I’m in proximity to an important HQ unit. The suspected air defense unit to the far east of the southern approach is probably more than it appears. The VPs around Dudenhofer to the south are clearly must-haves for the Soviets as they appear to be throwing everything they have at them to retake the VPs I have captured.
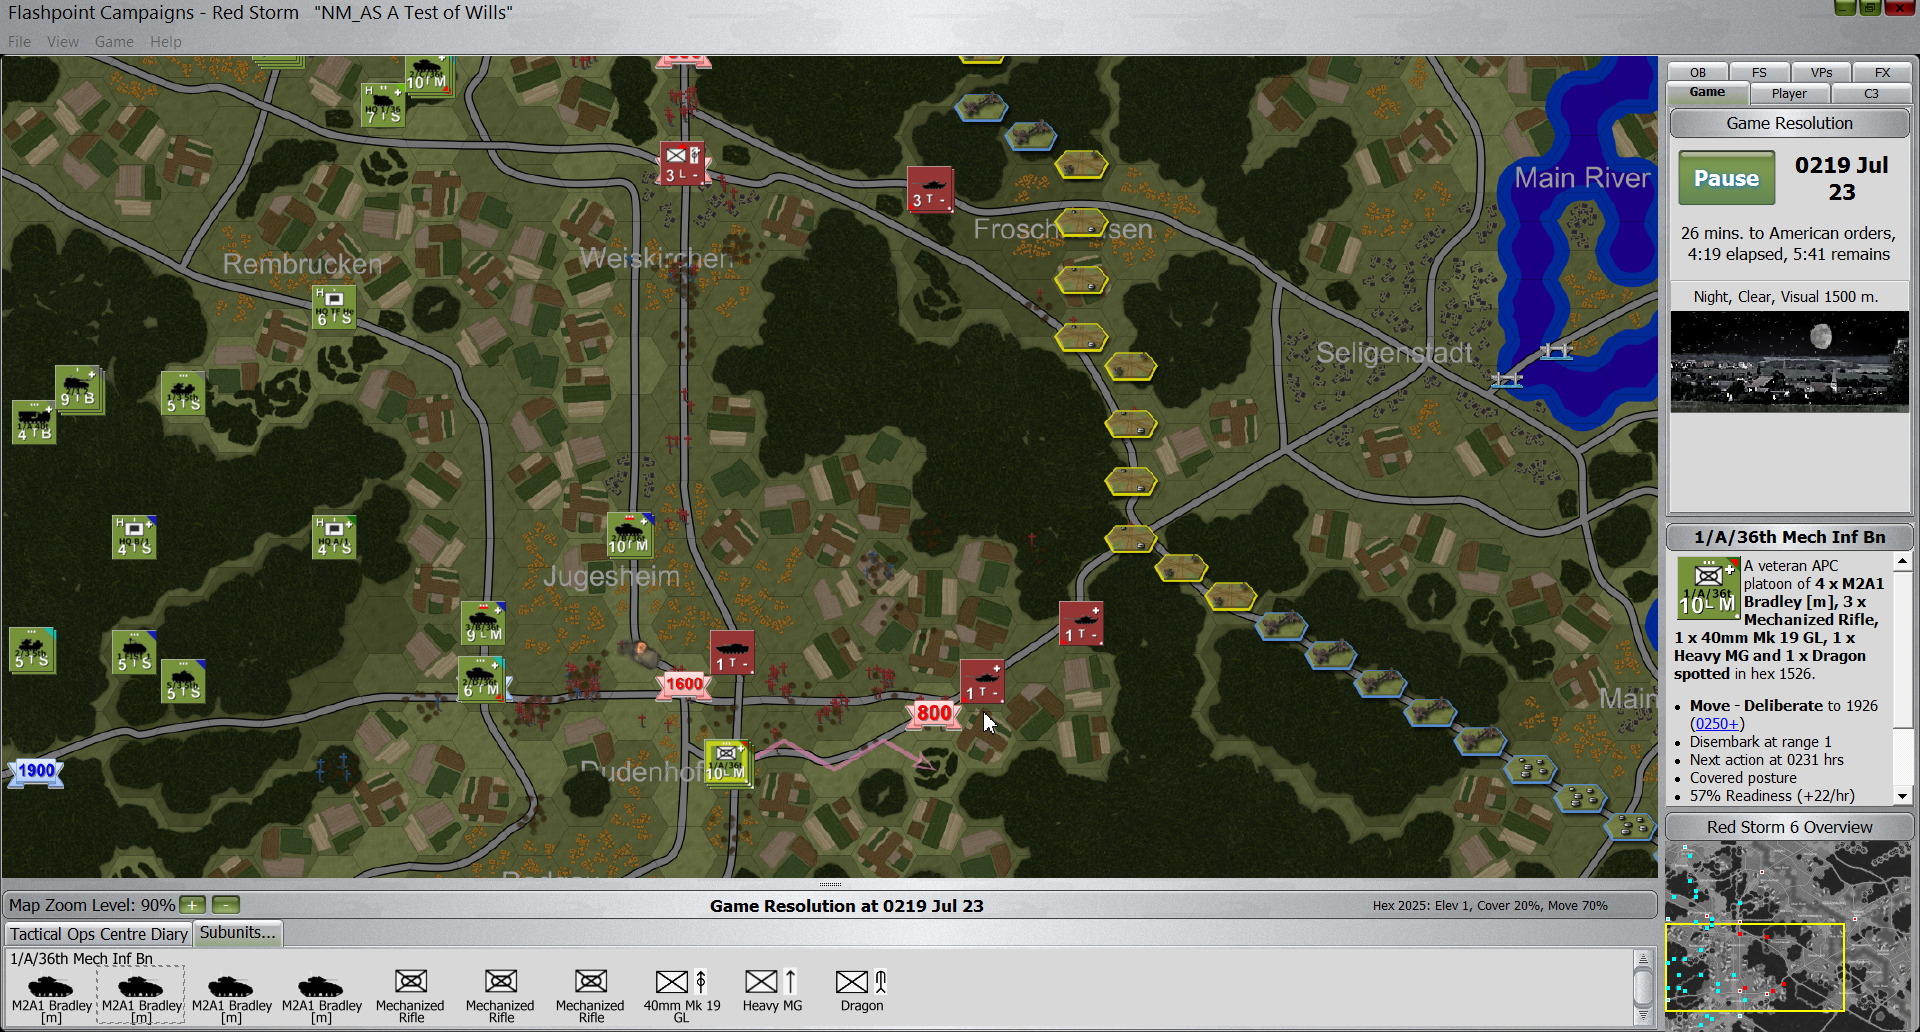
Soviet Armor pushes south toward Dudenhofer.
Turn 13 – 21 minutes elapsed
Note my decision cycle has decreased to 21 minutes while the Soviets have an estimated 37. I’m moving at almost twice their speed. Their success with artillery is probably due to the fact that it’s in LOS of mine and giving direct support to critical HQ units. Let’s see if we can break that pattern now.
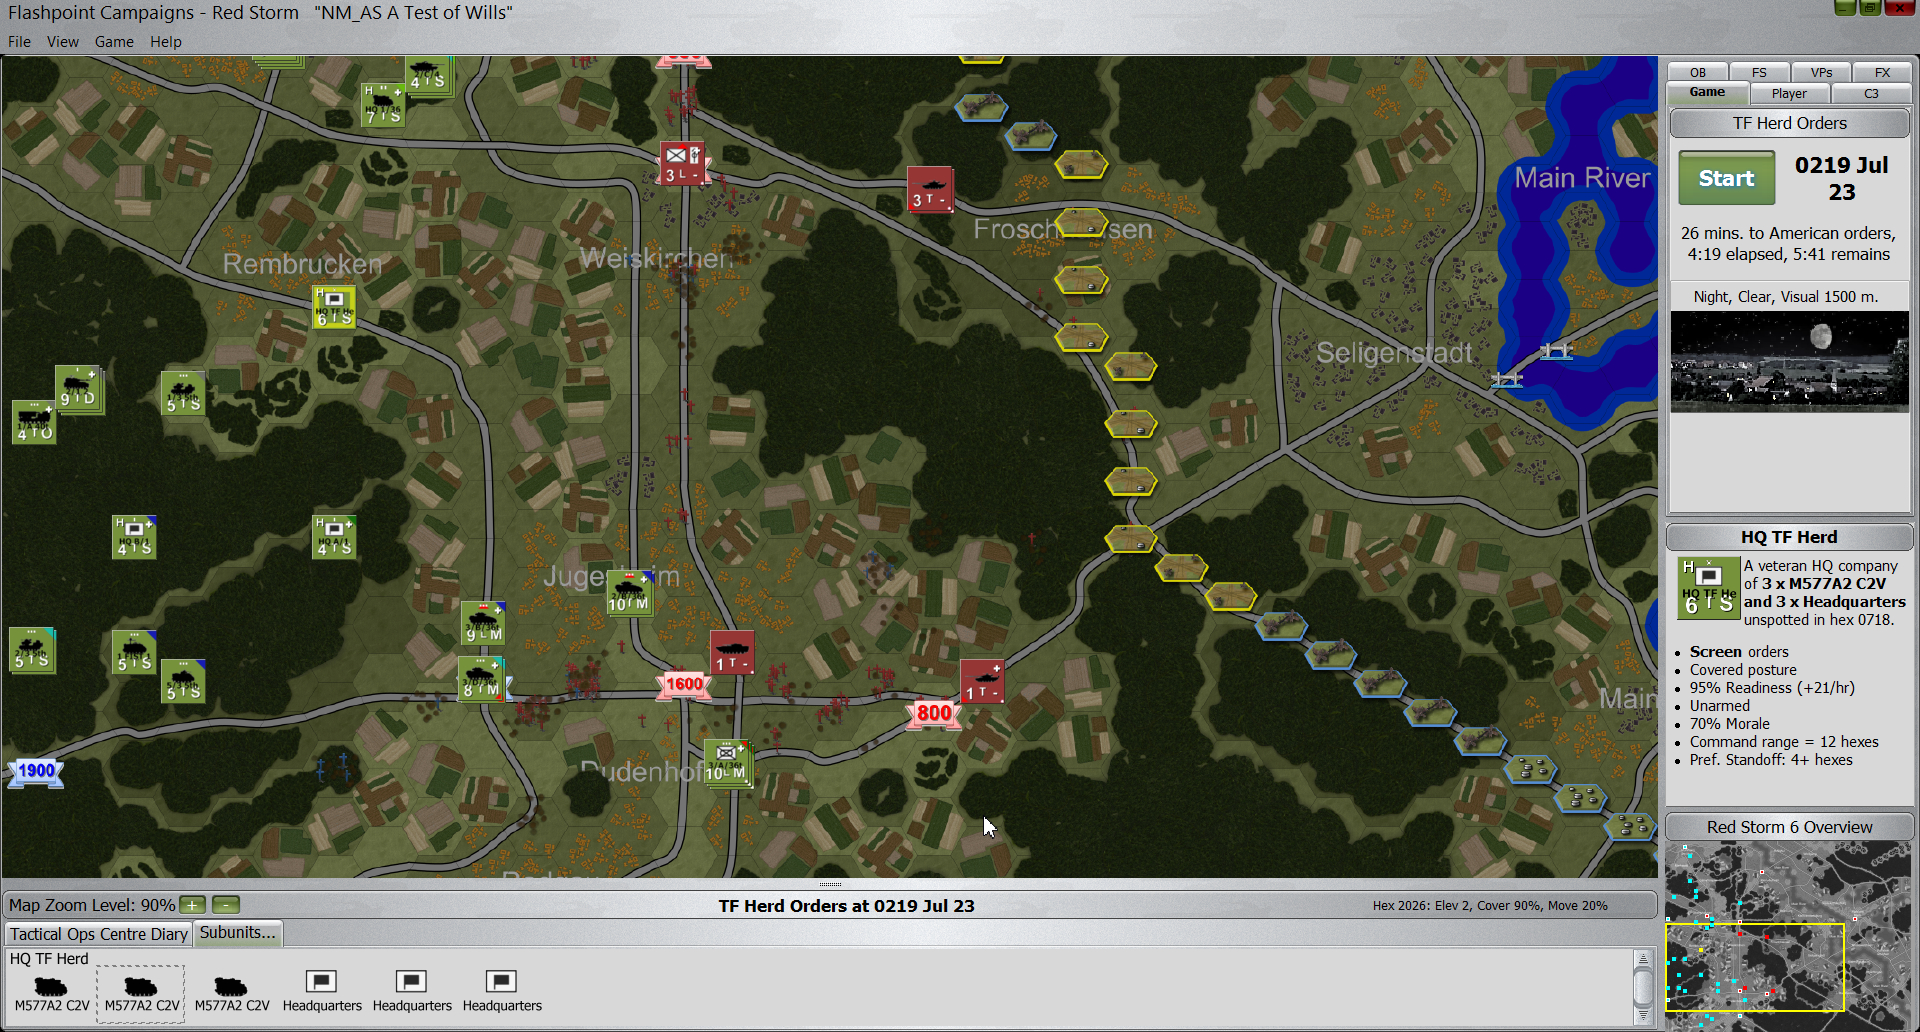
There is now a significant cluster of units south of Weiskirchen and it’s time to bust out the MLRS.
MLRS FTW.
I also order artillery to take out the suspect HQ unit to the far east of the southern objective, while my other artillery battery targets the nine tanks north of Jugesheim. Continue reading →
At the end of Part 3 I had successfully managed to hold off the initial advance of the Soviets and I was considering advancing the hard core of my defense, a company of Abrams tanks, to catch either the Soviet HQ undefended or a southern thrust on its flank. Let’s see how that plan survives contact with the AI…
Turn 8 – 28 minutes elapsed
Now I get busy with orders. First I call in some mines to be dropped in front of the tanks in the north that are heading south. If I’m lucky the tanks will walk into the hex before I drop the mines – a favorite tactic.
Next I order a barrage on the suspected recce/HQ unit in the woods near my own recce unit. They didn’t seem inclined to move much so I’m hoping to catch them even if I can’t see them. Then I order my mechanized units in the south to start moving around. All are ordered east, in a push to recapture lost VPs. The 1000 point VP east of Rodgau is a favorite hide of a Soviet HQ unit. In the past they’ve protected that guy with some serious artillery which directly supports it, so when those units start moving (it’ll probably be a turn or two) I’ll want to hit it with artillery as soon as I’m able.
Mechanized units in the south start to move east.
The last piece of the puzzle is the MLRS. I have several targets to choose from. Finally I decide to use saturation fire on the units to the northeast of Dudenhofen. It’s just a hunch but they look like they’re moving and my sense is I can do some serious harm right here and now.
I hit start to watch the action unfold.
The recce units’ luck runs out. Several Soviet artillery barrages catch them and blast them something good. It hurts.
Soviet Artillery rain on my engineers to the north but fortunately it does no lasting harm.
Then my MLRS arrives and multiple blasts across multiple hexes confirms that I made a good decision.
When we left off at the end of Turn 4 (and Part 2 for those of you keeping track) the Soviets were just beginning to show up in force. I decided to take a chance and drop some saturation fire on a suspected stack of Soviet units and the results were satisfying, if not spectacular. There were some sharp exchanges between my units and the lead Soviet units but I know that in this scenario we’re only seeing the tip of the iceberg. As Turn 5 unfolds the action is about to get even hotter…
Turn 5 – 25 minutes elapsed
Once again the action gets crazy. All kinds of shooting opens up around the center and the south. My feisty recce team spots some mechanized units moving north and takes them under fire, then scoots away.
My recce units fire on some Soviets advancing to the north.
What’s important to note now is that so far the Soviets have barely fired back. They’ve done zero damage to me so far. But that’s about to change. Their artillery will be arriving soon and we’re going to see things get messy.
Last week our TANKSgiving AAR was Part 1 of my Flashpoint Campaigns: Red Storm game. In Part 1 I discussed the scenario, how I’d played it before, what I expected and what I expected to be surprised by, and we got as far as the first turn, where unsurprisingly, not much happened besides the rain lifting earlier than expected.
Part 2 promises to be more interesting. Let’s pick up the game as Turn 2 unfolds and see what happens.
Turn 2 – 26 minutes elapsed
The Soviets trip more mines. Good. I detect mines going off in the north but am blind as to what kinds of forces might be scouting around there. Time will tell.
16 minutes into the turn I can tell several of my minefields have been cleared – even as others continue to slow the Soviet advance and inflict casualties. I’m not sure if this is a feature or a bug (knowing that the fields have been cleared). It doesn’t have a bearing on my game, but is interesting to know.
The yellow hexes indicate cleared minefields.
The turn ends. I know they’re coming. The suspense builds.
Turn 3 – 25 minutes elapsed
Note that my decision cycle has decreased from 26 minutes to 25. It’s a small change, but it’s going in the right direction.
I check the LOS of my recce platoon. We’ve got a nice bead on the road. This is excellent. I’m going to assign one of my M109A2 to direct support them, that way they can (hopefully) call in some thunder on the unsuspecting Soviet units. And with that I start the turn.
Checking the LOS. With the rain lifting early this gives me an advantage.
Drat! Just a couple of minutes into the game the Soviets take the 800 point VP south of my recce units. They should have been able to see those units. That means despite their enhanced scouting abilities they’re too far out to do anything. I still believe they’re in the right spot to cause some havoc, but clearly it won’t be this turn.
Suddenly a scout unit appears out of the woods on the approach to Weiskirchen. My mechanized units immediately fire on it. This is one of the great things I enjoy about Flashpoint Campaigns: Red Storm – the action unfolds almost like a movie. I issue orders but I don’t fire each shot. The game resolves each turn like a video and I get to sit back and await the results. The probing unit weathers several rocket shots but then an M1 takes it into its sights and it is blown away.
The loss of an 800 VP hex in the south and the appearance of a scouting unit in the north tell me the Soviets have arrived.
But now there’s some trouble just slightly further north. 21 mechanized units approach and threaten the other 800 point VP. I can’t worry about the VP right now – the pressing concern is to crush that unit before more of its friends show up.
That’s a lot of Soviet armor up north. Could be a recon-in-force or the main thrust of the Soviet line of advance.
Now things start to get interesting. A FIST starts firing on the mechanized unit to the north, dropping it from 21 vehicles to 12; I think – a second unit shows up and it’s difficult to follow exactly which unit is taking what damage. A second unit appears and now there are 12 in one stack and 19 in another. The game has some built-in ambiguity so variations in the reported size and composition of the opfor is rarely certain this early in the game.
More Soviets up north.
But that’s not all. 16 units have appeared in the south. A mouseover indicates there are some tanks but also a number of HQ units. If that’s true, it’s too good to pass up. I think I know where my MLRS is going to introduce itself.
But wait! There’s more!
Even more interesting – five tanks appeared near my recce team, which immediately fire on them. That’s bad, as I would rather have had them scouting than revealing themselves. The good news is that after firing they immediately start to withdraw. Unfortunately they are withdrawing to a location that can be spotted by the southern unit. Hopefully they won’t be seen.
In any case, I’m going to bring the rain. The MLRS is ordered to saturation fire on the units to the south. If those really are HQ units, I need to take them out, or at least degrade them severely. Probably the sighting is spurious, but it’s the best I have for now, so I let ‘er rip. I also order on of my artillery units to use neutralizing fire to drop on the tanks in the middle. In all likelihood that’s also an HQ unit and I’d rather give them a bad day if possible, too. If I’m correct and these are HQ units I should see a change for the worse in their decision cycle, which is estimated to be 34 minutes.
Hey kids, can you spell MLRS?
Well, no plan survives contact with the enemy. Let’s see how this goes. I start up the next turn.
Turn 4 – 25 minutes elapsed
The stack of 17 units in the middle takes a hard right and disappears heading to the north. They’re about to have a bad day.
To the south the recce guys aren’t concerned with stealth – they start firing on the unit that’s about to get some saturation fire. I’m of a mixed mind there. On one hand it’s good to just get some shooting going. Hopefully they’ll draw some other units closer who may get wrapped up with the saturation fire. On the other hand, I’m afraid that recce team is about to pay for their ferocity. The only assets they have right now are artillery. That may not be enough to save them.
A feisty recce company announces that they’re ready to play.
Next I see the 12 units turn right and head north. This is bad. My engineers are not likely to survive that kind of pounding. I may need to send some units up there to bail them out – assuming that I don’t have my hands full next turn.
Then the artillery starts to fall. The four unit of tanks in the middle takes no damage. They appear to have moved. That reinforces my suspicion that they’re an HQ. Down south we have a bit more luck. There are several explosions on the 800 VP hex as well as some damage to the stacks I can see. Excellent. Next turn I have to wait for the MLRS to move (they’ll automatically shift position after firing unless I interrupt them with an order). Then I’ll order them to resupply so we can rock some more worlds. This will take a couple of turns but will be well worth it.
When the artillery is called, Mr. MLRS is not anyone’s friend.
Then a double stacked unit appears in the center. I can see 21 units. I can’t see beneath it, but it’s clear that I’ve got some action going on in the center. Then three recce units appear on the southern road in the middle. That’s a juicy target, too, but we’ll see how the guys on the ground prioritize their fire. I sit back and watch the fireworks.
Juicy recce units in the middle.
From the north suddenly some units appear. It looks like they decided to take me head on. I can’t be sure that is all the units I saw moving north but I’d rather they bunched up as they are now. (image 34)
Then the fireworks break out. The action is too busy to call every shot. There is a ton of fire in the center and it appears as part of the process the recce team is taking out. Down south I see lots of movement and the loss of another VP as the Soviets move west. That’s fine – I have a warm reception committee waiting for them. Another piece of good news – my recce team is doing an excellent job of shoot-and-scoot. They fire, then bug out so they don’t get trapped by any ground units taking them under fire or by artillery. This is perfect. Looks like they’ll survive a few more turns.
The reception committee down south.
With the round over it’s far too early to take stock of what’s going on. My own artillery has shifted positions. Now I’m going to order the MLRS to resupply. At the end of the turn I don’t have any enemy units in sight, but I know there are a number of them around the middle objective. Figure 37 shows the number of crosses on the map designating destroyed enemy units. There are a lot, but we’re nowhere near finished.
I start the next turn – but you’ll have to tune in next week to see how it unfolds…
Flashpoint Campaigns: Red Storm has done something for me that no wargame has done for a long time. I am wholly absorbed in it. It’s the only game I want to play. I’ve been addicted to other games (just ask around the forums about Orcs Must Die! 2), but it has been quite some time since a wargame really grabbed me like this. Strange? Perhaps. But there it is.
Normally when I select an AAR I like to choose one I’ve never seen before. It adds to the drama as I don’t know what’s coming and I think it’s a more authentic story to give to an audience. However, With this particular scenario in Red Storm I have played it at least a dozen times and continue to love it. The AI always keeps me guessing. Although I’ve beaten the AI each time I’ve played it, I never feel like I’m winning until after the game is over. The crush of the Soviet horde is hair-raising to the NATO player. The come on almost like a zombie apocalypse: incessant and seemingly innumerable.
In this particular scenario, A Test of Wills, the player is tasked with fending off the Soviets at night. The scenario opens with a heavy rain that limits visibility to 500 meters – one hex. Eventually the rain will lift. But when it lifts can make an enormous difference to the NATO player. In one game it didn’t lift for five and a half hours. As a result the Soviets crawled right into my defensive positions before I could see them, negating my advantage of seeing at night and using ranged weapons like the TOW. I won that scenario, too, but it had me sweating the entire time – I had placed my defensive units in solid overwatch positions to take on the Soviets at range; when they failed to appear I had left some of the roads to the exit points unguarded for an approach in zero visibility. It was probably a worst-case scenario.
In most games the rain lifts sooner – sometimes by the third turn. But the weather isn’t the only thing tossing me curve balls. There are three major avenues of approach for the Soviets. The southern approach has the most victory points and always sees the most action, but the middle of the map also gets a lot of attention, and the northern end sometimes gets heavily tested, too. The AI seems to never do the same thing twice, which keeps this scenario fresh for me every time I play it. And that’s why I keep coming back to this scenario. It’s a mid-sized scenario with lots of uncertainty. So far I’ve won every game I’ve played but I’ve never felt any confidence until the last shot was fired. There simply aren’t enough NATO troops to go around and once their artillery starts to rain too many units get destroyed for anyone to feel confident.