Flashpoint Campaigns: Red Storm AAR Part 2
Last week our TANKSgiving AAR was Part 1 of my Flashpoint Campaigns: Red Storm game. In Part 1 I discussed the scenario, how I’d played it before, what I expected and what I expected to be surprised by, and we got as far as the first turn, where unsurprisingly, not much happened besides the rain lifting earlier than expected.
Part 2 promises to be more interesting. Let’s pick up the game as Turn 2 unfolds and see what happens.
Turn 2 – 26 minutes elapsed
The Soviets trip more mines. Good. I detect mines going off in the north but am blind as to what kinds of forces might be scouting around there. Time will tell.
16 minutes into the turn I can tell several of my minefields have been cleared – even as others continue to slow the Soviet advance and inflict casualties. I’m not sure if this is a feature or a bug (knowing that the fields have been cleared). It doesn’t have a bearing on my game, but is interesting to know.
The turn ends. I know they’re coming. The suspense builds.
Turn 3 – 25 minutes elapsed
Note that my decision cycle has decreased from 26 minutes to 25. It’s a small change, but it’s going in the right direction.
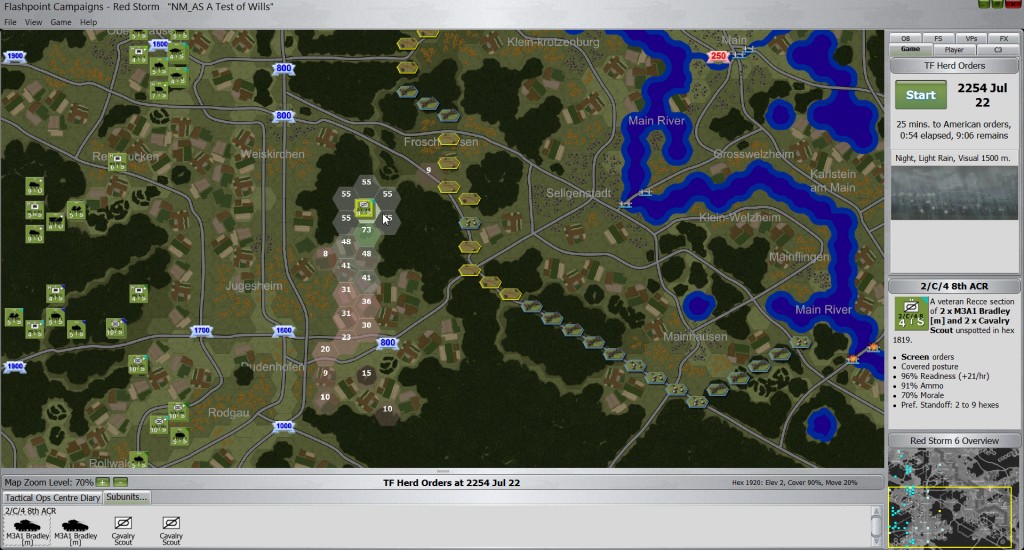
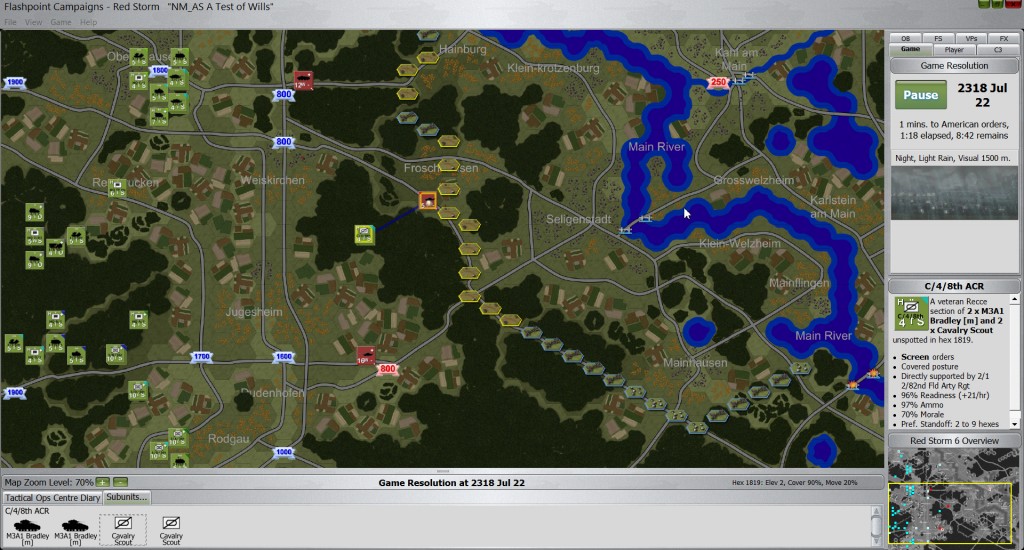
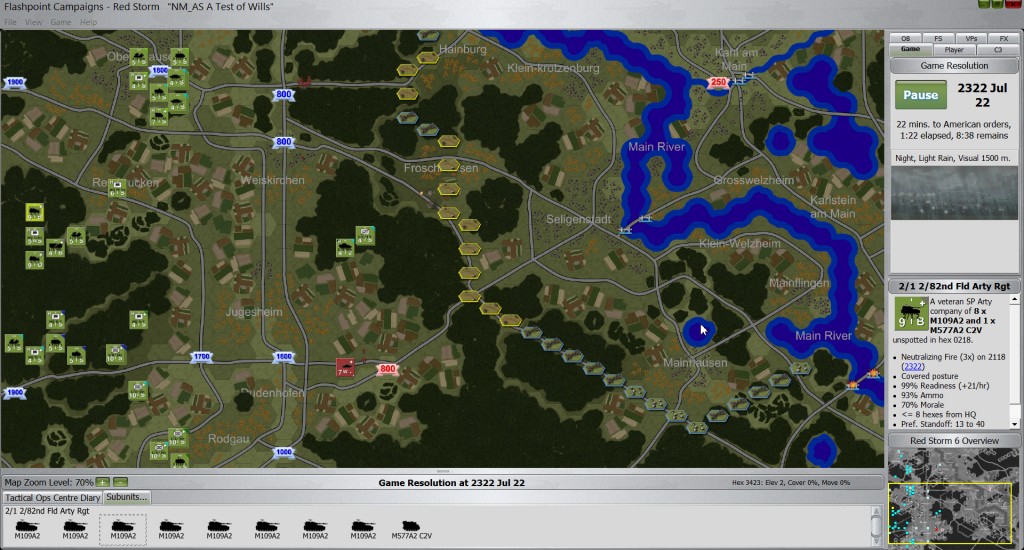
I check the LOS of my recce platoon. We’ve got a nice bead on the road. This is excellent. I’m going to assign one of my M109A2 to direct support them, that way they can (hopefully) call in some thunder on the unsuspecting Soviet units. And with that I start the turn.
Drat! Just a couple of minutes into the game the Soviets take the 800 point VP south of my recce units. They should have been able to see those units. That means despite their enhanced scouting abilities they’re too far out to do anything. I still believe they’re in the right spot to cause some havoc, but clearly it won’t be this turn.
Suddenly a scout unit appears out of the woods on the approach to Weiskirchen. My mechanized units immediately fire on it. This is one of the great things I enjoy about Flashpoint Campaigns: Red Storm – the action unfolds almost like a movie. I issue orders but I don’t fire each shot. The game resolves each turn like a video and I get to sit back and await the results. The probing unit weathers several rocket shots but then an M1 takes it into its sights and it is blown away.
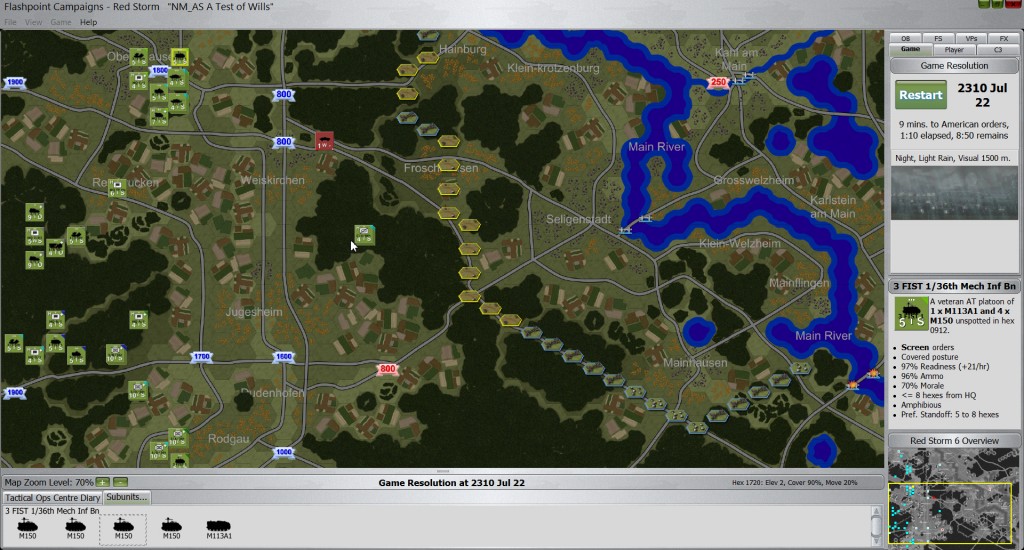
The loss of an 800 VP hex in the south and the appearance of a scouting unit in the north tell me the Soviets have arrived.
But now there’s some trouble just slightly further north. 21 mechanized units approach and threaten the other 800 point VP. I can’t worry about the VP right now – the pressing concern is to crush that unit before more of its friends show up.

That’s a lot of Soviet armor up north. Could be a recon-in-force or the main thrust of the Soviet line of advance.
Now things start to get interesting. A FIST starts firing on the mechanized unit to the north, dropping it from 21 vehicles to 12; I think – a second unit shows up and it’s difficult to follow exactly which unit is taking what damage. A second unit appears and now there are 12 in one stack and 19 in another. The game has some built-in ambiguity so variations in the reported size and composition of the opfor is rarely certain this early in the game.
But that’s not all. 16 units have appeared in the south. A mouseover indicates there are some tanks but also a number of HQ units. If that’s true, it’s too good to pass up. I think I know where my MLRS is going to introduce itself.
Even more interesting – five tanks appeared near my recce team, which immediately fire on them. That’s bad, as I would rather have had them scouting than revealing themselves. The good news is that after firing they immediately start to withdraw. Unfortunately they are withdrawing to a location that can be spotted by the southern unit. Hopefully they won’t be seen.
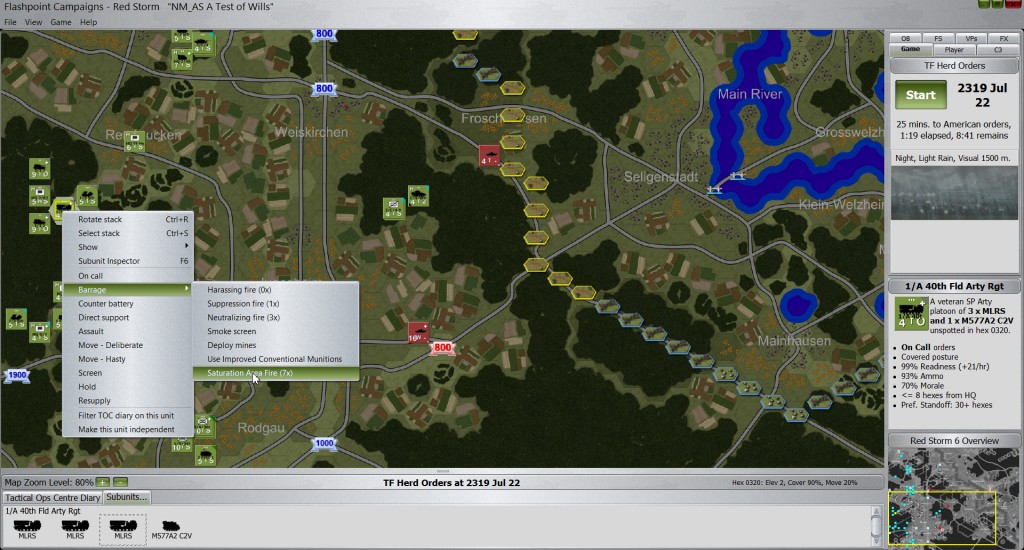
In any case, I’m going to bring the rain. The MLRS is ordered to saturation fire on the units to the south. If those really are HQ units, I need to take them out, or at least degrade them severely. Probably the sighting is spurious, but it’s the best I have for now, so I let ‘er rip. I also order on of my artillery units to use neutralizing fire to drop on the tanks in the middle. In all likelihood that’s also an HQ unit and I’d rather give them a bad day if possible, too. If I’m correct and these are HQ units I should see a change for the worse in their decision cycle, which is estimated to be 34 minutes.
Well, no plan survives contact with the enemy. Let’s see how this goes. I start up the next turn.
Turn 4 – 25 minutes elapsed
The stack of 17 units in the middle takes a hard right and disappears heading to the north. They’re about to have a bad day.
To the south the recce guys aren’t concerned with stealth – they start firing on the unit that’s about to get some saturation fire. I’m of a mixed mind there. On one hand it’s good to just get some shooting going. Hopefully they’ll draw some other units closer who may get wrapped up with the saturation fire. On the other hand, I’m afraid that recce team is about to pay for their ferocity. The only assets they have right now are artillery. That may not be enough to save them.
Next I see the 12 units turn right and head north. This is bad. My engineers are not likely to survive that kind of pounding. I may need to send some units up there to bail them out – assuming that I don’t have my hands full next turn.
Then the artillery starts to fall. The four unit of tanks in the middle takes no damage. They appear to have moved. That reinforces my suspicion that they’re an HQ. Down south we have a bit more luck. There are several explosions on the 800 VP hex as well as some damage to the stacks I can see. Excellent. Next turn I have to wait for the MLRS to move (they’ll automatically shift position after firing unless I interrupt them with an order). Then I’ll order them to resupply so we can rock some more worlds. This will take a couple of turns but will be well worth it.
Then a double stacked unit appears in the center. I can see 21 units. I can’t see beneath it, but it’s clear that I’ve got some action going on in the center. Then three recce units appear on the southern road in the middle. That’s a juicy target, too, but we’ll see how the guys on the ground prioritize their fire. I sit back and watch the fireworks.
From the north suddenly some units appear. It looks like they decided to take me head on. I can’t be sure that is all the units I saw moving north but I’d rather they bunched up as they are now. (image 34)
Then the fireworks break out. The action is too busy to call every shot. There is a ton of fire in the center and it appears as part of the process the recce team is taking out. Down south I see lots of movement and the loss of another VP as the Soviets move west. That’s fine – I have a warm reception committee waiting for them. Another piece of good news – my recce team is doing an excellent job of shoot-and-scoot. They fire, then bug out so they don’t get trapped by any ground units taking them under fire or by artillery. This is perfect. Looks like they’ll survive a few more turns.
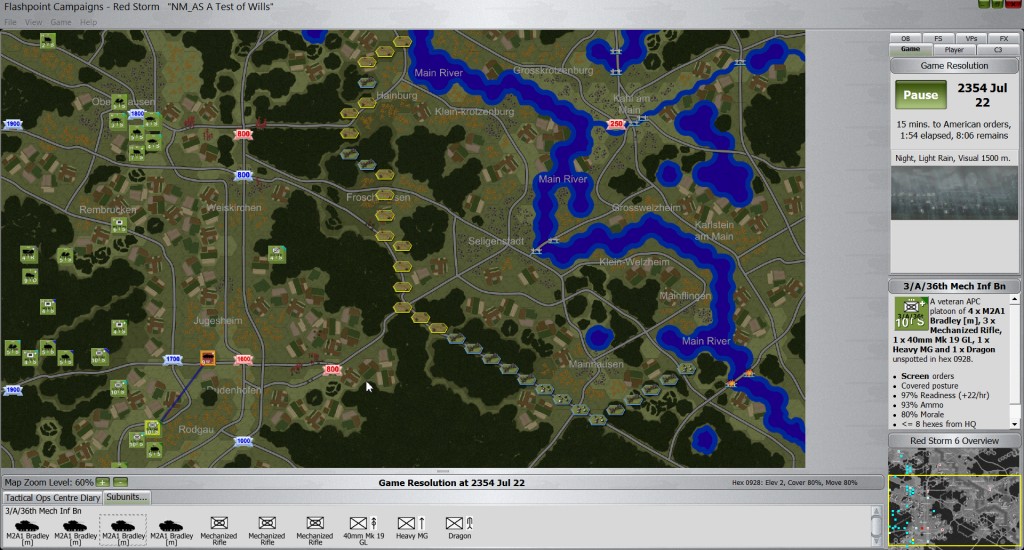
With the round over it’s far too early to take stock of what’s going on. My own artillery has shifted positions. Now I’m going to order the MLRS to resupply. At the end of the turn I don’t have any enemy units in sight, but I know there are a number of them around the middle objective. Figure 37 shows the number of crosses on the map designating destroyed enemy units. There are a lot, but we’re nowhere near finished.
I start the next turn – but you’ll have to tune in next week to see how it unfolds…






Leave a Reply