09/5/13

Allied Corps – AAR Part 3

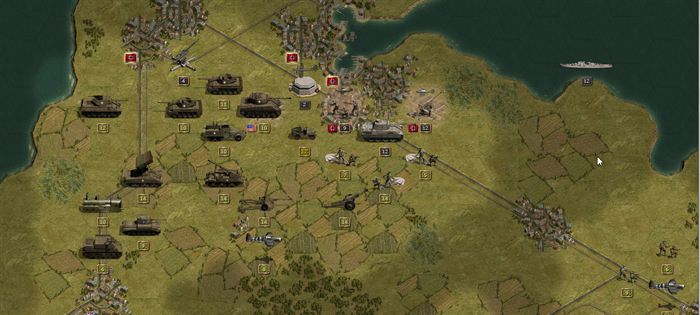
When we left off with Part 2 of this AAR the Germans had pulled out everything but the kitchen sink. There weren’t a lot of German forces, but what we ran into was quality. Neberwerfers, tank-busting aircraft, Tigers, V-2s…the list was pretty long. Almost every piece of high-tech equipment the Germans could field late in the war had made a showing and I was the guy having to beat it up. As you may recall, dear reader, I was pushing my way into the Netherlands. I had to take objectives in the north, west, and south. Thus far I had chosen to focus on the west and south, leaving the north until later. Through some kind of luck – simply having troops occupying some rail hexes, I inadvertently captured a train with some hot cargo. That was a pleasant surprise.
Allied Corps AAR-073

With that, let’s pick up the story at Turn 9.

Allied Turn 9

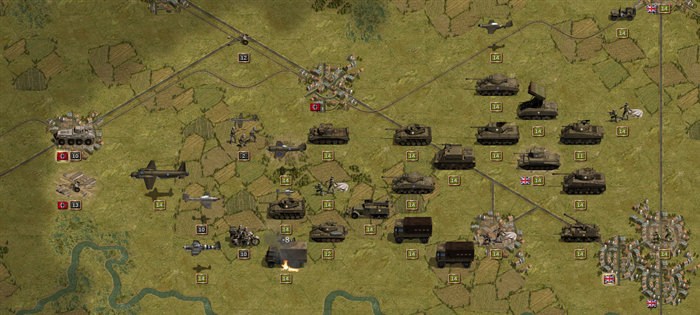
I start by hammering on the troops around Leiden. I don’t need to attack them as I hold the objective, but I take them on for good measure. Note the captured train next to my jeep in the middle of the screen:

Allied Corps AAR-074

Then I move to attack the Nashorn. My Sherman 105s gives it a good shot and inflicts some decent hurt. Then my Hellcats move up and attack some more. The Nashorn drops to a single point left. I send my Sherman 76s to finish it off. They do. Continue reading

08/29/13

Allied Corps AAR – Part 2

When we left off my intrepid heroes were had finished Turn 3 and were heading toward a 50 mm PaK, A Wurfrahmen, an SdKfz 234/2, and two units of Pioneer infantry. Because several of my units were open topped I was giving that Wurfrahmen a healthy distance. But at some point it would need to be addressed.

The German AI, on the other hand, had the opportunity to take some shots at my advancing force, but mysteriously held its ground and did nothing.


Allied Turn 4

I’m more shocked by the lack of initiative by the German Pioneer and Wurfrahmen. They just sit there. That seems crazy. I decide to focus on the Wurfrahmen first. My P-51 makes a pass and does some damage.

Allied Corps AAR-027

Now I have some choices. Along my line of advance there is a river, the Nederrijn to my south. The way the Panzer Corps engine works friendly units cannot move if adjacent to an enemy unit. So no matter how weak that 50mm PaK is, I won’t be able to squeak past it. I have to destroy it. The Chaffee fires but does no damage while taking a beating itself. The P-47 does a little more damage and then I pull it back to base for refueling. The Wellington, now refueled moves up and eliminates the PaK. That’s good news. Now I can advance. I pull the Chaffee back and move the Airborne up to take the airbase that the PaK had occupied. Their chances of taking on the Pioneers don’t look good so I just let them hang. We’ll figure out what to do with the Pioneers shortly. Continue reading

08/22/13

Warlock Four-Player AAR Tuna Session 10

LongBlade (LB): No, gentle reader, you have not miscounted or misread the title. Our last report came from Tuna and ended on Turn 38. The remaining players have had a few interruptions in real life, so we must pick up the story at the earliest point Tuna can share with us, Turn 58.


TURN 58

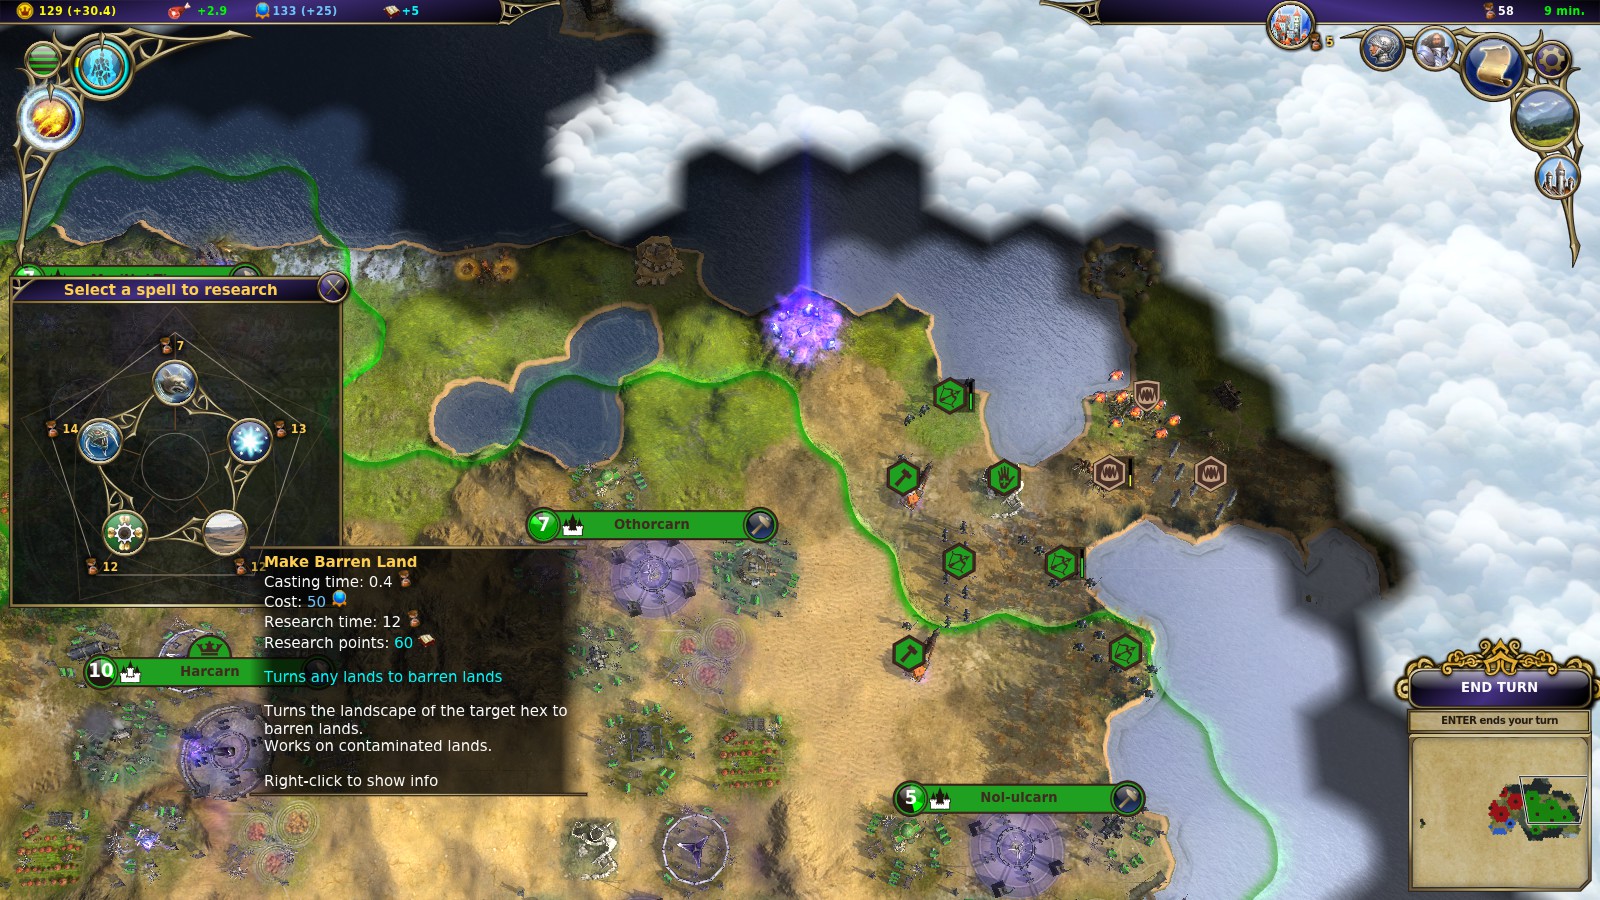
Tuna opens the turn by researching a new spell, Barren Lands. This is an offensive spell that will turn any land with resources into barren terrain.

Tuna-Turn-58-Warlock-AAR-turn58-anewspell

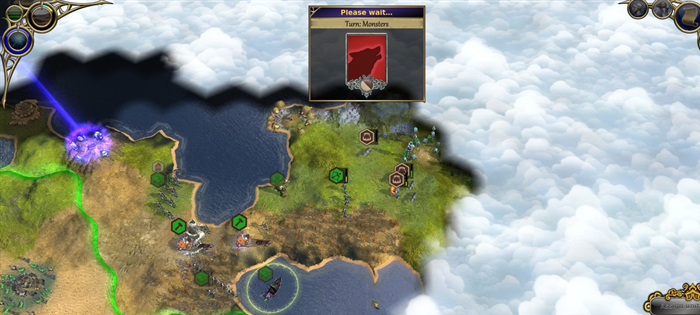
He then continues on his mission to clear out Monsters in the Northeast, to clean the land for settlers he anticipates will soon move there.

Tuna-Turn-58-Warlock-AAR-turn58b-clearmonsters

Continue reading

08/15/13

Allied General Part 1

Developer: The Lordz Games Studios

Publisher: Slitherine, Ltd.

Allied Corps AAR-006Panzer Corps is by now an established franchise. Aimed at entry-level wargamers it is a fun, light wargame which has attracted a lot of veteran wargamers who are looking for an uncomplicated game that is both challenging and fun. Allied Corps is a stand-alone game but can be combined with its German-oriented counterpart to open up a two-sided campaign where either the Axis or Allied side can be played. As a stand-alone game only the Allied campaign is available, though individual scenarios can be played by either side.

The game comes with five campaigns, each opens in 1940 – 1944. It also comes with 30 individual scenarios. Like its spiritual predecessor, Panzer General, the lure for the campaigns are the creation of a core force which the player shepherds over the course of the war. By the end of the war he has (hopefully) crafted a highly experienced lethal force that can smash through any encounter.

That’s all well and good, but I’m more interested in firing up a one-off scenario and letting the fur fly. After examining the various scenarios (including a hypothetical face-off between the Western and Soviet forces) I decide I’m in the mood to crush the Germans’ rockets in the scenario V Rockets Sites. It takes place just after the capture of the Arnhem Bridge and my task, simply enough, is to capture the rockets.

I fire up the game on default settings with medium difficulty (called “Colonel”) with Weather, Supply, Fog of War, and Undo all toggled on. Not that I like to use the Undo feature, but true fat-fingered mistakes can happy. I’ll try to avoid using it.

The AAR opens on October 8, 1944. My orders are simple. Capture and hold five objectives. OK, let’s see how this goes.

Continue reading

08/8/13

Prosciutto – Hamming it up with the di Parmas… Part 17

In Part 16  Oberto’s forces supported by the mustachioed legions of Bulgaria all but destroyed any effective armed resistance against his claim to independence. In this part he achieves his ambition, has a fine Italian woman on her knees and cleans up the mess……

Pic160

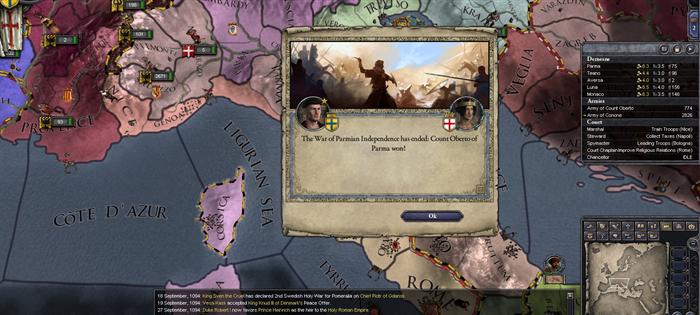
Beaten, stripped of wealth and facing ruin, Matilda kneels before Oberto and offers surrender. The first part of his plan has finally been completed, his promise to his father as he lay on his death bed has begun to be fulfilled.

Continue reading