09/23/13

Strat Chat: Rome II

By Jim Zabek

Playing Total War: Rome II can be a challenge. Although there is an in-game encyclopedia it’s fairly limited when you get into the game. It can tell you What things do, but you have to figure out the Why and the When on your own. If ever a game could use a Strategy Guide, this would be it.

I’m now about fifty hours into the game. It’s 79 BC and this is my first campaign. I’m playing the Suebi, northern European Germanic tribesmen, and I’ve managed to conquer most of continental Europe playing on the easiest game mode. Almost universally (at least on our forums) gamers have concluded that even the easiest game setting for Rome II can be challenging. With fifty hours of gameplay into the game, I’m discovering that it finally is relatively easy to play now. I’ve got a surplus of 50,000 gold in my coffers, am making 13,000 gold each turn, have a surplus of about 50 food, and have several large armies trampling about the continent taking provinces by storm at will.

2013-09-23_00011
My empire thus far.

So how did I do it? With only one game under my belt – and that only half completed by my estimate – I cannot claim to be a Rome II guru. However, with some reasonable success I think I can sketch out some basic strategies that may help folks struggling with the campaign. Because there are so many factions and each has their own building I am making a large assumption here: I am assuming that no matter which side you play, infrastructure plays a similar role. I could be wrong on this. If I am, I would urge folks to discuss it in our forums where we all as a community can learn from each other and improve our gameplay. Again, I’m not claiming to be an expert, just a guy with some time to share some thoughts on what I’ve learned so far. With that, let’s begin.

It’s Not All Total War

For a game entitled “Total War” I have found that Creative Assembly has been particularly good about creating games that go well beyond war. The strategy portion of their games has always been the most satisfying to me, and part of my enjoyment comes from the fact that these games incorporate economic and social aspects of empire building along with the military. Rome II is no exception.

2013-09-23_00002
Commerce, culture, and agriculture. These buildings are typical of most of my provinces.

Continue reading

09/19/13

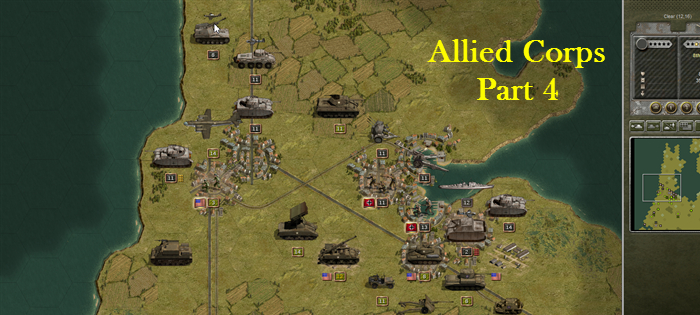
Allied Corps – AAR Part Four

So now we arrive at the fourth and final part of our Allied Corps AAR. Readers may recall that Part 3 left off as I made a mad dash to capture victory objectives in the Netherlands. I had successfully captured objectives due west around Leiden, decided not to try and crack the nut to the south in Rotterdam. But that meant I had to walk into the teeth of the German defenses around Amsterdam and this was going to be a tough fight. By ignoring Rotterdam I was committed to capturing all of the objectives around Amsterdam. Go big or go home. So we open with Lucky Turn 13:


Allied Turn 13

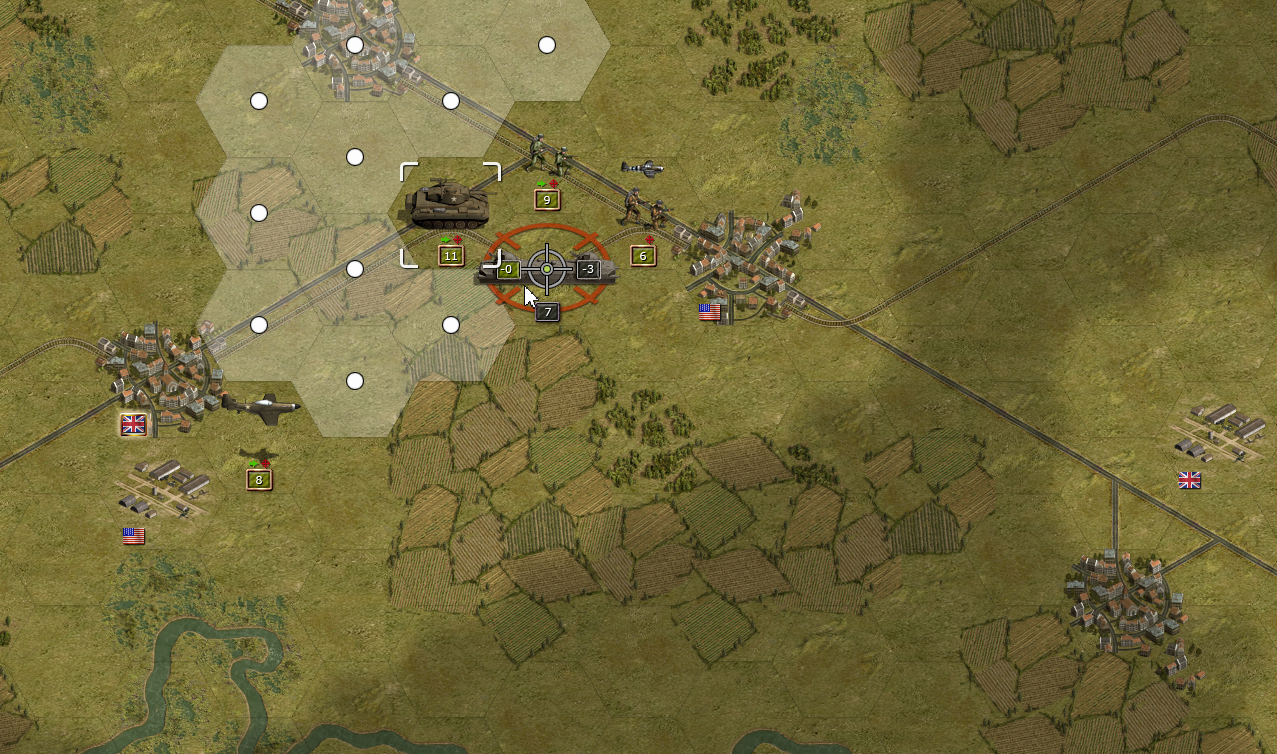
Allied Corps AAR-Sept-2013-119During Turn 12 I managed to box in an armored train to the west of my main force. Unable to move off the rails it had nowhere to go. Because it was at a junction boxing it in required three units. Two infantry units I could afford to spare, but the tank would be useful in Amsterdam. I didn’t need it yet, but the clock was ticking and I was hoping I wasn’t going to need that tank before I destroyed the train. Being armored it’s as tough as some tanks. To be safe I also had two aircraft loitering for extra fire power. That’s a lot of assets for one unit, but it was in my rear and I had no idea what kind of nasty surprise it might deliver if I left it to its own devices.

I first move the British Engineers behind it to block it from retreating any further. They don’t attack because they and the train are about the same strength and it won’t turn out well for the Brits. I move the Chaffee up from Utrecht and take it under fire. I inflict two points of damage and the train is now low on ammo. Excellent. US Engineers attack it and its strength drops from five to two – then, with nowhere to retreat, it surrenders! Perfect.

Down by Den Haag my Firefly needs to be resupplied so I do so and it rests a turn. The Cromwell fires in the V2 for fun and does three points. The loitering Wellington drops bombs and takes out the remaining point on the V2. I’m afraid I’m going to have to leave these tanks in Den Haag in order to prevent the Germans in Rotterdam from retaking it. The force I have up north will have to do.

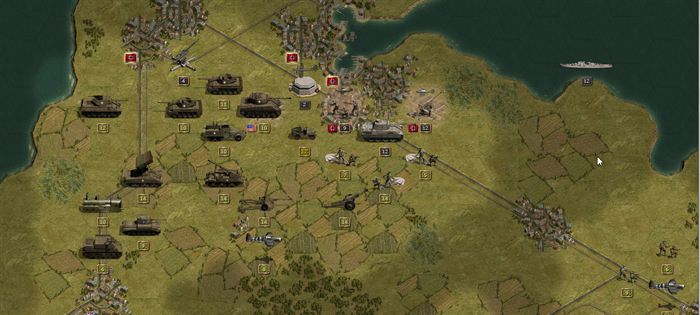
I have some 7.2 inch artillery shell a 37mm Flak gun protecting the airfield to the east of Amsterdam. Three points of damage!

Continue reading

09/11/13

War of the Vikings – Developer Interview

Fatshark’s Executive Producer, Gordon Van Dyke, and Grogheads’ Jim Zabek just wrapped up an interview about War of the Vikings, the follow-up title to the smash hit melee game, War of the Roses.

war_of_the_vikings_gamescom_screen_1

OK, so aside from the obvious “cool factor” why did you choose to go with Vikings?

That was my answer! The Vikings came to England a few hundred years earlier than the Wars of the Roses, they even founded what is now known as the city of York, so we took that setting and ran with it.

war_of_the_vikings_gamescom_screen_14

What lessons did you learn from the success of War of the Roses that you’ve incorporated to improve War of the Vikings?

We took a lot of community feedback into account and have added throwing weapons, a dodge mechanic, and special attacks. The time period for WotV is set earlier than WotR, meaning the technology was crude by comparison armor wasn’t as effective because plate armor didn’t exist yet. Because of this, the matches in WotV are faster-paced as sending an axe through someone was much easier during the time of the Vikings.

Just like WotR, we’re also implementing a level of customization not seen in most games. This time around, players will be able to even customize the beards of their character! It’s a Viking a game, how could we not do that?

war_of_the_vikings_gamescom_screen_3

Continue reading

09/5/13

Allied Corps – AAR Part 3

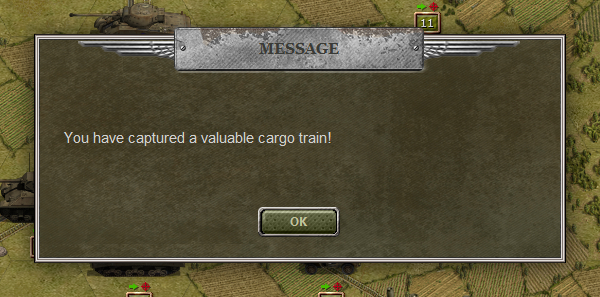
When we left off with Part 2 of this AAR the Germans had pulled out everything but the kitchen sink. There weren’t a lot of German forces, but what we ran into was quality. Neberwerfers, tank-busting aircraft, Tigers, V-2s…the list was pretty long. Almost every piece of high-tech equipment the Germans could field late in the war had made a showing and I was the guy having to beat it up. As you may recall, dear reader, I was pushing my way into the Netherlands. I had to take objectives in the north, west, and south. Thus far I had chosen to focus on the west and south, leaving the north until later. Through some kind of luck – simply having troops occupying some rail hexes, I inadvertently captured a train with some hot cargo. That was a pleasant surprise.

Allied Corps AAR-073

With that, let’s pick up the story at Turn 9.

Allied Turn 9

I start by hammering on the troops around Leiden. I don’t need to attack them as I hold the objective, but I take them on for good measure. Note the captured train next to my jeep in the middle of the screen:

Allied Corps AAR-074

Then I move to attack the Nashorn. My Sherman 105s gives it a good shot and inflicts some decent hurt. Then my Hellcats move up and attack some more. The Nashorn drops to a single point left. I send my Sherman 76s to finish it off. They do. Continue reading

08/29/13

Allied Corps AAR – Part 2

When we left off my intrepid heroes were had finished Turn 3 and were heading toward a 50 mm PaK, A Wurfrahmen, an SdKfz 234/2, and two units of Pioneer infantry. Because several of my units were open topped I was giving that Wurfrahmen a healthy distance. But at some point it would need to be addressed.

The German AI, on the other hand, had the opportunity to take some shots at my advancing force, but mysteriously held its ground and did nothing.


Allied Turn 4

I’m more shocked by the lack of initiative by the German Pioneer and Wurfrahmen. They just sit there. That seems crazy. I decide to focus on the Wurfrahmen first. My P-51 makes a pass and does some damage.

Allied Corps AAR-027

Now I have some choices. Along my line of advance there is a river, the Nederrijn to my south. The way the Panzer Corps engine works friendly units cannot move if adjacent to an enemy unit. So no matter how weak that 50mm PaK is, I won’t be able to squeak past it. I have to destroy it. The Chaffee fires but does no damage while taking a beating itself. The P-47 does a little more damage and then I pull it back to base for refueling. The Wellington, now refueled moves up and eliminates the PaK. That’s good news. Now I can advance. I pull the Chaffee back and move the Airborne up to take the airbase that the PaK had occupied. Their chances of taking on the Pioneers don’t look good so I just let them hang. We’ll figure out what to do with the Pioneers shortly. Continue reading