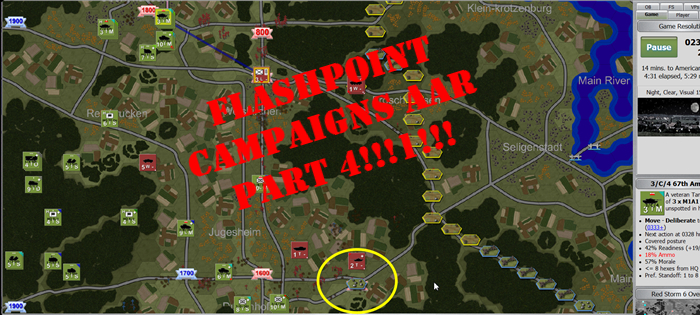
Flashpoint Campaigns: Red Storm AAR Part 4
Author: Jim Zabek
At the end of Part 3 I had successfully managed to hold off the initial advance of the Soviets and I was considering advancing the hard core of my defense, a company of Abrams tanks, to catch either the Soviet HQ undefended or a southern thrust on its flank. Let’s see how that plan survives contact with the AI…
Turn 8 – 28 minutes elapsed
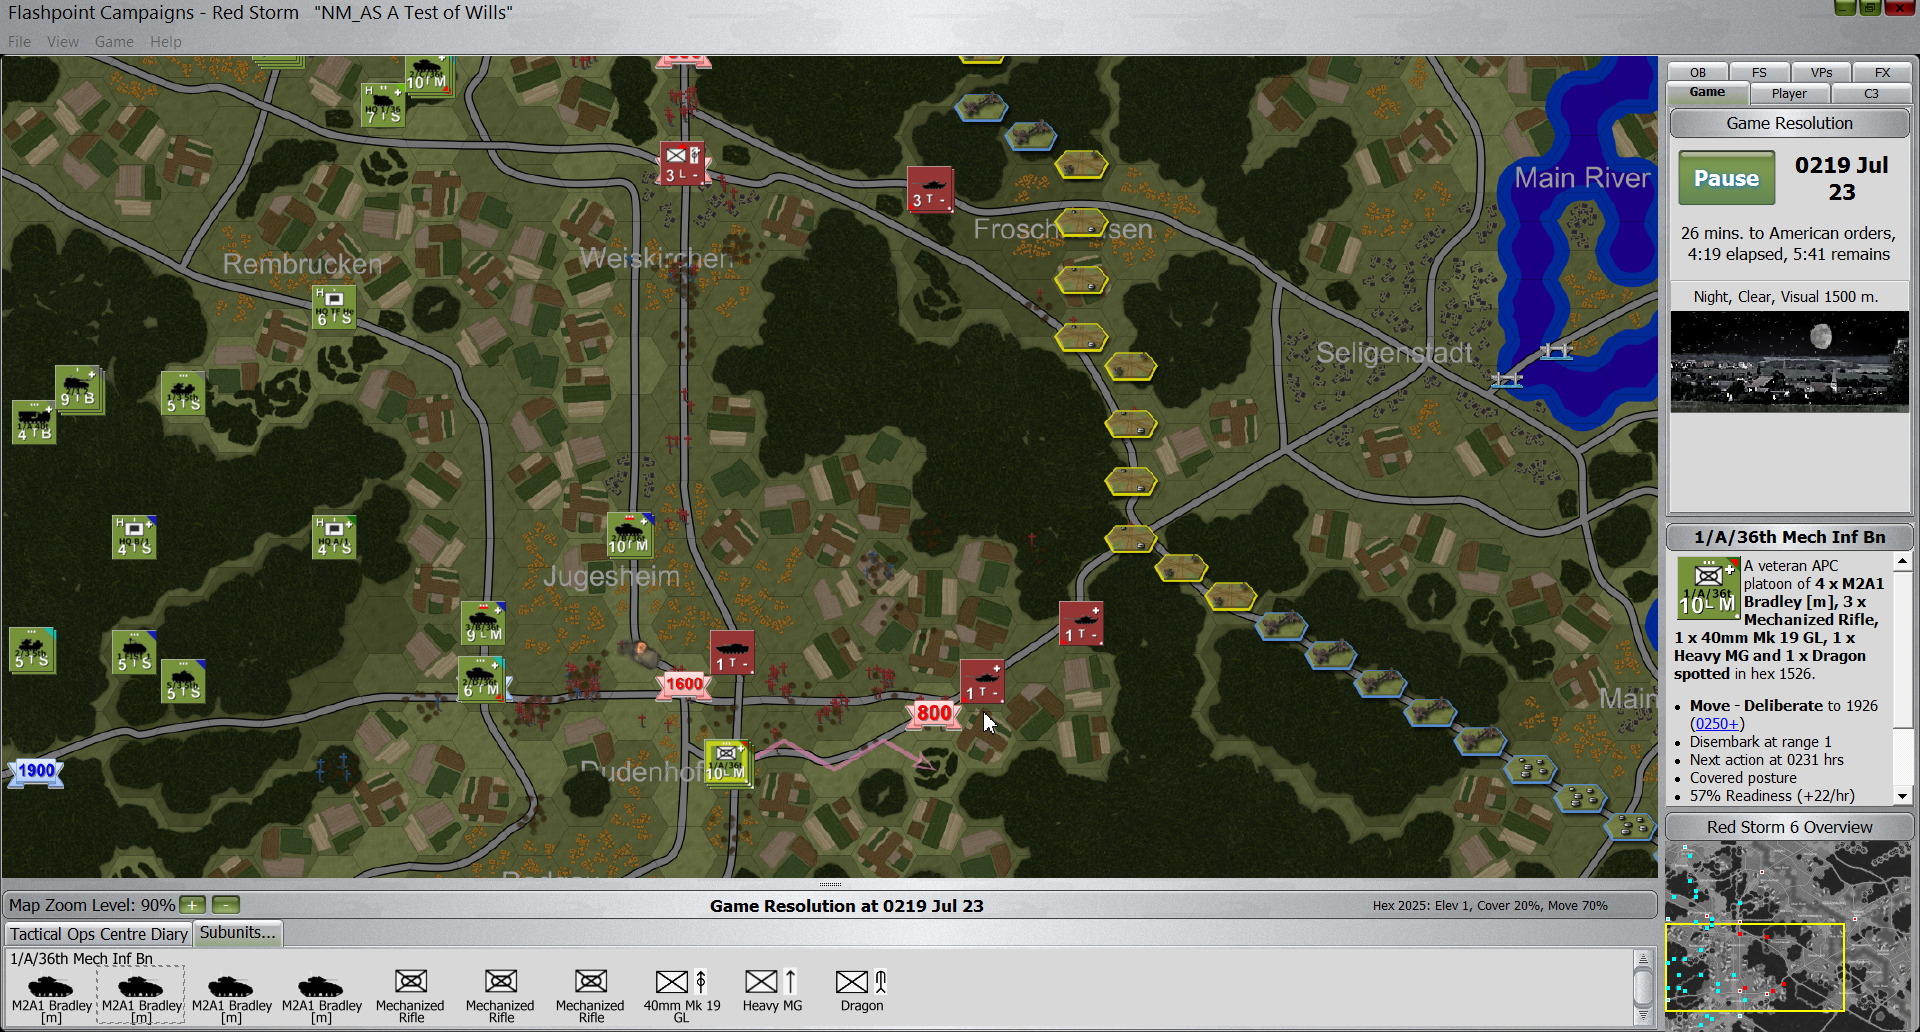
Now I get busy with orders. First I call in some mines to be dropped in front of the tanks in the north that are heading south. If I’m lucky the tanks will walk into the hex before I drop the mines – a favorite tactic.
Next I order a barrage on the suspected recce/HQ unit in the woods near my own recce unit. They didn’t seem inclined to move much so I’m hoping to catch them even if I can’t see them. Then I order my mechanized units in the south to start moving around. All are ordered east, in a push to recapture lost VPs. The 1000 point VP east of Rodgau is a favorite hide of a Soviet HQ unit. In the past they’ve protected that guy with some serious artillery which directly supports it, so when those units start moving (it’ll probably be a turn or two) I’ll want to hit it with artillery as soon as I’m able.
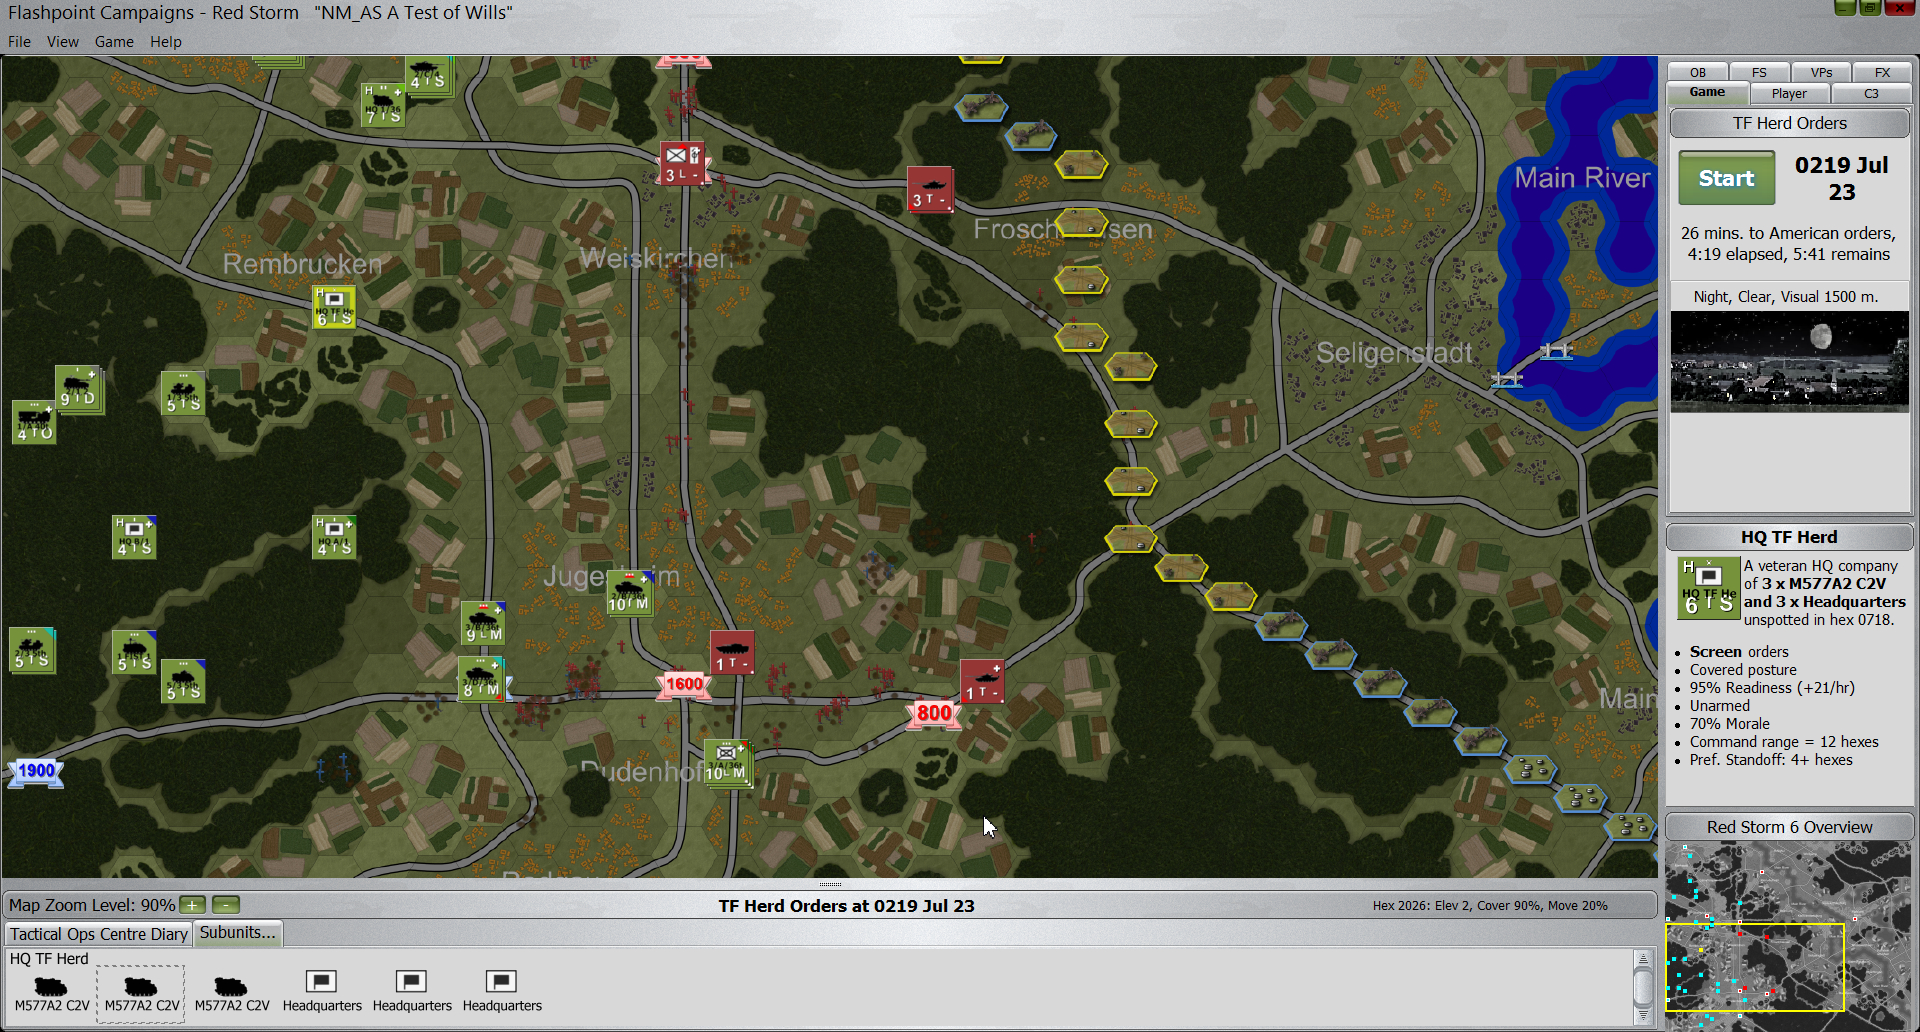
The last piece of the puzzle is the MLRS. I have several targets to choose from. Finally I decide to use saturation fire on the units to the northeast of Dudenhofen. It’s just a hunch but they look like they’re moving and my sense is I can do some serious harm right here and now.
I hit start to watch the action unfold.
The recce units’ luck runs out. Several Soviet artillery barrages catch them and blast them something good. It hurts.
Soviet Artillery rain on my engineers to the north but fortunately it does no lasting harm.
Then my MLRS arrives and multiple blasts across multiple hexes confirms that I made a good decision.