I don’t know where this bridge is. It is a long way from my humble cobbler’s shop on the outskirts of Ruzayevka. We have seized another nameless bridge, crossed another blood-cloggingly cold river, and are trying to drive the Germans out of our land so that we can go back worthless Five Year Plans, endless speeches from Stalin, and bottomless bottles of vodka. All I seek after a long day of fixing soles on shoes that have never stepped in a pool of blood is some hot sausage and kraut, a stiff drink, and a big bosomed woman willing to share my creaky bed. God I hate this war.
Today is not a good day to be defending the Portas and Olympus Passes against the Germans. My unit, the 21st New Zealand Infantry Battalion, has been tasked with defending two tunnels. These tunnels leads directly to the Tempe Gorge. If the Jerries make it there they will succeed in cutting off the Allied withdrawal! We cannot allow that to happen. Intelligence reported that our sector would be quiet, thus leaving us with no dedicated anti-armor units. As usually, military intelligence proved it was not, and we now face a company of Panzer IIs and IIIs without much hope of stopping them.
As the Jerries push forward it became clear we needed to blow at least one of the tunnels. Chances are the other will need to be blown, too. There are still several hours before dark. This is going to be a tough fight.
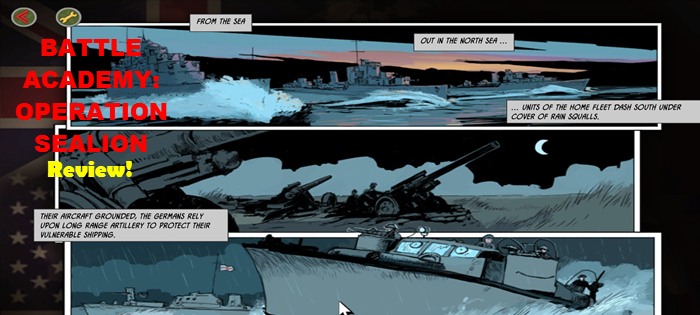
In September 1940, the UK was bracing itself against the prospect of invasion from Nazi Germany. Fortunately, it was called off, largely due to the failure of the Luftwaffe to achieve its goal of air superiority during the Battle of Britain. Battle Academy – Operation Sealion gives us Matrix/Slitherine’s take on what sort of actions might have been fought had Operation Sealion been given the go ahead.
Sitrep, Sir! Jerry’s got the airfield, and we’ve got to get it back. You have regulars, and “Dad’s Army”. Easy, eh?
Battle Academy is a tactical level, turn-based, fast play type wargame. The map is a grid of squares, with each square – if unit ranges are anything to go by – representing some 100 metres across. That at least is what I concluded, as it seemed obvious. I’ve since learned from Jim Zabek that when he wrote the core game review for the Wargamer, Slitherine told him that in fact the ranges were not linear. For some curious design reason each square has a logarithmic variation… Sealion is an expansion to the core game, so this logic likely applies here too. Units are portrayed as single vehicles, guns, with infantry in units of five men, and support weapons like LMG’s and mortars, typically two. There are no specific unit organisations, but in terms of the game scale, I found it easy to rationalise each unit as a representative infantry platoon, or support/tank section.
Gameplay is flexible, with units able to move and fire, in whatever order the player likes. A player can tweak their starting force by spending a limited supply of “force requisition points”, which has the effect of adding variation to the stock scenarios. The rules are simple, yet effective, providing a fun game with a modicum of realism. Off map assets, from artillery to airstrikes are represented, as is unit training, replacements, fresh supplies etc. Vital to game play are the spotting rules, and ambushes from cover represent a real threat. Most of the challenge of the game is in the scenario design rather than the AI. Whilst the AI is not overly challenging – even on the hardest level – the majority of scenarios in Battle Academy – as well as many user made ones – have nasty surprises to trap the unwary, often making good use of the spotting rules. Continue reading →
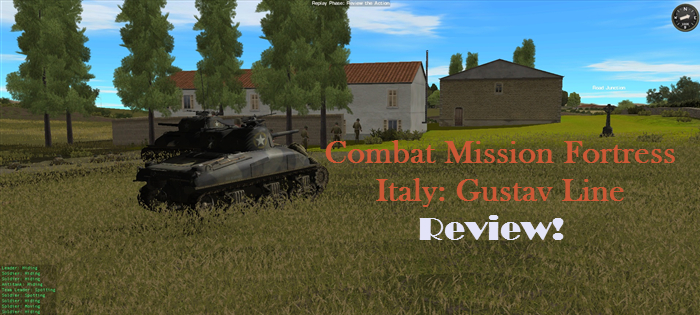
Last year I reviewed the core game and first instalment of CMFI. That review was positive in most respects, and particularly for the innovations to the CMx2 engine. I was however, mainly critical for the omission of any Commonwealth troops for a Sicilian campaign, and for the scarcity of “historical” scenarios with regard to the history of US forces in action. So what does Fortress Italy Gustav Line add to the core game?
Well the short answer is that Fortress Italy Gustav Line is a huge improvement to the core game. It adds a considerable amount of new nationalities, combat formations, equipment, campaigns, scenarios and quick battle maps. It also adds some new features previously unseen in the CMx2 engine.
Take cover!! US Scouts come under fire from a Flak Vierling.
At last the Commonwealth forces make their entry, starting with Operation Husky in Sicily. Battlefront has added many new combat organisations, vehicles etc. to the existing mix giving much more variety. In addition to the US army the Allies now comprise the Poles, Canadians, British, and New Zealanders. For the Axis there we see the fearsome Fallschirmjägers, which now debut on the Plain of Catania in Sicily, and later can make their famous stand in the devastated town and abbey of Monte Cassino. Similar to the other Combat Mission games in the CMx2 series, combat formations are well researched to reflect the historical unit organisation in the Italian theatre of operations. A nice touch for picky Grogs like me! To put this all into perspective Fortress Italy Gustav Line specifically adds:
7 new US formations including the Glider Infantry Battalion and the Cavalry Reconnaissance Squadron
25 new German formations including the Luftwaffe’s Parachute Pioneer Battalion (which is great for assaulting built up areas), to the Heer’s Grenadier Battalion, which has three variations to itself- the 1942, the 43, and 44 type.
18 Commonwealth formations (although the availability of particular Commonwealth Formation types vary by national army, as well as any organisational and equipment differences between the Commonwealth forces). These include formations like the Air Landing Battalion (Great for fighting the early days of Operation Husky around the city of Syracuse), and the Armoured Recce Regiment.
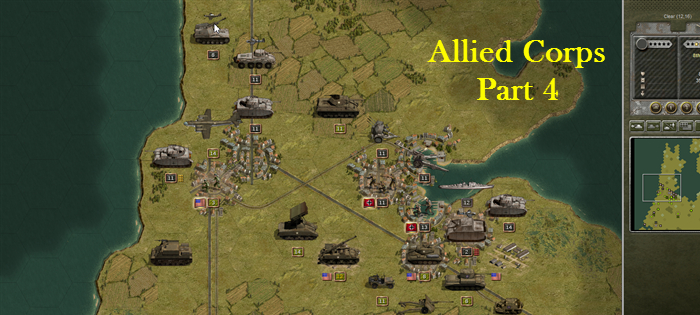
So now we arrive at the fourth and final part of our Allied Corps AAR. Readers may recall that Part 3 left off as I made a mad dash to capture victory objectives in the Netherlands. I had successfully captured objectives due west around Leiden, decided not to try and crack the nut to the south in Rotterdam. But that meant I had to walk into the teeth of the German defenses around Amsterdam and this was going to be a tough fight. By ignoring Rotterdam I was committed to capturing all of the objectives around Amsterdam. Go big or go home. So we open with Lucky Turn 13:
Allied Turn 13
During Turn 12 I managed to box in an armored train to the west of my main force. Unable to move off the rails it had nowhere to go. Because it was at a junction boxing it in required three units. Two infantry units I could afford to spare, but the tank would be useful in Amsterdam. I didn’t need it yet, but the clock was ticking and I was hoping I wasn’t going to need that tank before I destroyed the train. Being armored it’s as tough as some tanks. To be safe I also had two aircraft loitering for extra fire power. That’s a lot of assets for one unit, but it was in my rear and I had no idea what kind of nasty surprise it might deliver if I left it to its own devices.
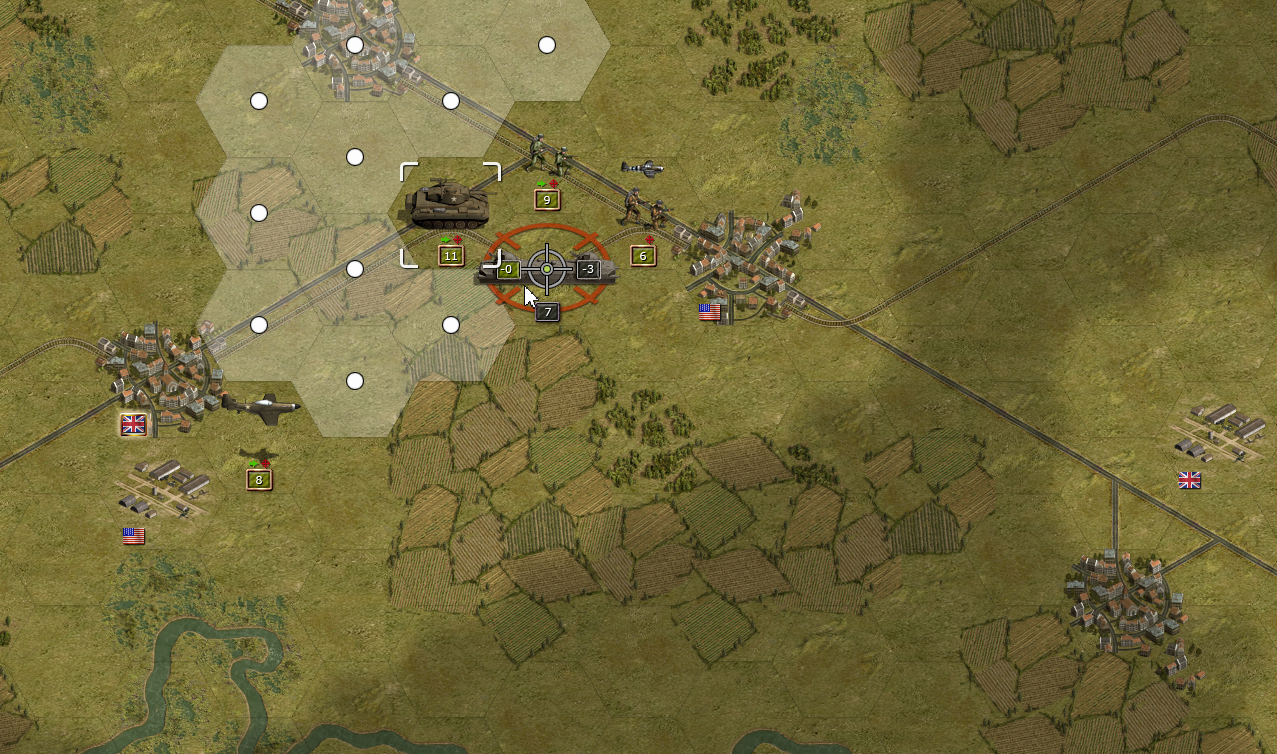
I first move the British Engineers behind it to block it from retreating any further. They don’t attack because they and the train are about the same strength and it won’t turn out well for the Brits. I move the Chaffee up from Utrecht and take it under fire. I inflict two points of damage and the train is now low on ammo. Excellent. US Engineers attack it and its strength drops from five to two – then, with nowhere to retreat, it surrenders! Perfect.
Down by Den Haag my Firefly needs to be resupplied so I do so and it rests a turn. The Cromwell fires in the V2 for fun and does three points. The loitering Wellington drops bombs and takes out the remaining point on the V2. I’m afraid I’m going to have to leave these tanks in Den Haag in order to prevent the Germans in Rotterdam from retaking it. The force I have up north will have to do.
I have some 7.2 inch artillery shell a 37mm Flak gun protecting the airfield to the east of Amsterdam. Three points of damage!