While he did the Balance of Power mod, which I’m honestly not familiar with as I’ve not played it extensively, I am doing the “All the Ages” mod, which more closely resembles the ‘true’ Star Trek experience, from the NX-01 Enterprise to the Nemesis-era Enterprise-E.
I will play the Federation in this one. I never liked playing the others as much, even though I’ve done all of them. I’d like to think that the Federation’s rosy, hippy-fueled outlook of exploring for its own sake is the best reason to undertake a journey to the stars, rather than exploiting resources or trade routes (the Ferengi), or being a conquering neandrathal (everyone else, pretty much). You could certainly play the Federation as a conquering force, but their population of weed-smoking liberals will not tolerate that for more than a planet or two before they go into some serious levels of rebellion. Continue reading →
When we left Part 4 I was sensing the tide of the battle had shifted. The Soviet offensive was stalled and I decided to start pushing forward and take advantage of their degrading communications and battered offensive forces. Make no mistake – the Soviets can still pack a punch. They have plenty of armor and massive amounts of artillery that can quickly reduce my small force to nothing if I’m not careful. But if I do this right I can capture some objectives, score some points and crush the Soviets.
Turn 11 – 26 minutes elapsed
The game is now four hours and twenty-six minutes into the fight. The scenario can run another five and a half hours, but I think the Soviets are in trouble. What I’m not feeling good about is the lack of damage I’ve taken. Aside for the beating my engineers took up north, I’m in good shape. Usually the Soviets beat me more badly. That tells me there’s some tough fighting yet to be done. Hopefully we can keep on the move and stay out of their artillery umbrella.
My luck is holding. Because my troops are on the move several barrages of Soviet artillery fall on empty fields in the south. Keep moving, men!
The mines I drop on a VP take out a couple of units. They’re hidden from me, but I hear the reports of their explosions. Fighting in the south heats up with heavy exchanges between all visible units. A suspected Soviet recce platoon is spotted near my HQ area and my mechanized units moving north to the central objective spot it and take it under fire. More Soviet artillery misses and we continue to push forward.
The turn comes to a close. Lots of Soviet artillery has fallen and none of it has found its mark. I intend to keep that streak going by making some unpredictable changes to the line of movement of some of my units.
Around the middle objective I can see more units now, including a stack of about nine tanks. Tempting as that may be for my MLRS I’m going to use my regular artillery to fire at it.
Turn 12 – 27 minutes elapsed
This round goes badly for me. The Soviet ground forces aren’t much of a threat, but their artillery seems to be everywhere and on target. Entire units go from full strength to zero and it hurts. Normally this kind of response is only drawn when I’m in proximity to an important HQ unit. The suspected air defense unit to the far east of the southern approach is probably more than it appears. The VPs around Dudenhofer to the south are clearly must-haves for the Soviets as they appear to be throwing everything they have at them to retake the VPs I have captured.
Soviet Armor pushes south toward Dudenhofer.
Turn 13 – 21 minutes elapsed
Note my decision cycle has decreased to 21 minutes while the Soviets have an estimated 37. I’m moving at almost twice their speed. Their success with artillery is probably due to the fact that it’s in LOS of mine and giving direct support to critical HQ units. Let’s see if we can break that pattern now.
There is now a significant cluster of units south of Weiskirchen and it’s time to bust out the MLRS.
MLRS FTW.
I also order artillery to take out the suspect HQ unit to the far east of the southern objective, while my other artillery battery targets the nine tanks north of Jugesheim. Continue reading →
We thought we’d throw you guys for a loop by bringing you the next installment of the Crusader Kings II AAR that won’t end the very next week, instead of, y’know, 5 months from now or something.
as always, click images to enlarge
In Part 18 Oberto recruited more plotters in his attempt to bring down Matilda, complicated his legacy by marrying for a third time and having twin boys, and found a patch of land to realise his dream. In part 19 he bullies a little girl, gets mugged in Firenze, and achieves greatness (sort of).
And there it is, confirmation of our claim on the county and Duchy of Salerno. Oberto already owns Napoli, he needs Amalfi and Salerno itself to seize the golden headband. Also included in the Duchy is Taranto but the Muslims have stolen it, He’ll sort that out later.
The Chancellor grabs us a claim on one of Matilda’s home provinces that could leady to the Duchy of Firenze. With a heavy heart Oberto has to turn it down, he’s currently emptying all the piggy banks he has, even the novelty, oversized whisky bottles full of spare ducats – going to war with Salerno will be costly enough as it is.
After a loooooooooooooong hiatus (we trimmed a few “O”s for space), UCG is back with another installment of the Crusader Kings II AAR that won’t end. Thus outlasting Brant’s Civ V AAR and claiming the AAR longevity title. For now.
In Part 17 Oberto fulfilled his ambition to become Chancellor of the Holy Roman Empire, started a plot against his old enemy, and realised his ambitions were stunted by his lowly social rank. In this part he decides to make his life more complicated, attempts to grow his plot and spies an opportunity down South.
Oberto sits down with his advisors (which isn’t as easy as you think, the Emperor keeps sending him on diplomatic missions right across the HRE) to discuss his claims and opportunities for expansion. Despite being the Count of Genoa and Nice he still doesn’t have a claim on the Duchy of Genoa , that belongs to his rival Matilda.
At the end of Part 3 I had successfully managed to hold off the initial advance of the Soviets and I was considering advancing the hard core of my defense, a company of Abrams tanks, to catch either the Soviet HQ undefended or a southern thrust on its flank. Let’s see how that plan survives contact with the AI…
Turn 8 – 28 minutes elapsed
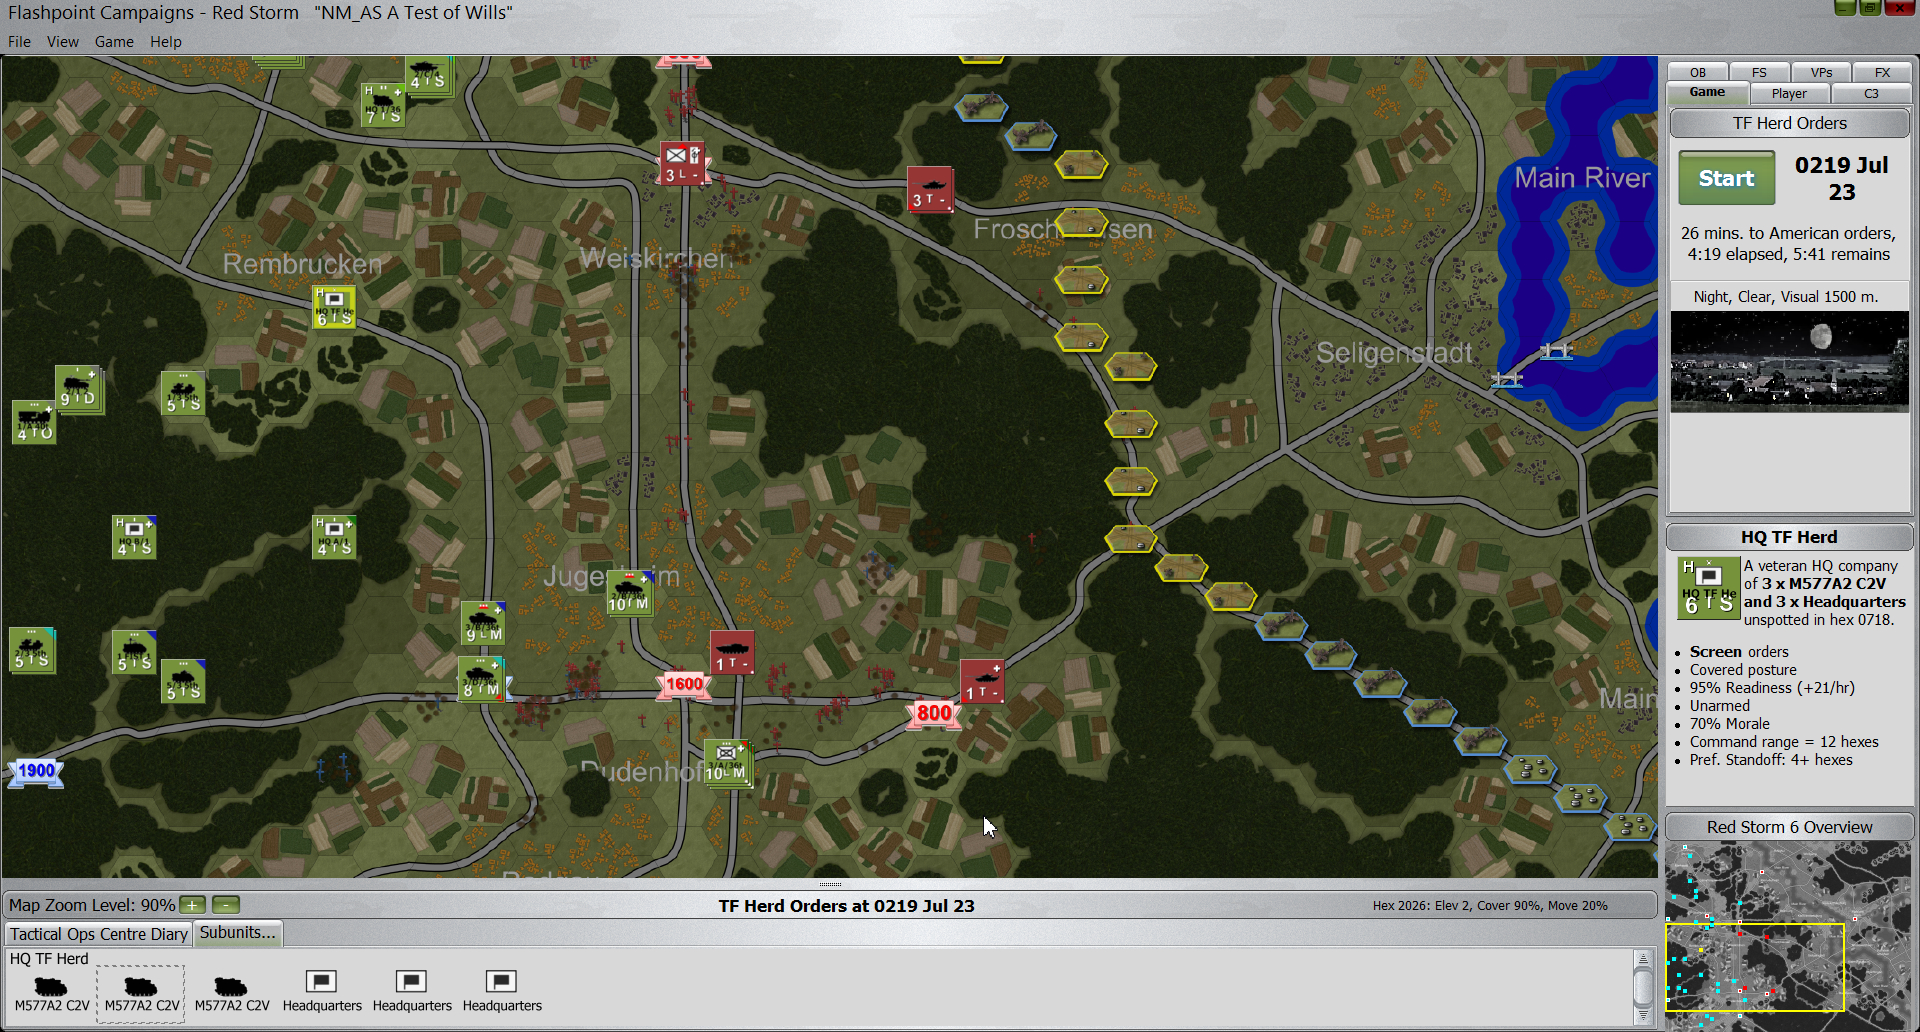
Now I get busy with orders. First I call in some mines to be dropped in front of the tanks in the north that are heading south. If I’m lucky the tanks will walk into the hex before I drop the mines – a favorite tactic.
Next I order a barrage on the suspected recce/HQ unit in the woods near my own recce unit. They didn’t seem inclined to move much so I’m hoping to catch them even if I can’t see them. Then I order my mechanized units in the south to start moving around. All are ordered east, in a push to recapture lost VPs. The 1000 point VP east of Rodgau is a favorite hide of a Soviet HQ unit. In the past they’ve protected that guy with some serious artillery which directly supports it, so when those units start moving (it’ll probably be a turn or two) I’ll want to hit it with artillery as soon as I’m able.
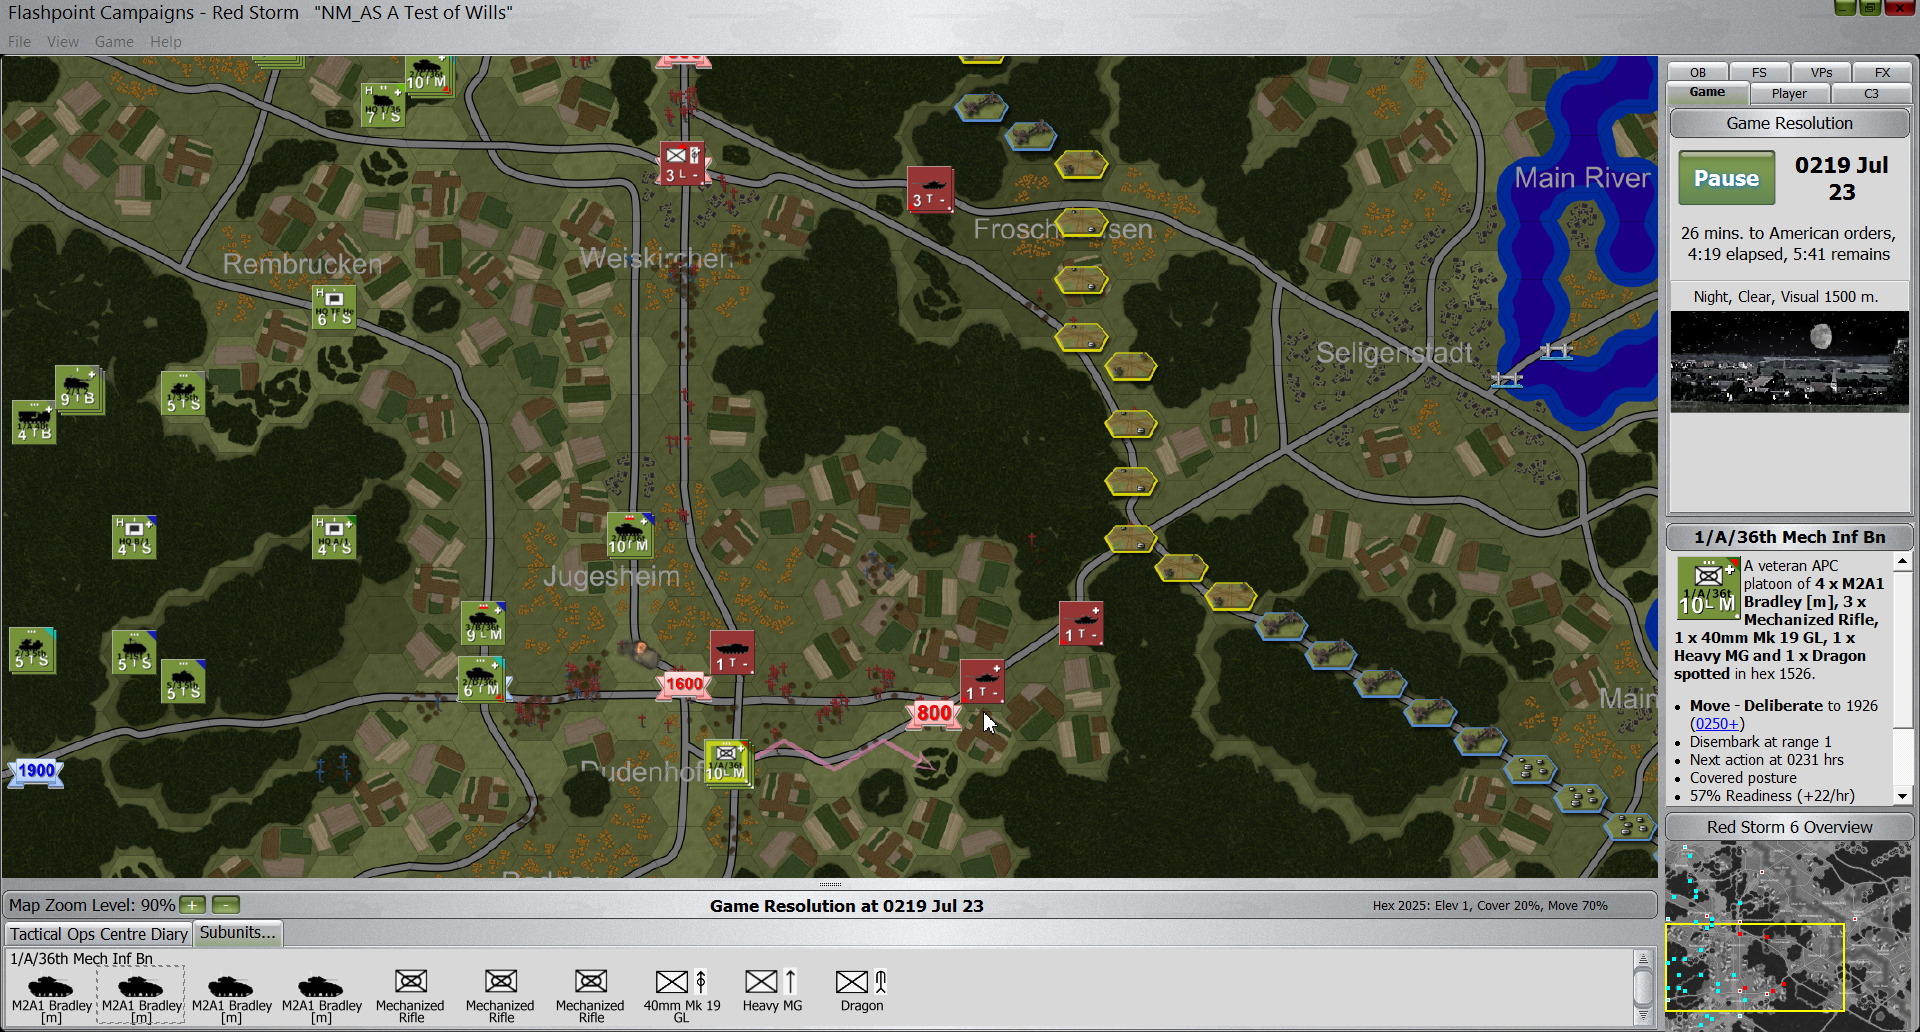
Mechanized units in the south start to move east.
The last piece of the puzzle is the MLRS. I have several targets to choose from. Finally I decide to use saturation fire on the units to the northeast of Dudenhofen. It’s just a hunch but they look like they’re moving and my sense is I can do some serious harm right here and now.
I hit start to watch the action unfold.
The recce units’ luck runs out. Several Soviet artillery barrages catch them and blast them something good. It hurts.
Soviet Artillery rain on my engineers to the north but fortunately it does no lasting harm.
Then my MLRS arrives and multiple blasts across multiple hexes confirms that I made a good decision.