
Flashpoint Campaigns: Red Storm AAR Part 4

Author: Jim Zabek
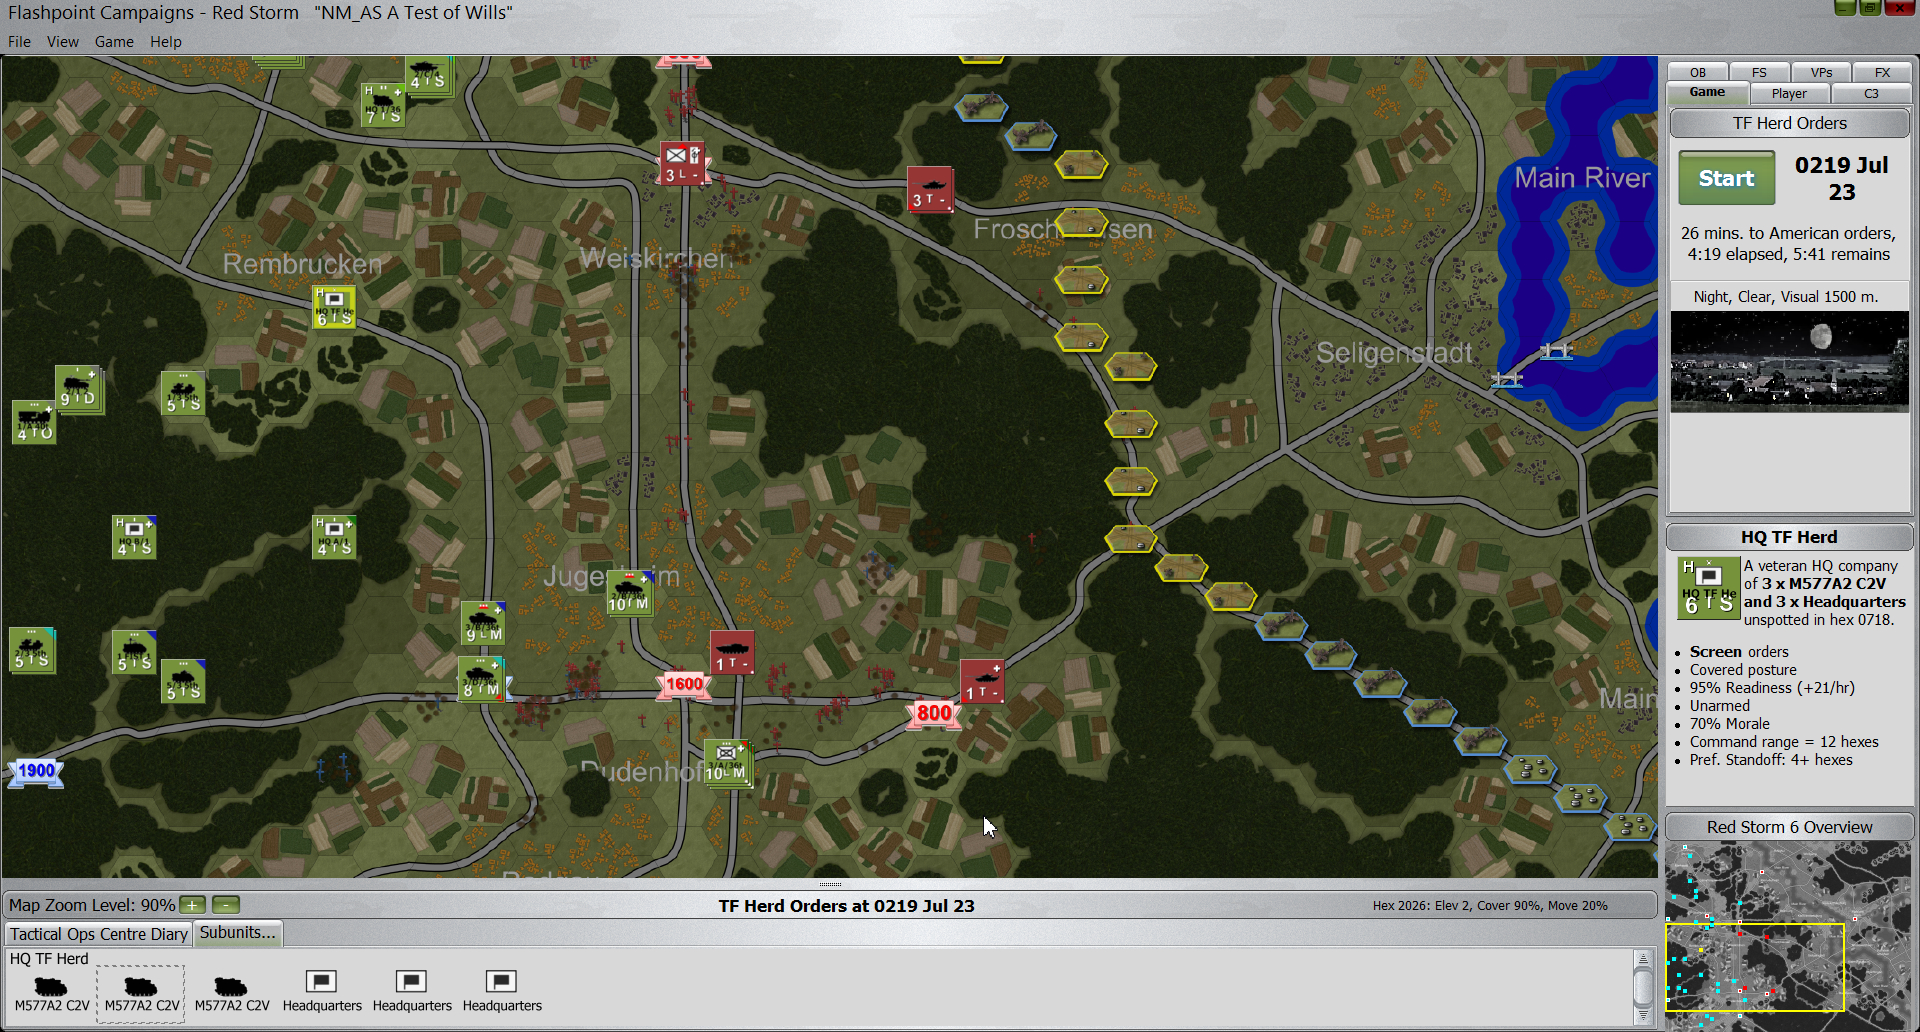
At the end of Part 3 I had successfully managed to hold off the initial advance of the Soviets and I was considering advancing the hard core of my defense, a company of Abrams tanks, to catch either the Soviet HQ undefended or a southern thrust on its flank. Let’s see how that plan survives contact with the AI…
Turn 8 – 28 minutes elapsed
Now I get busy with orders. First I call in some mines to be dropped in front of the tanks in the north that are heading south. If I’m lucky the tanks will walk into the hex before I drop the mines – a favorite tactic.
Next I order a barrage on the suspected recce/HQ unit in the woods near my own recce unit. They didn’t seem inclined to move much so I’m hoping to catch them even if I can’t see them. Then I order my mechanized units in the south to start moving around. All are ordered east, in a push to recapture lost VPs. The 1000 point VP east of Rodgau is a favorite hide of a Soviet HQ unit. In the past they’ve protected that guy with some serious artillery which directly supports it, so when those units start moving (it’ll probably be a turn or two) I’ll want to hit it with artillery as soon as I’m able.
Mechanized units in the south start to move east.
The last piece of the puzzle is the MLRS. I have several targets to choose from. Finally I decide to use saturation fire on the units to the northeast of Dudenhofen. It’s just a hunch but they look like they’re moving and my sense is I can do some serious harm right here and now.
I hit start to watch the action unfold.
The recce units’ luck runs out. Several Soviet artillery barrages catch them and blast them something good. It hurts.
Soviet Artillery rain on my engineers to the north but fortunately it does no lasting harm.
Then my MLRS arrives and multiple blasts across multiple hexes confirms that I made a good decision.

The MLRS delivers another round of pain.
The artillery strike that targeted the unidentified unit one of my recce units has been chasing fell to no effect. However, my recce unit reestablishes contact so I’m hoping to catch it again.
More good news – the mines dropped. They didn’t catch the tanks in the hex, but both units of tanks entered the hex just after the mines fell, and both units were destroyed as a result – I think. Wait, two tanks emerge heading north, probably much worse for the wear and none looking to tangle with the remaining engineers!
A minefield dropped by artillery.
But then bad news arrives with the recce platoon HQ. A heavy barrage of Soviet artillery catches up with them and they are completely wiped out. More artillery falls on the remaining recce units and their luck has run out. With one scout platoon remaining it begins to retreat toward friendly lines.
Turn 9 – 25 minutes elapsed
Orders go out to the M109s to fire on suspected HQ units and then I start the game again.
Hey, my luck changes! What appears to be a Soviet artillery barrage intended to target my recce unit instead falls on a Soviet unit and causes casualties.
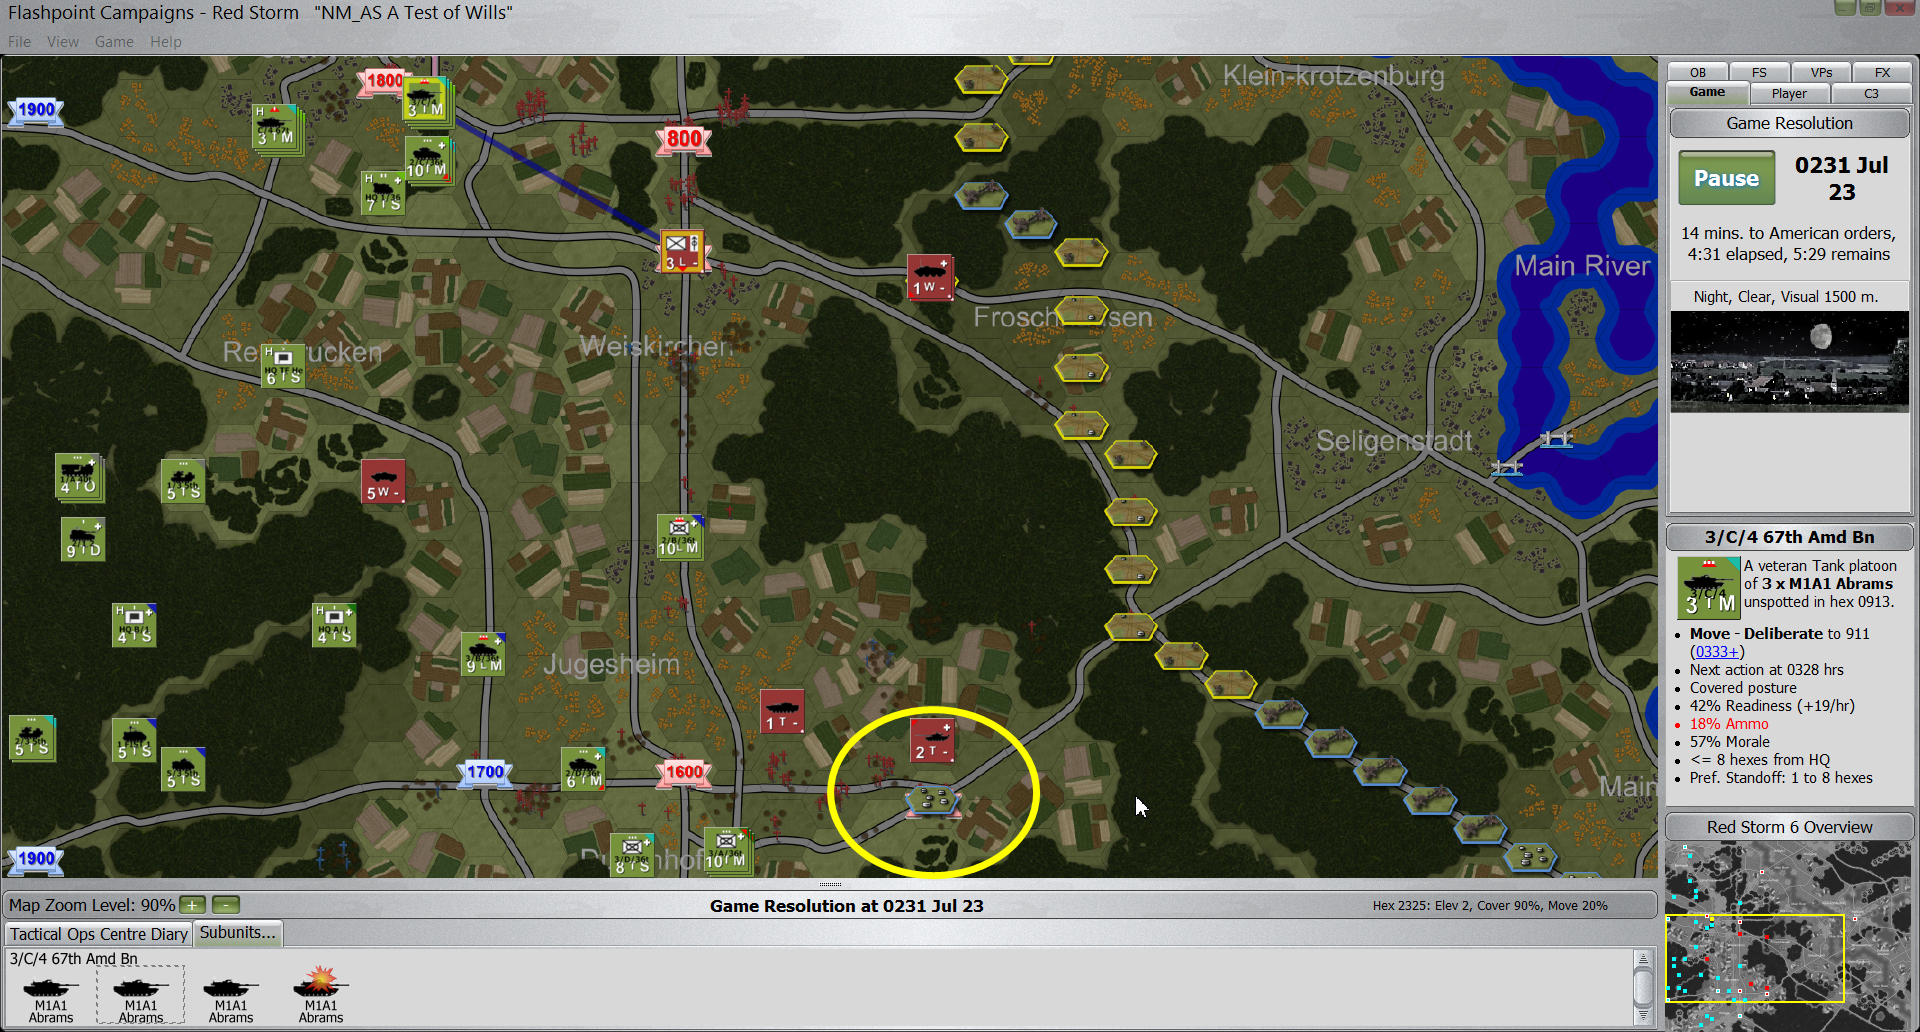
Up north, however, those two tanks appear ready to renew the fight with the engineers. They don’t have much luck but the artillery they call does and I lose yet another platoon of engineers. Worse, The tanks up north I thought had been killed off in the minefield had merely disappeared out of my sight. Nine emerged to threaten my central forces. Fortunately, my Abrams are still in their location and haven’t been ordered to move. This is a welcome match.
The arrival of Soviet armor at Weiskirchen is a welcome sight. My Abrams will make mincemeat of this small force.
To the south my mechanized units begin to move east.
Turn 10 – 25 minutes elapsed
The engineers are in bad shape. There are only two tanks threatening them, but they aren’t equipped to handle them. I call on more artillery to clobber the tanks and hope it’s not too late.
Artillery falls on the suspected HQ units facing my middle position taking out a few units, but even better the artillery supporting the engineers destroys the remaining two tanks facing them. Thankfully that’s over.
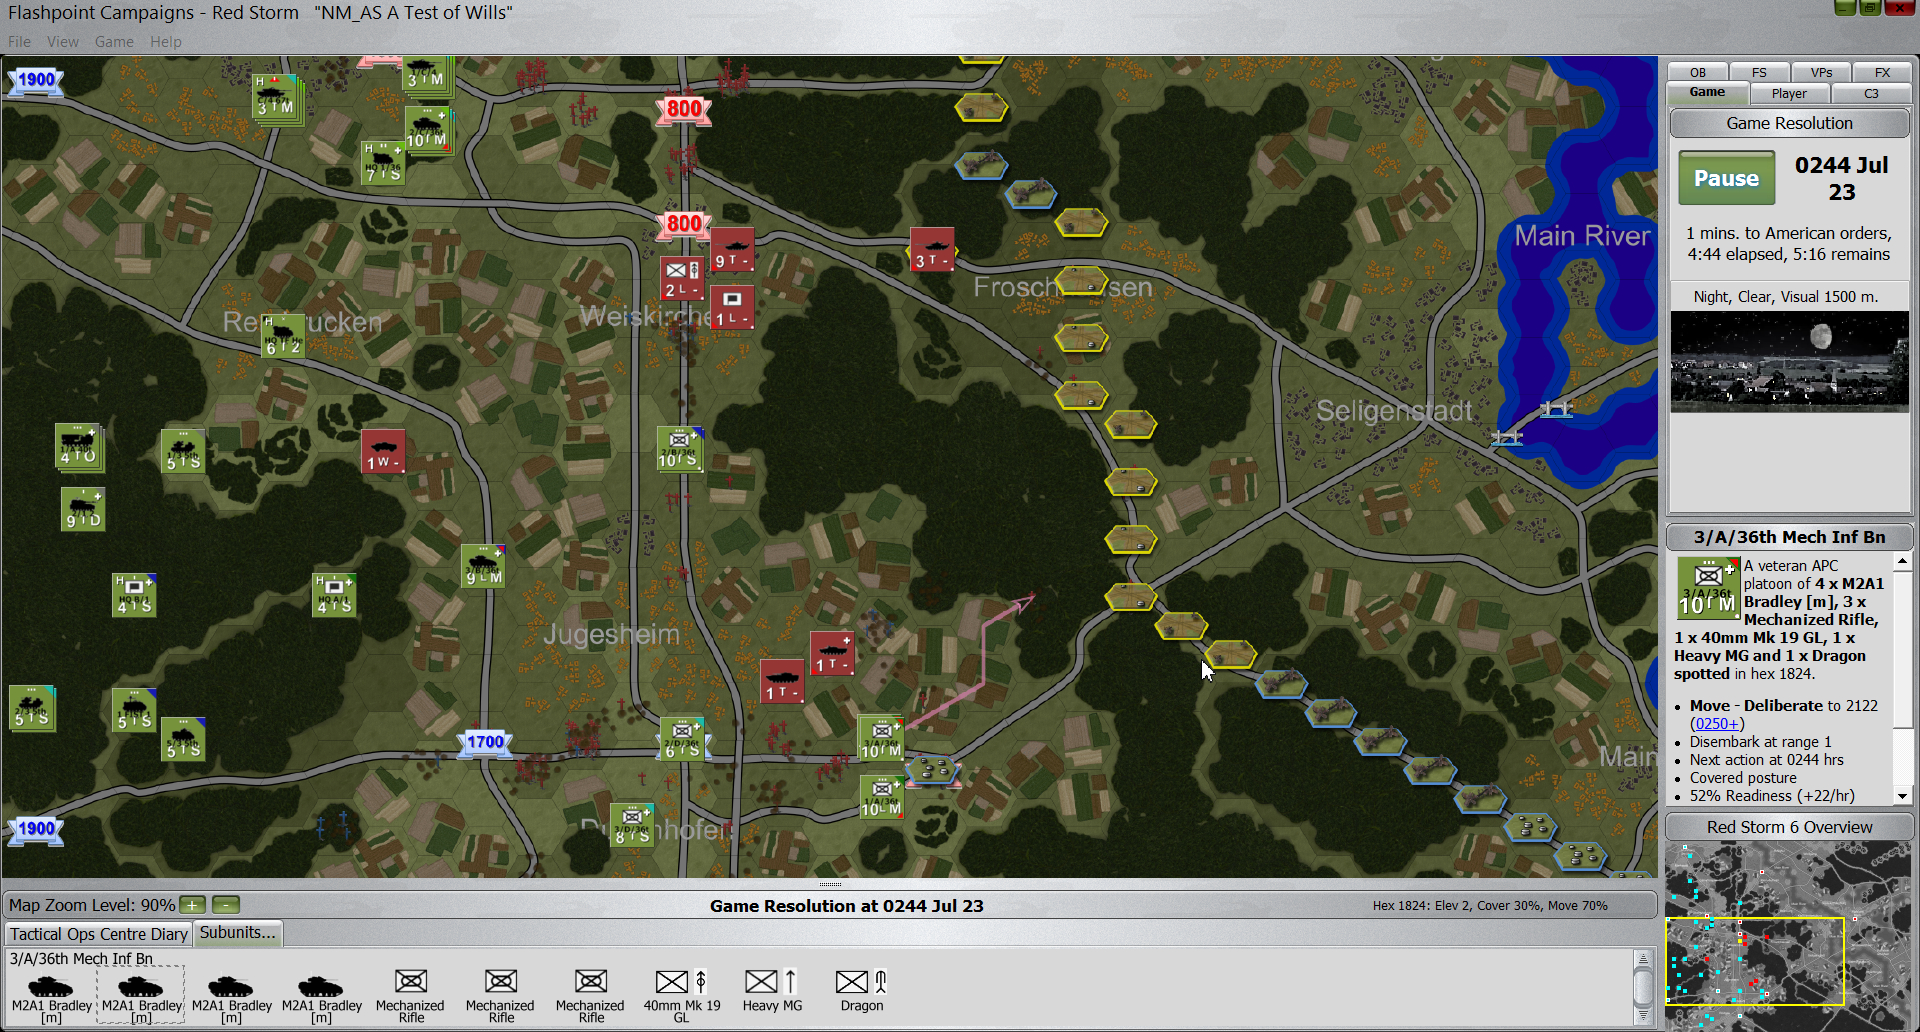
Then the action gets hairy. The Soviet tanks push into my central area to take the VP then they slip away. They inflict a few casualties, but we give as good as we get.
The mechanized units to the south are moving in earnest. They’re moving fast enough that Soviet artillery is falling behind them. They wipe out several units in the south and things are looking good.
Good progress in the south.
With the end of the turn the internal clock in my head goes off. When the Soviet offensive begins to stall the scenario is approaching a close. The game will automatically end if the Soviets drop below 30% effective units. Clearly they aren’t that low yet, but the lack of further offensive maneuver suggests to me that they’re running out of troops to throw at me. That doesn’t mean they don’t have any fight left. The artillery raining down on empty hexes is me getting lucky. All they need to do is connect and I will lose significant amounts of troops. The key for me right now is to keep moving and start to spread units out. The last thing I want is for several platoons to be stacked in one hex when their artillery gets lucky.
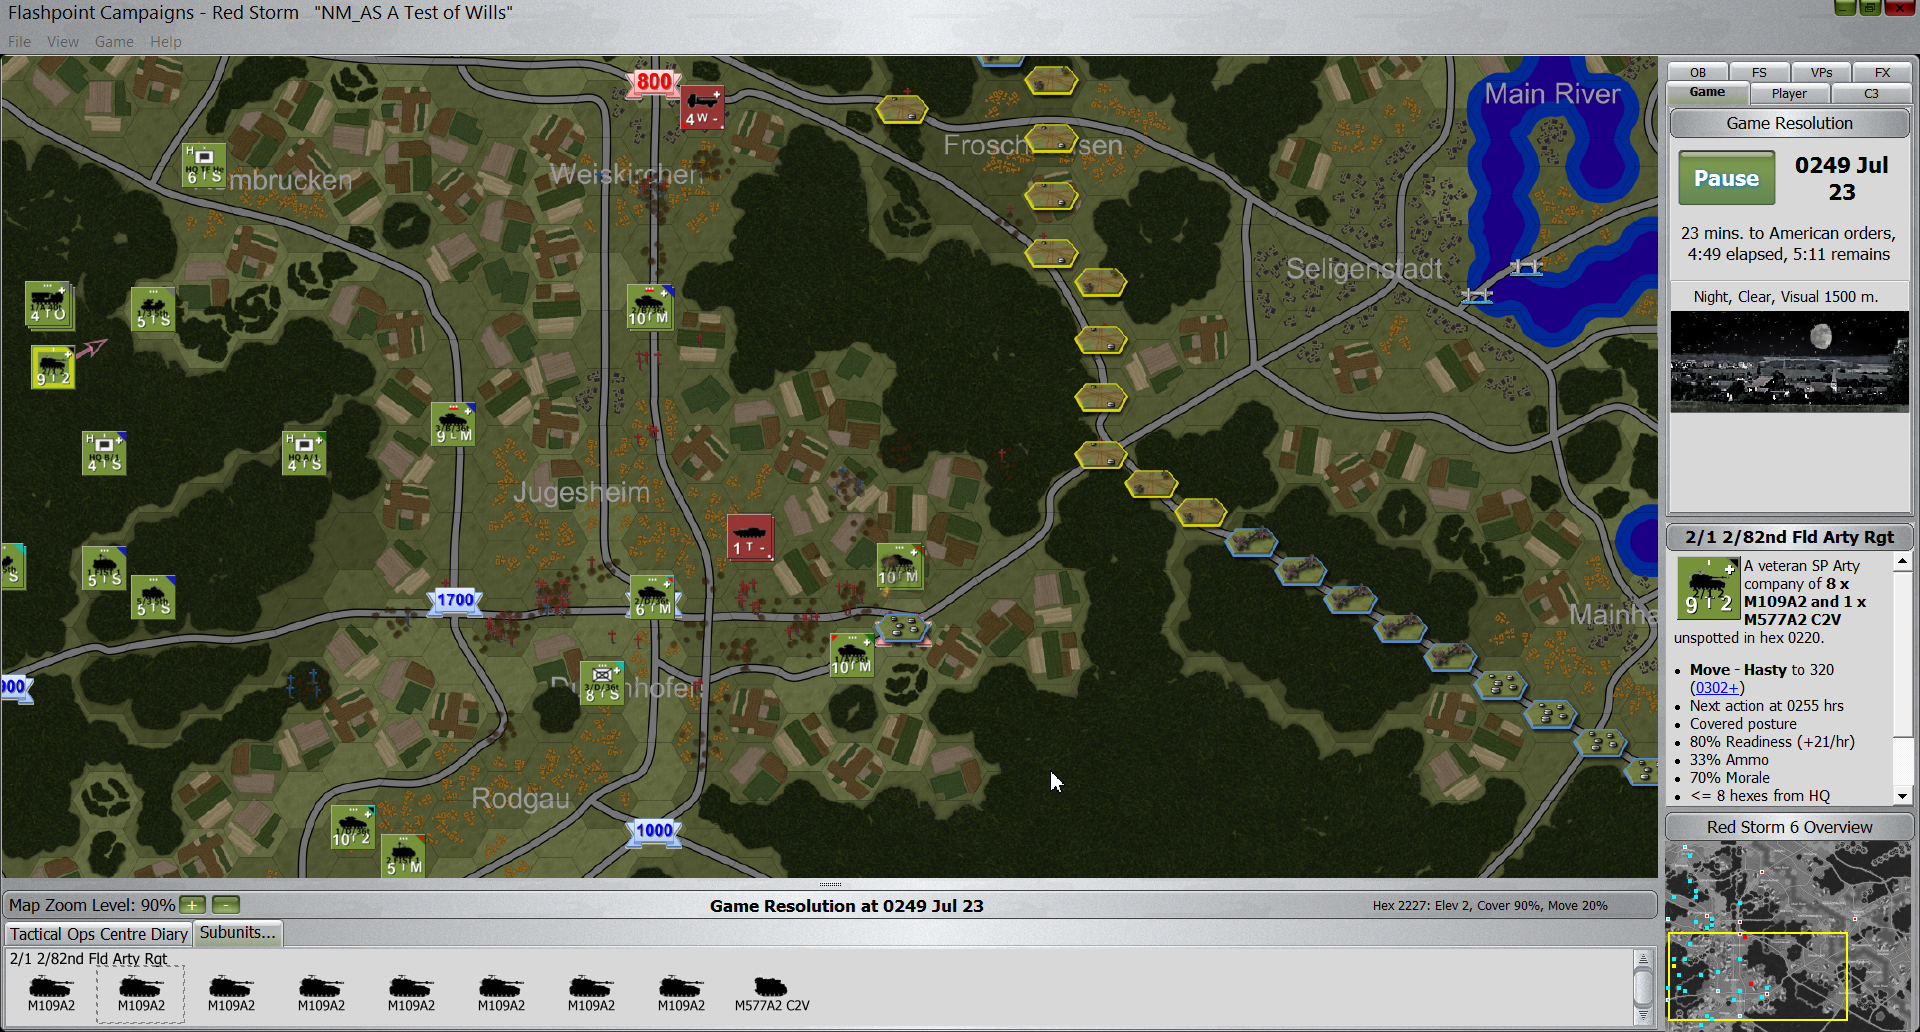
So I order a stack of Abrams and Bradleys to move north out of the central defensive point. I know there are a few Soviet tanks up there and I want to find them and eliminate them. However, mindful of the powerful Soviet artillery, I order each unit to disburse into different hexes to limit the possible damage.
The remaining Abrams I order forward to push back the Soviets hiding in the woods in front of them.
Finally I order some artillery to suppress priority units. My MLRS is back up to 99% ammo, which means I’m ready for another saturation fire. But I want to keep their powder dry a bit longer. I think I’m about to uncover a nest of Soviets somewhere – either HQ or artillery, and I want to be sure to take full use of the saturation when I do.
As my units are moving I’m conscious that we need to retake a number of the VPs. Flashpoint Campaigns: Red Storm doesn’t live or die by VPs – killing units is what really earns points. However, VPs are helpful. When the Soviets are on the ropes, now is the time to jump on those locations and take as many as I can.
With that I hit start and fire up the next turn.
I think I’ve got the Soviets on the ropes, but typically this means a second wave is about to appear. Check in next week to see how things go.

Leave a Reply