Grogheads Takes a Look at Field of Glory 2 DLC – Wolves at the Gate!
One of the things I truly love about Field of Glory 2 is the unit artwork, which I find really attractive, reminding me of the prettier sorts of ancient table top armies that I used to play with back in the day before my computer dominated the gaming scene. So here’s a nostalgic look at a sample selection of armies to showcase what one can expect with this particular DLC. In particular I have chosen some of the more iconic armies of the period, which extends the game timeline from the 7th Century (when the Age of Belisarius DLC starts to peter out) into the early 11th century at around 1040AD.
Boggit,
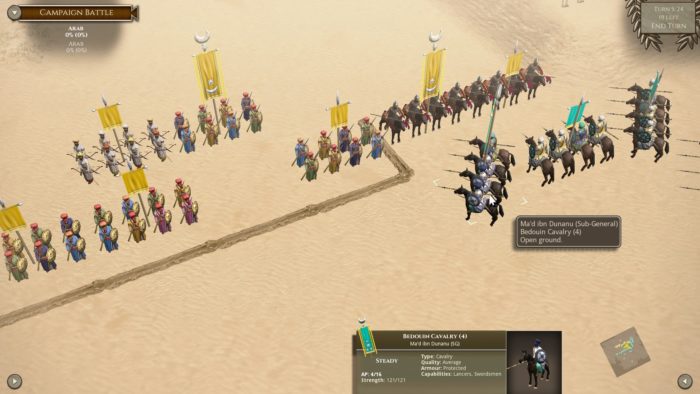
An Arab civil war rages between Pre-Islamic Arabs (Yellow flags) and Arab Conquest cavalry probing their flank. I took this from my first campaign in the Wolves at the Gate DLC – the Arab Conquest.
In terms of content, the DLC ships with 19 new factions and 76 new army lists. This offers great variety, although sometimes this is a variation on a theme. For example, the Arabs have twelve different army lists for the period covered, the Byzantines have six and the Vikings four. Even so, it is nice to see that the developer has researched the factions and that they reflect the factions at different points in history. There are 6 historical campaigns, covering some iconic periods of history like the Arab Conquest, or the rise of Charlemagne. The campaigns are scripted, linear campaigns, so normally a player must take a particular side by default. However, there is an interesting twist with this DLC. Two of the campaigns act as a mirror campaign where a player can choose to play either the Vikings or their enemies.
There are also 74 new quick battles each playable from either side, 6 new epic battles, and a nice feature that allows a player to use allied armies in multiplayer and single player custom battles.
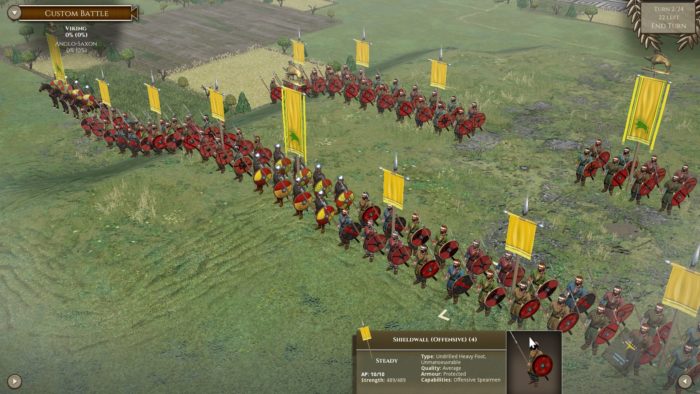
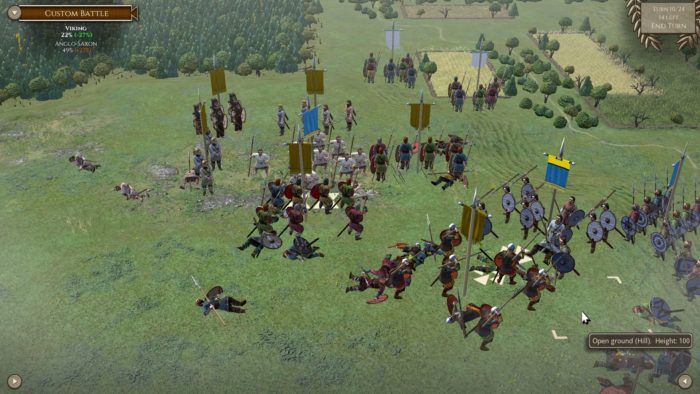
King Guthrum’s Great Heathen Army deploys in a strong position to confront King Alfred the Great’s Saxon Fyrdmen. In many ways they are very similar to their Saxon opponents with a substantial part of the army being offensive spear shield walls, which as a unit tends to be quite resistant. They do have some strong units that are useful to achieve a breakthrough such as the Huscarls. They may also get a unit of Berserkers. The Berserkers are not numerous, so whilst they are very good impact foot soldiers, they won’t have a huge influence on the battle if left in the line to fight a stand up melee against large shield wall units. I found them most effectively used as flanking troops where they can do high damage without being so vulnerable to being ground down.
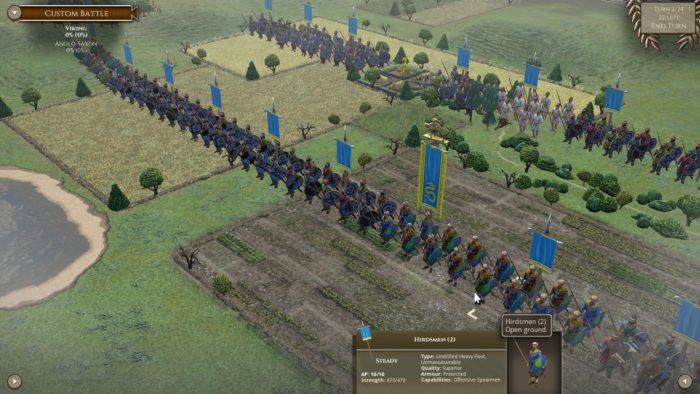
The Saxon host. Broadly similar to the Viking army, although somewhat larger due to having more raw shield walls, which cost fewer points. Even so, they are a real threat to the Vikings if they can exploit their numbers on the flanks.
A scene from my Viking battle, where I narrowly snatched a victory thanks to my Berserkers (see top left unit) flanking the Saxons. It ended up very close, no doubt in part to the fairly similar makeup of both armies. If I have a criticism of the artwork, it is that the dead figures are remarkably unbloodied. Given the nature of ancient warfare I’d expect the dead to be lying in pools of blood at the very least.
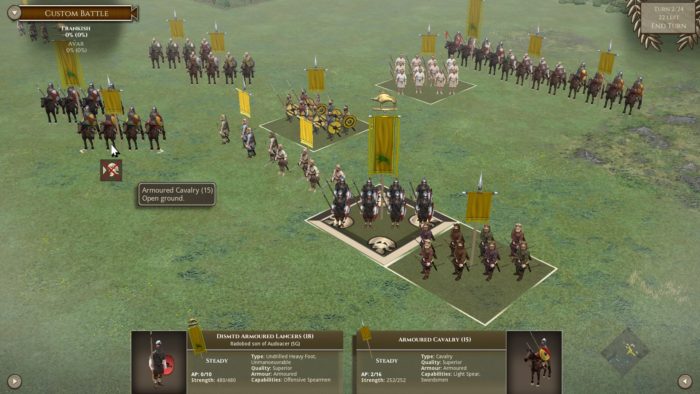
Carolingian Franks facing Avars. A nice cavalry based army, which is quite different to the Saxon/Viking experience. I found the boar standard for the general a little too “Gaulish” though. I’d have preferred something more in keeping with the Carolingians, like a cross, given their propensity for proto-crusading.
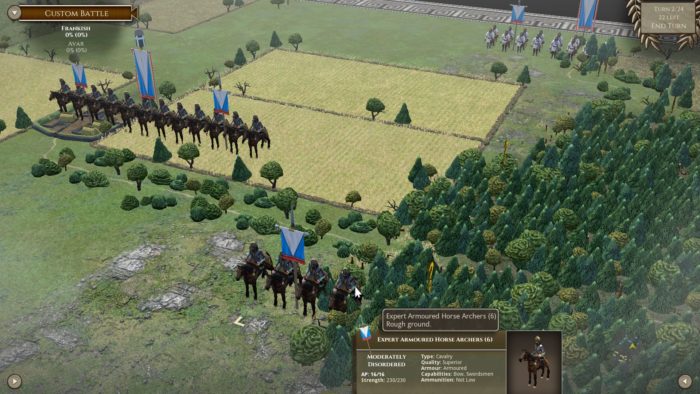
The Avars are basically a horse archer army. Here you can see some quite attractive, superior horse archer units, and to the rear some substandard infantry. Often they field entirely good quality cavalry armies, which are hard to pin down by the Franks unless the Franks maneuver to box them in, at which point they die.
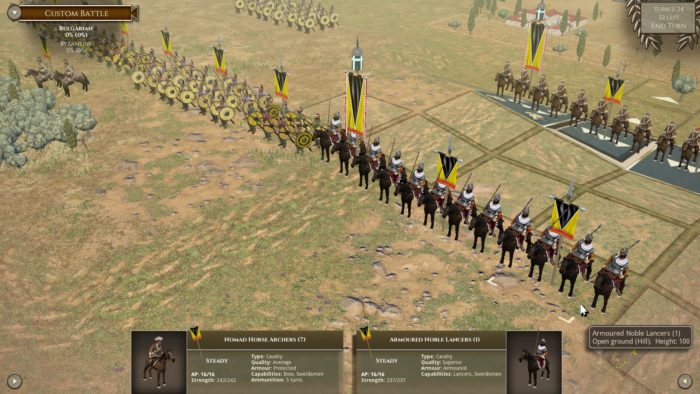
I expected the Bulgars to be a bit like the Avars, but I was wrong and they field a reasonable variety of usually decent troops. A fun army to play with.
Here my Bulgars were facing their sometime nemesis; the Byzantines: A mainly cavalry army supported by defensive spear and light troops. The cataphracts are a solid unit that can really make a difference.
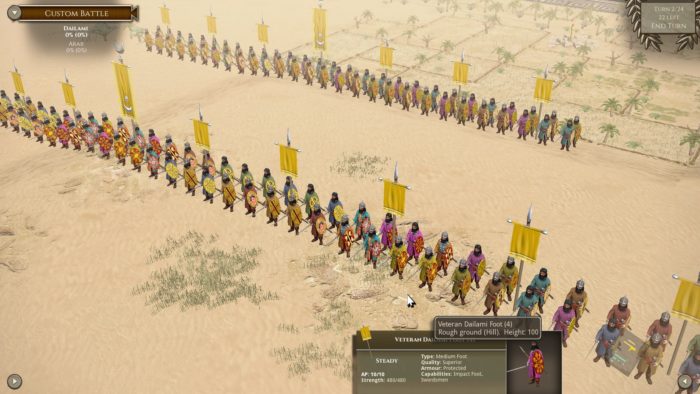
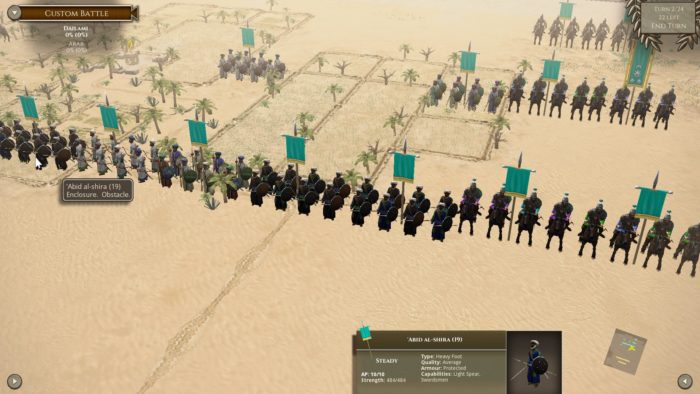
This time around, I was fielding a Dailami army against Abbasid Arabs. I simply love the shield patterns for this colorful, largely impact infantry army. Against infantry they’re great, but vulnerable to lancer cavalry.
The Abbasids have a good selection of troops with resistant infantry and both decent bow and lance cavalry.
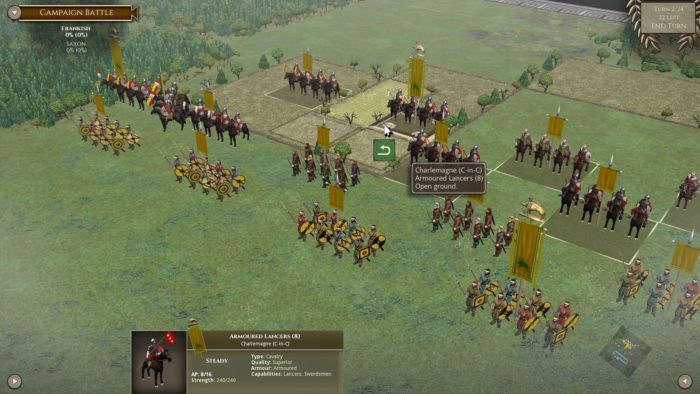
Here is the first battle of the Charlemagne campaign with my forces deployed to attack the Old Saxons. I start off confident in the knowledge that I have very strong lancer cavalry to flank my enemies whilst the defensive spear infantry shield walls can keep their main line occupied whilst I roll them up.
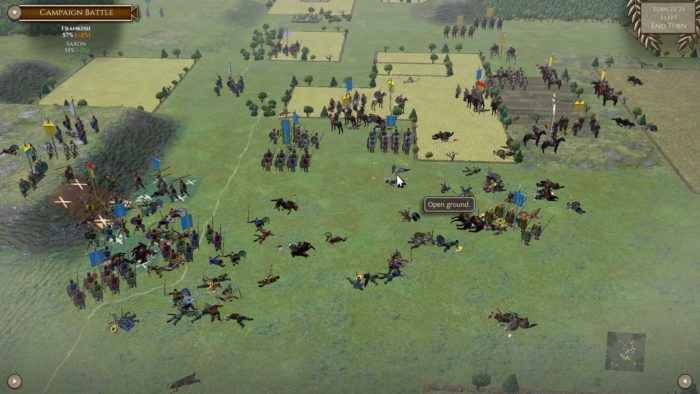
Things start off well as my front line engages. My cavalry hit a unit with a leader in the flank whilst the rest aim to decimate the Saxon horse on my right flank.
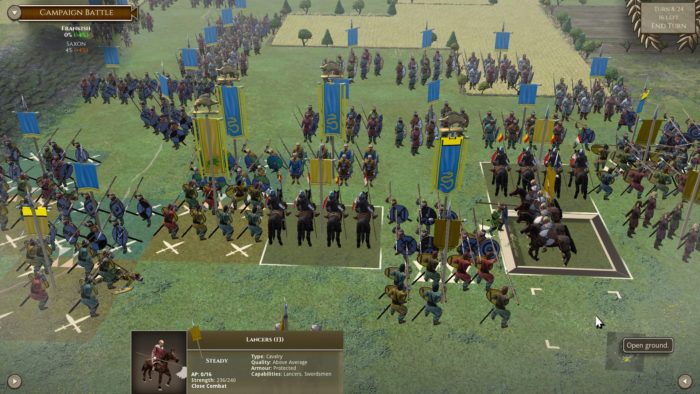
Things are not quite going to plan. My front line is shattered by the Saxon shield walls, and whilst the Saxon cavalry has been mangled, I am struggling to exploit my flanking attack. Charlemagne has fallen and his unit (top far right) has fragmented leaving it combat ineffective in this state.
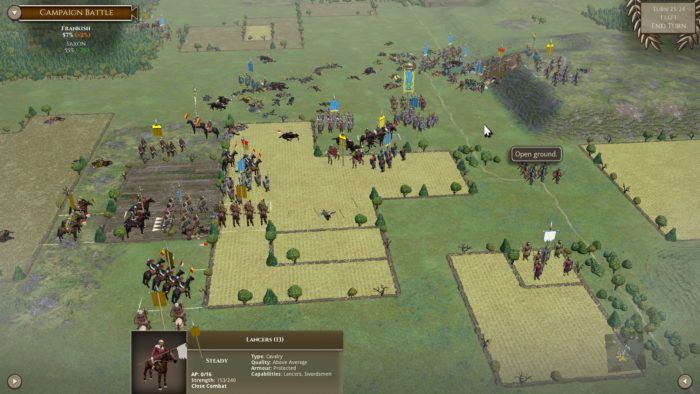
Things are going from bad to worse as almost all my infantry collapse leaving the cavalry to try and rescue things. All my generals have fallen in battle, with Charlemagne being one of the first to go. I hope he isn’t dead, as that would finish the campaign as a disaster.
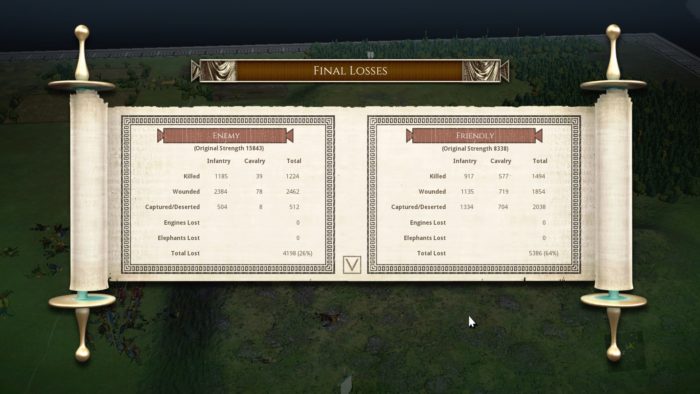
Turning the battlefield to the Saxon sides view, the fight has been extremely bloody on both sides. However, my remnant cavalry are struggling. If I’m lucky I might snatch a win, a Pyrrhic victory, but as it turns out God’s Will is that the Saxons should triumph to punish me for the sin of hubris!
I console myself that I was heavily outnumbered, but a defeat is still a defeat.
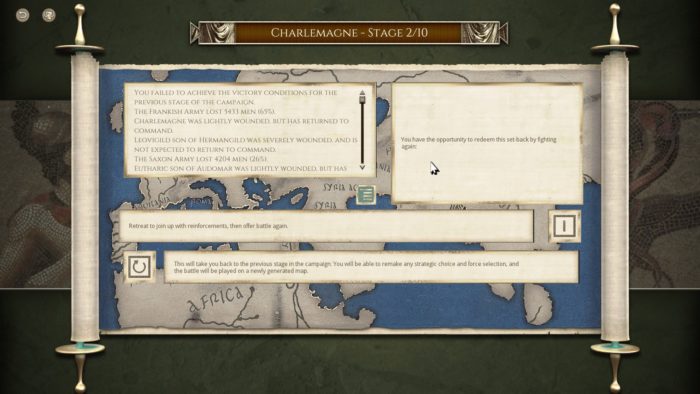
So it looks like Charlemagne got off with a light wound, and I can replay the battle. The scripted, linear campaigns are okay, but I am not a huge fan, preferring dynamic campaigns like the ones seen in Pike and Shot Campaigns, or Sengoku Jidai.
I am really looking forward to the upcoming release of Field of Glory Empires, so that I can play dynamic campaigns!
Field of Glory II: Wolves at the Gates is developed by Byzantine Games and published by Matrix/Slitherine. It is available now!
Chat about it below, or in our forums, or hit our FaceBook page >>


