Grogheads AAR! WDS The Thirty Years War
It was late in the year 1620 when forces belonging to the Imperial Army of Emperor Ferdinand II and those of the Bohemian Revolt clashed near Prague. The fight would be known to posterity as the Battle of the White Mountain and in just a short time, the fate of Czech lands for the next three hundred years was decided. It was also the first clash between Protestant and Catholic armies in the Thirty Years War. March with Grogheads as part of the Bavarian Catholic League for a taste of the latest Musket & Pike title developed by Wargame Design Studios.
By: Boggit
A treatise on the battle by Your obedient servant, the noble lord general, Count “Boggit” Tilly
It is the year of our Lord 8th November 1620, and our army is now approaching Prague. For the last two years we have faced the heretic threat under Count Thurn after their treacherous rebellion against our ally, the Emperor Ferdinand II of Habsburg.
The rebels initially aided by the forces of Darkness achieved success at Pilsen, Lomnice and Wisternitz, but recently, by the grace of God, were beaten back at Sablat. This may have dissuaded more moderate heretics such as Christian IV of Denmark and Johann Georg of Saxony from joining them.
We are now into the third year of the war and have now raised two field armies against the heretics. One is my command, that of the Bavarian Catholic League. The other is an Imperial army under general Bucquoy.
At first the heretics thought we were about to invade Moravia, although our true objective is Prague. If we take it, the revolt will be crushed. In response to our plans the heretics have now force marched to White Mountain (known locally as Bila Hora) to block us. This is the last strong position before Prague and the heretics know it. They have not been there long, so will have had little opportunity to build more defenses before we arrive. We will storm them and then move against Prague and end this damned revolt!
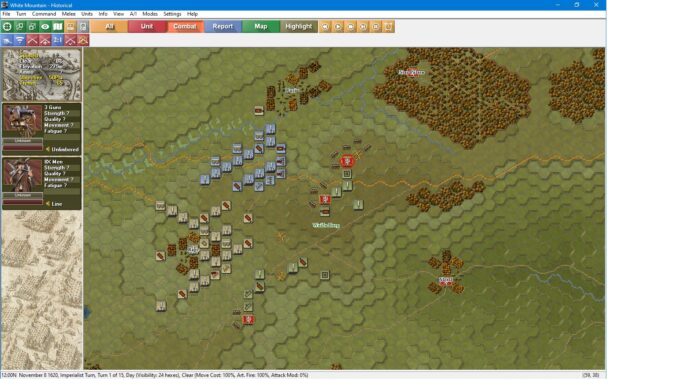
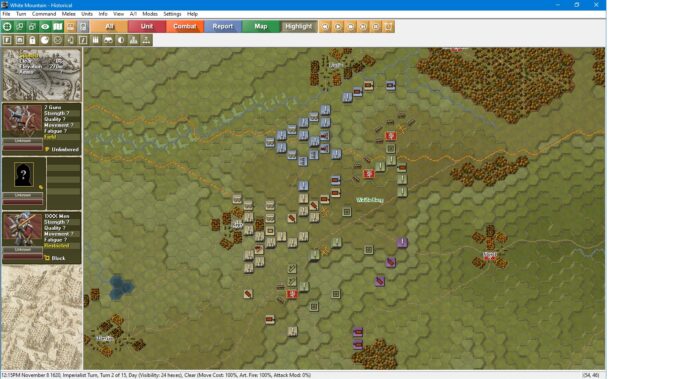
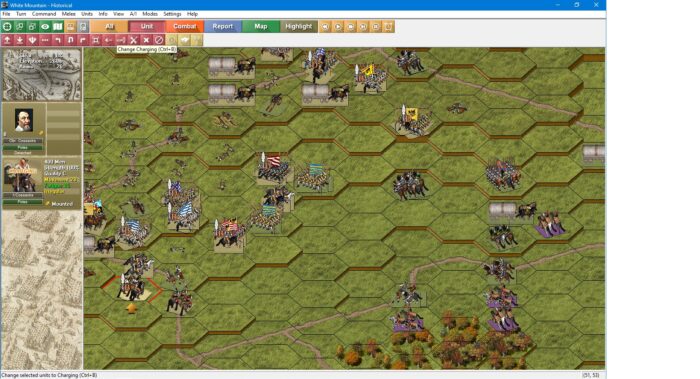
Starting positions: Here we see our armies and those of the enemy. From what we can observe of them, we can break them with a massive assault. We don’t, however, know if this is their entire force. So perhaps we should use cavalry on the flanks to serve as scouts?
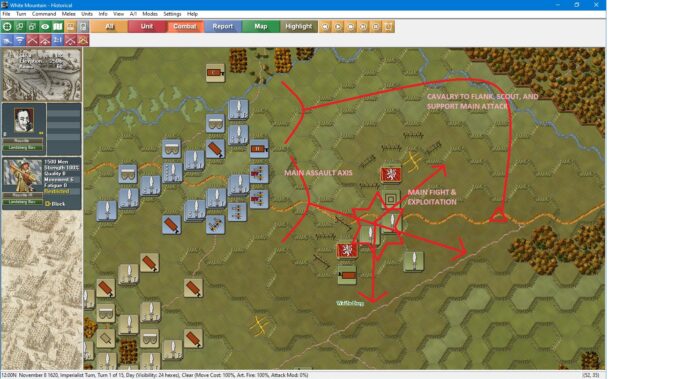
Here is the plan for the Bavarians. We will flank the enemy with our cavalry. We will form up our regiments ready to assault the gap in the defenses once the Imperial Army has turned the flank of the enemy. In the meantime, our artillery will soften up the heretics in preparation for the attack.
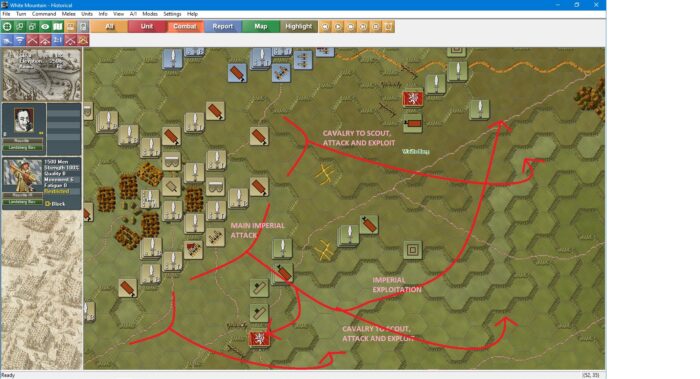
Here is Lord Bucqouy’s plan for the Imperial Army. They will lead with an infantry attack on the herectic center. At the same time, their cavalry will break through on both flanks and scout or attack as necessary. Artillery will support the initial assault.
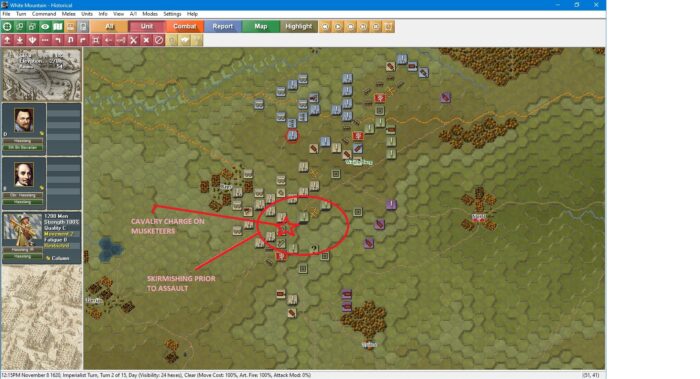
Caution has been rewarded as our cavalry reveals infantry and cavalry regiments behind the crest lines. The Bavarian army infantry, for the most part, have gone into column formation as they move into position for the attack. In the South, the Imperial Army engages cavalry picquets as they begin to push their attack. The gap in the center that we thought existed, does not. Instead, there is an infantry regiment in block formation, which will frustrate the cavalry.
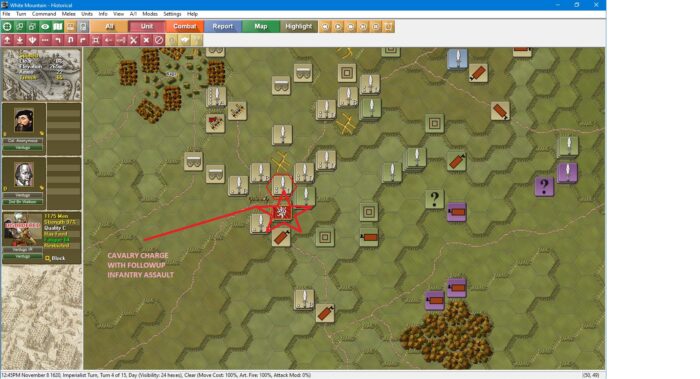
As we advance, more enemy regiments are discovered, so we try to drive into their front line in order to maintain momentum and the initiative. in the South. A cavalry charge and infantry attack rout he heretics, but our cavalry advance too far and take effective fire from a supporting infantry square. It could have been worse, but clearly it is time to extricate the impetuous cavalry as the infantry now follow up.
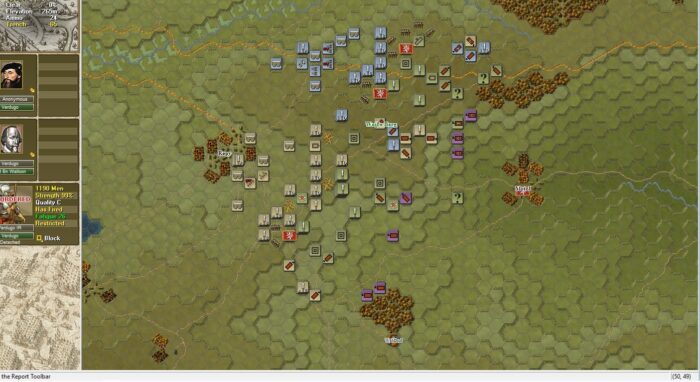
This turn yields more surprises! With confidence, we now know the full disposition of the enemy. We will try to drive off their cavalry with our own, while the infantry storm the heights. It will be bloody, but if we can push them off the heights, the terrain advantage will be ours.
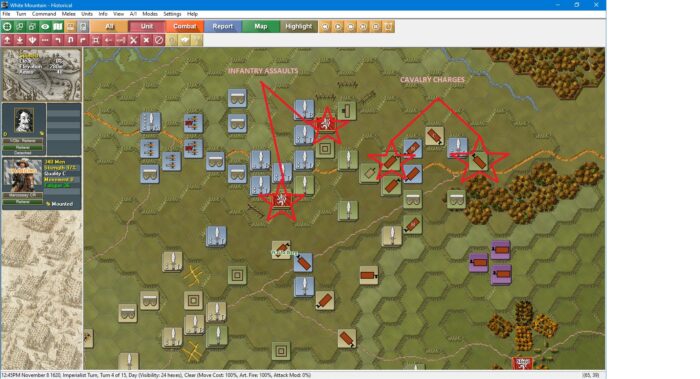
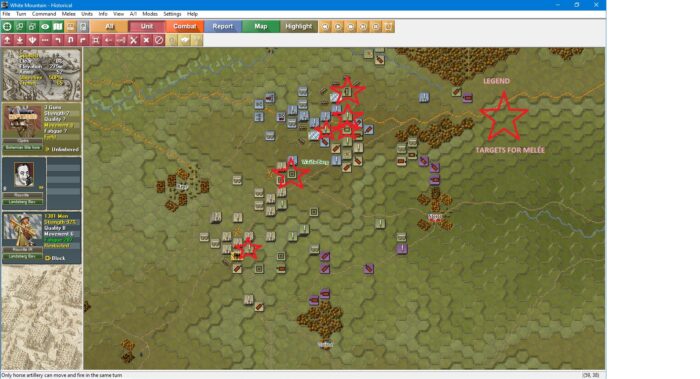
Both the Bavarian and Imperial armies are at a critical point in their attacks. This is the high water mark of the battle as in the Bavarian sector, two infantry and two cavalry charges are about to commence. Will they succeed in breaking the enemy?
In the Southern Imperial sector, an objective point is to be assaulted by a cavalry charge followed by infantry on the march. The imperial infantry are disrupted by the abatis, but with luck, the cavalry charge will have a favorable effect, and then raw numbers alone can exploit the charge. If the enemy can be broken here and now, we can concentrate on the infantry blocks remaining downslope.
Now is the time to exploit our gains. Of the regiments targeted by our attacks, all but one go our way. In the very center, the Imperial Hohenloe Regiment gives Fugger’s Walloons a bloody repulse. It seems that the tide of battle is slowly turning our way. Vorwaerts!
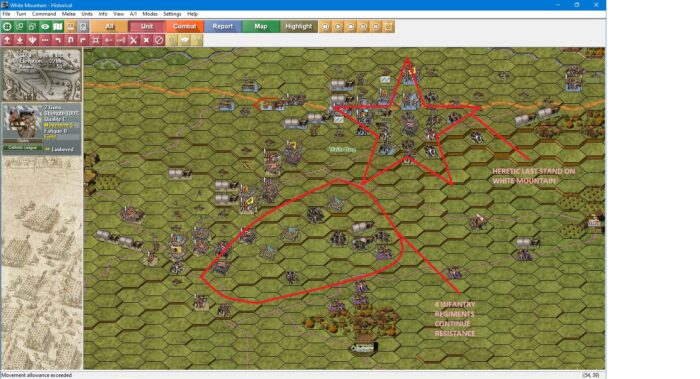
Our Bavarian army is winning on the mountain. Many heretics are now surrounded with many units having either routed or been disrupted from our assault. The infantry have the upper ground and have turned captured batteries on the enemy. Cavalry are either charging or are shooting at the collapsing infantry regiments. To the south the Imperials under Bucquoy are bravely battling four heretic infantry regiments. That they resist so fanatically is testament to their courage, but we of the True faith will prevail!
We have won a major victory, but our foolish enemies have not yet fled the field. We must crush them and put this rebellion down once and for all. The matter has been decided in the Bavarian sector on the mountain, but the Imperials still face fierce resistance.
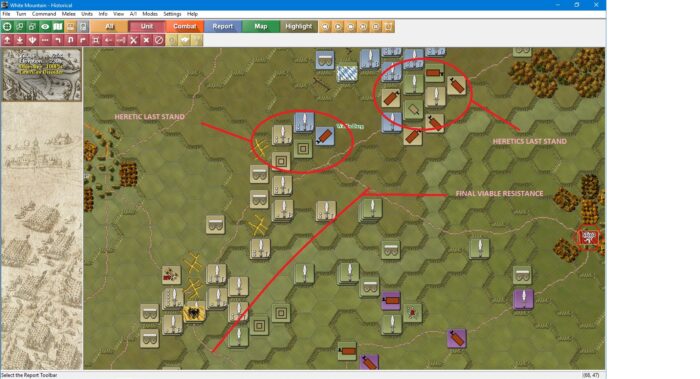
Nothing really changes during these final turns, other than the slow grind continued by the Imperials. In the heretic turns, they start to withdraw. In the Imperial sector the defense is down to a few depleted and disrupted infantry regiments, supported by cavalry. In the Bavarian sector the surrounded infantry and cavalry on the mountain are slowly wiped out. The only heretic success is a cavalry charge in support of the surrounded troops, but they are then surrounded themselves and wiped out in their turn.
Whether to pursue is questionable. Whilst so far victorious, our men are very tired from their valiant efforts.
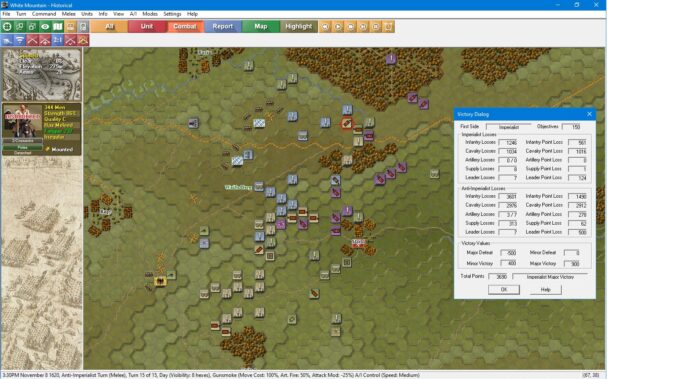
My concern over pursuit turns out to be prophetic. I order a small advance, but this is mainly against light Cossack cavalry who aggressively cover their army’s retreat with last ditch attacks. The battle ends with a major victory with more than three times the victory points required to achieve this outcome. The rebellion has indeed been crushed!
Musket & Pike: The Thirty Years War is available now from Wargame Design Studio at https://wargameds.com/products/thirty-years-war
Chat about it below, or in our forums, or hit our FaceBook page >>


