
Flashpoint Campaigns: Red Storm AAR Part 3

Author: Jim Zabek
When we left off at the end of Turn 4 (and Part 2 for those of you keeping track) the Soviets were just beginning to show up in force. I decided to take a chance and drop some saturation fire on a suspected stack of Soviet units and the results were satisfying, if not spectacular. There were some sharp exchanges between my units and the lead Soviet units but I know that in this scenario we’re only seeing the tip of the iceberg. As Turn 5 unfolds the action is about to get even hotter…
Turn 5 – 25 minutes elapsed
Once again the action gets crazy. All kinds of shooting opens up around the center and the south. My feisty recce team spots some mechanized units moving north and takes them under fire, then scoots away.
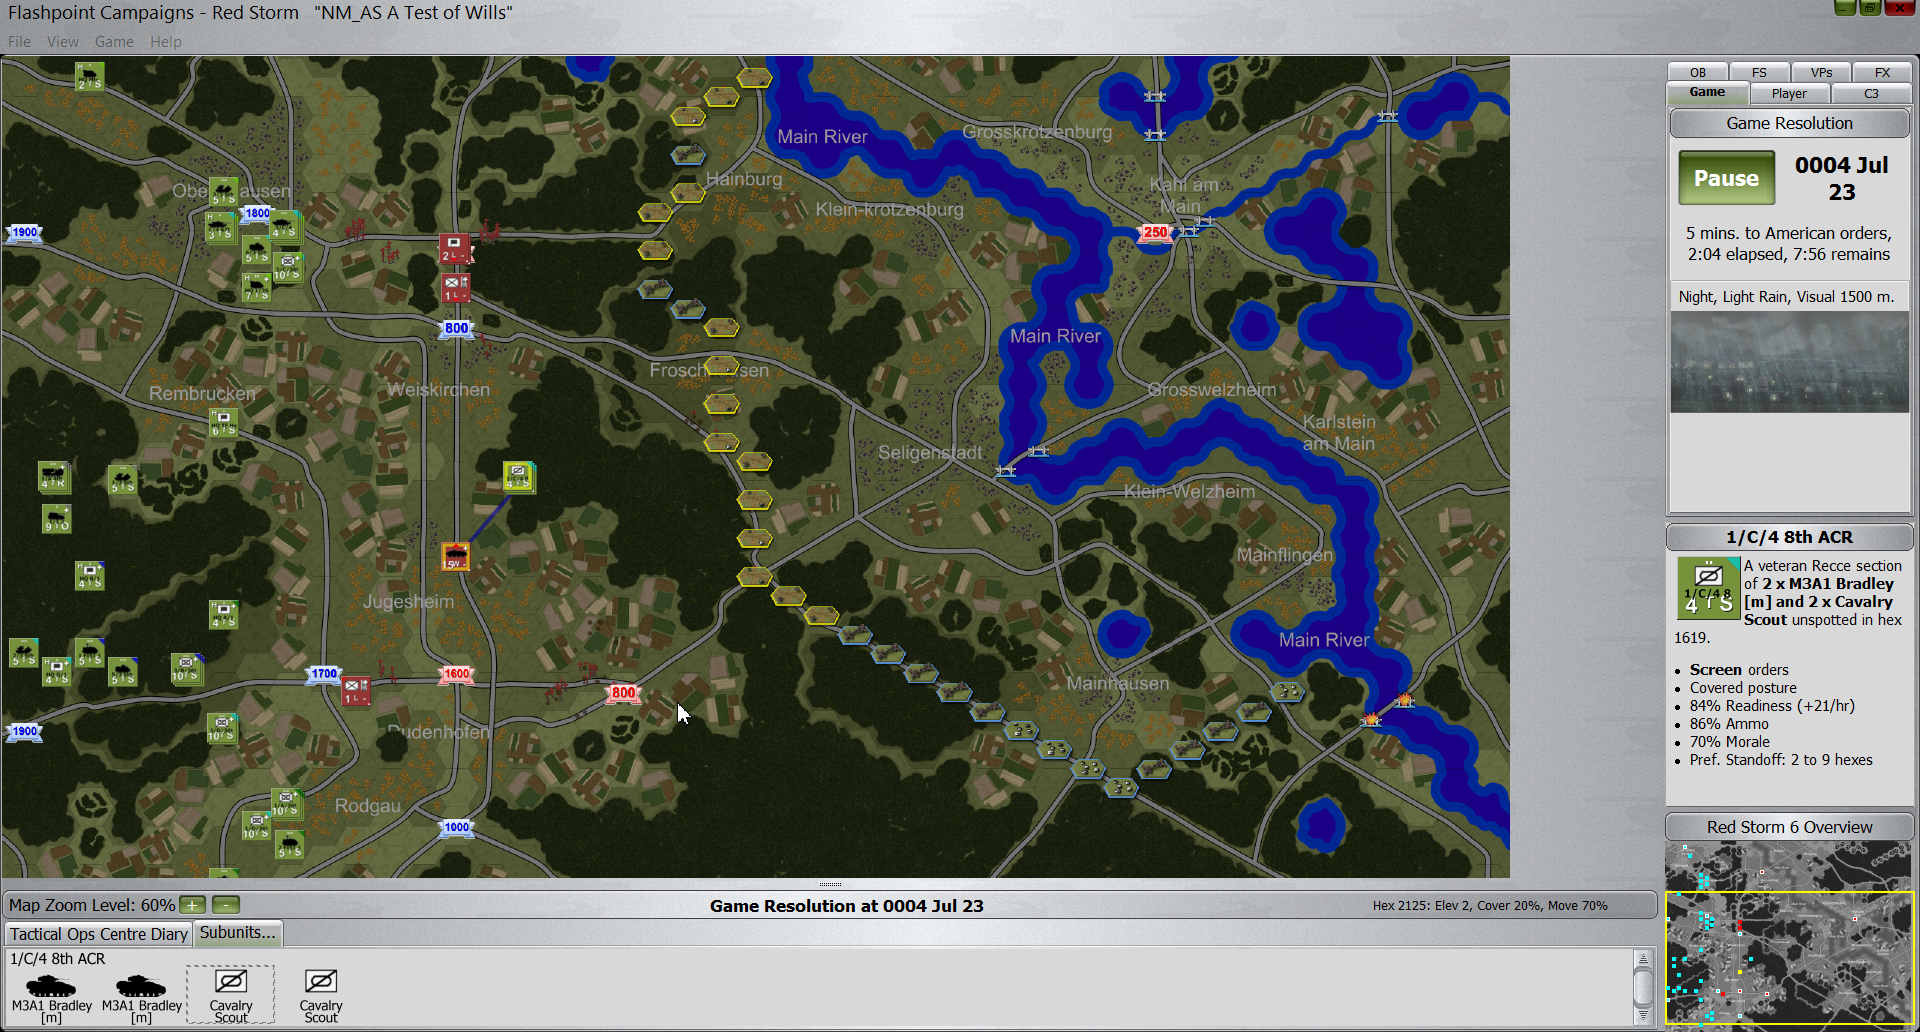
My recce units fire on some Soviets advancing to the north.
What’s important to note now is that so far the Soviets have barely fired back. They’ve done zero damage to me so far. But that’s about to change. Their artillery will be arriving soon and we’re going to see things get messy.
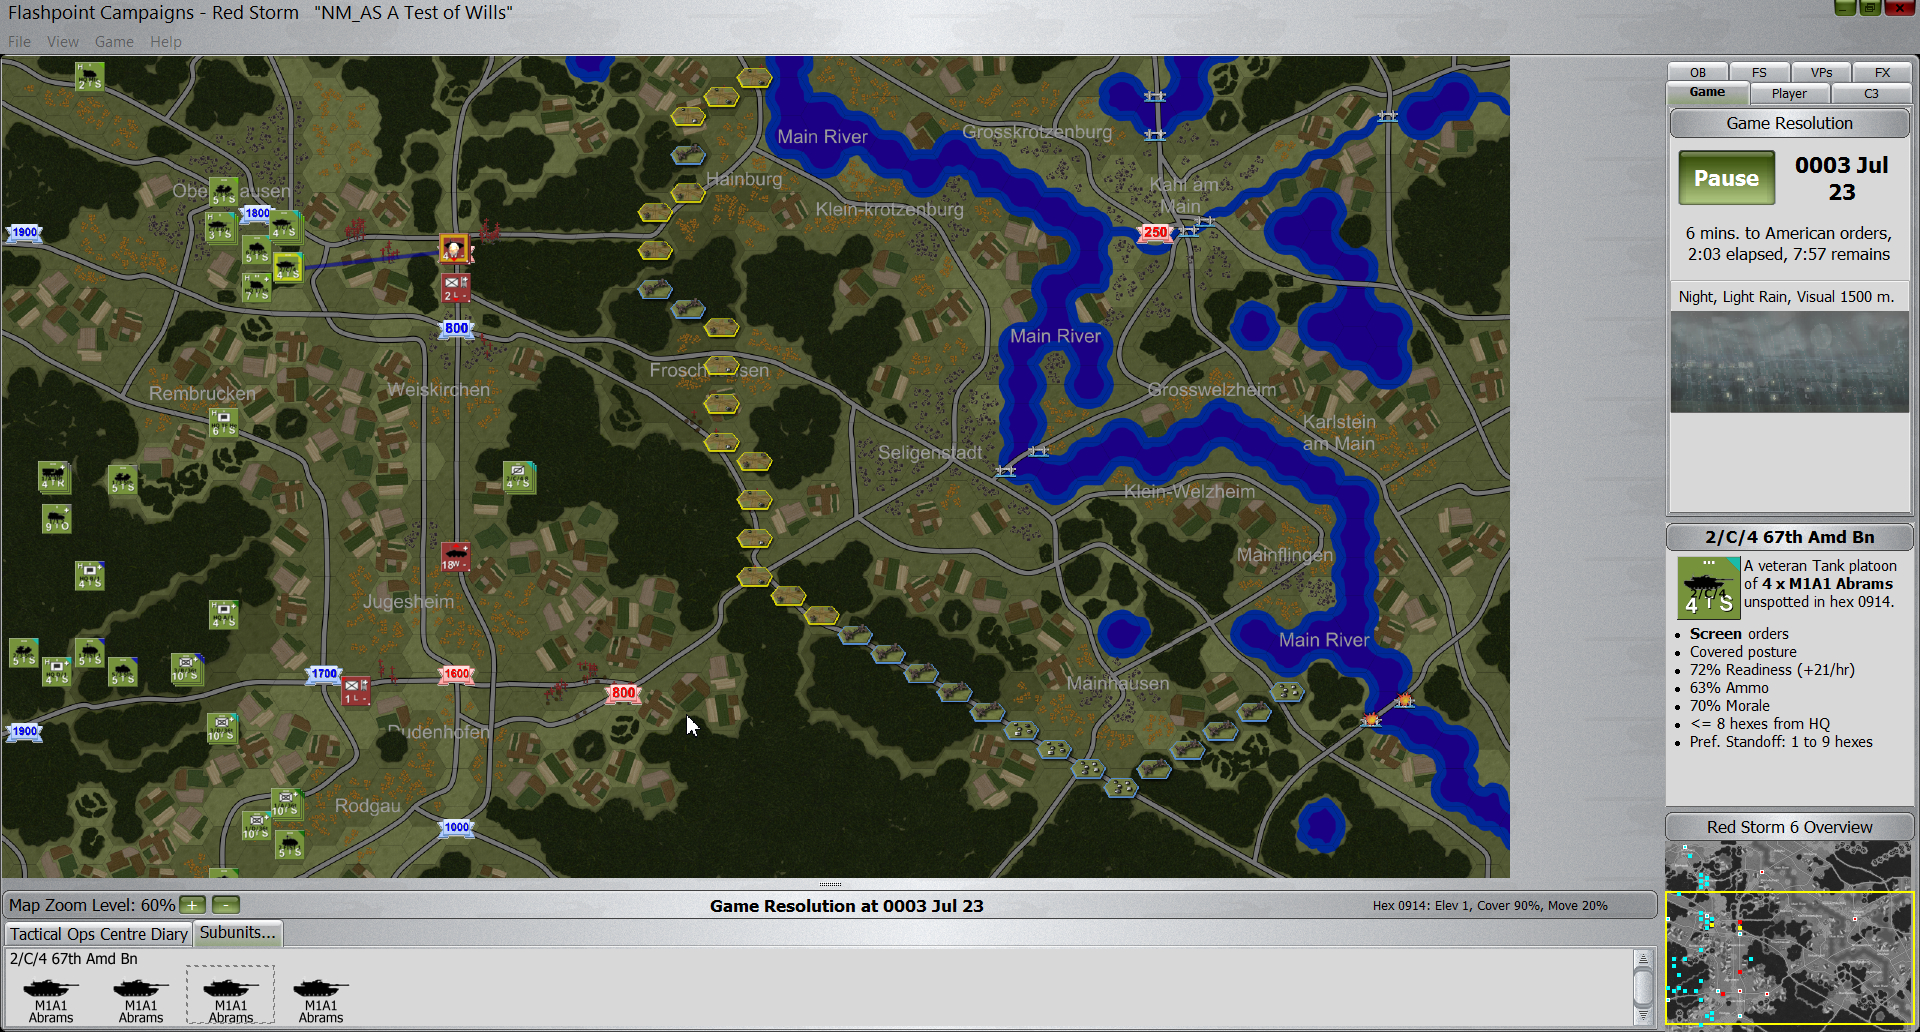
My M1s light up advancing Soviets.
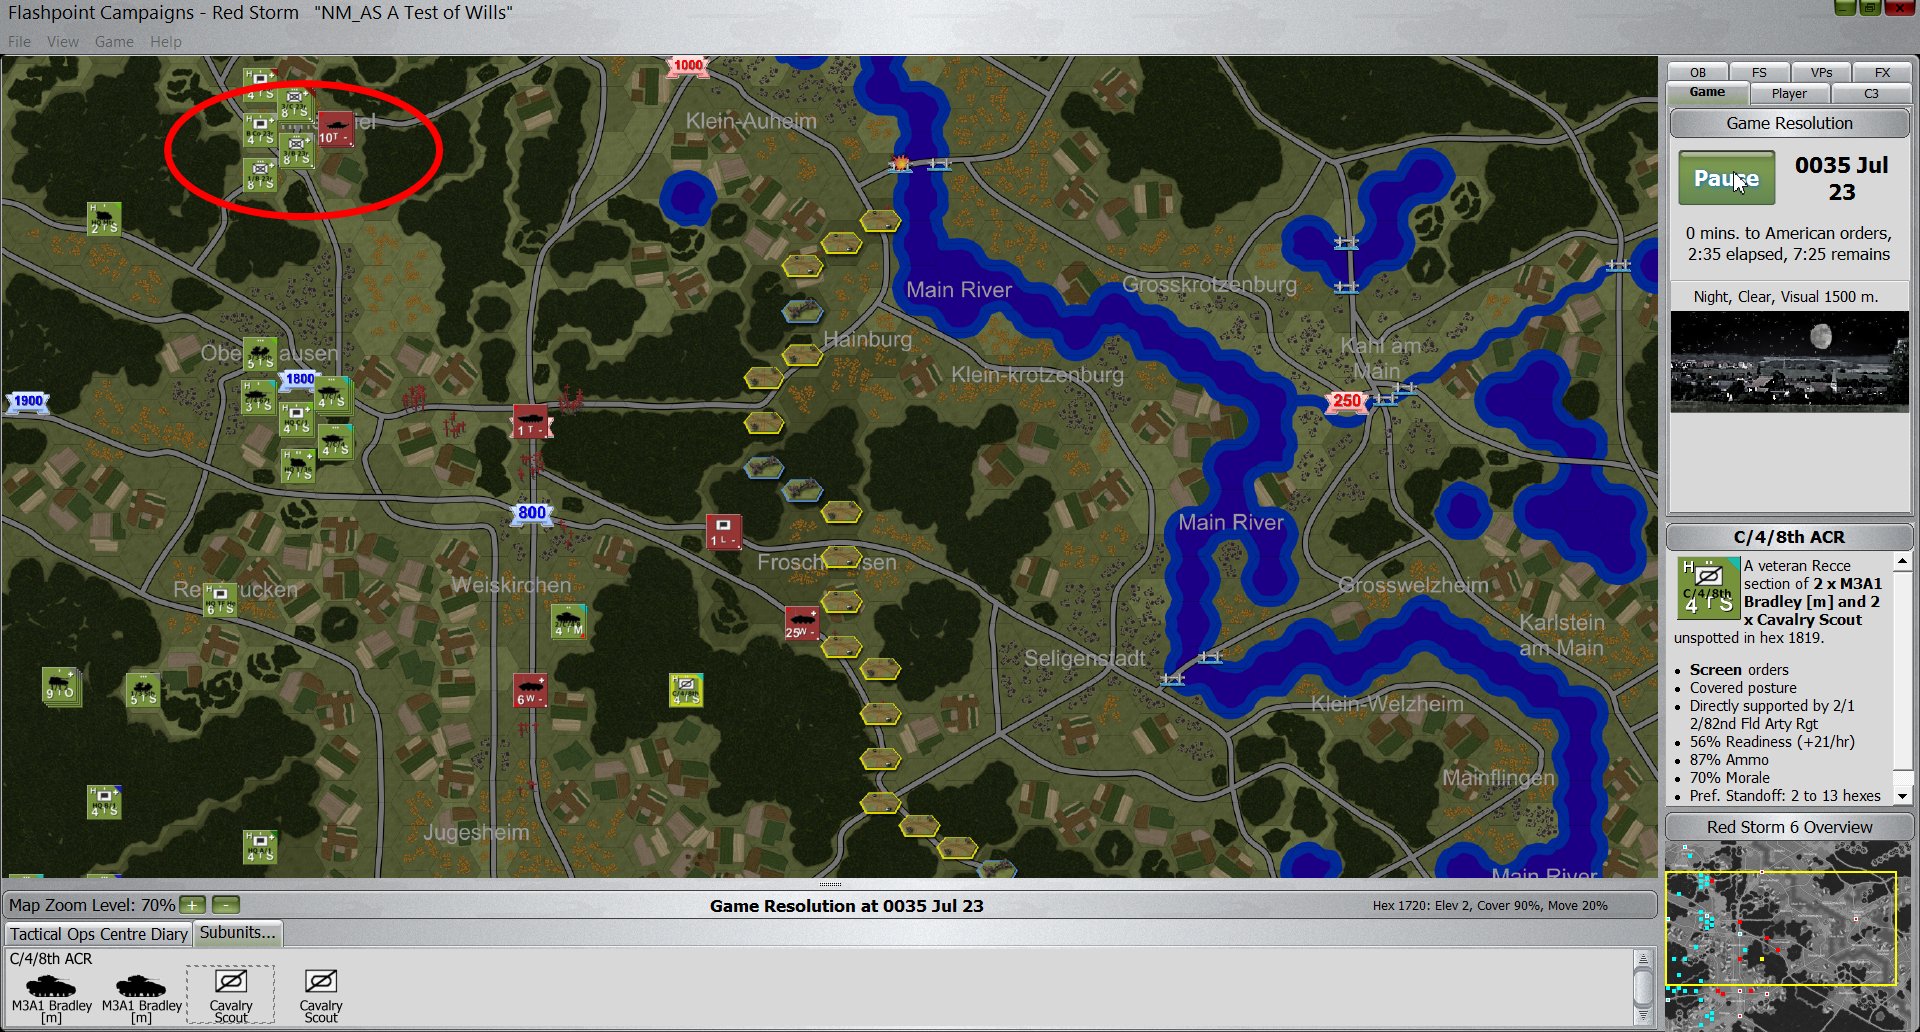
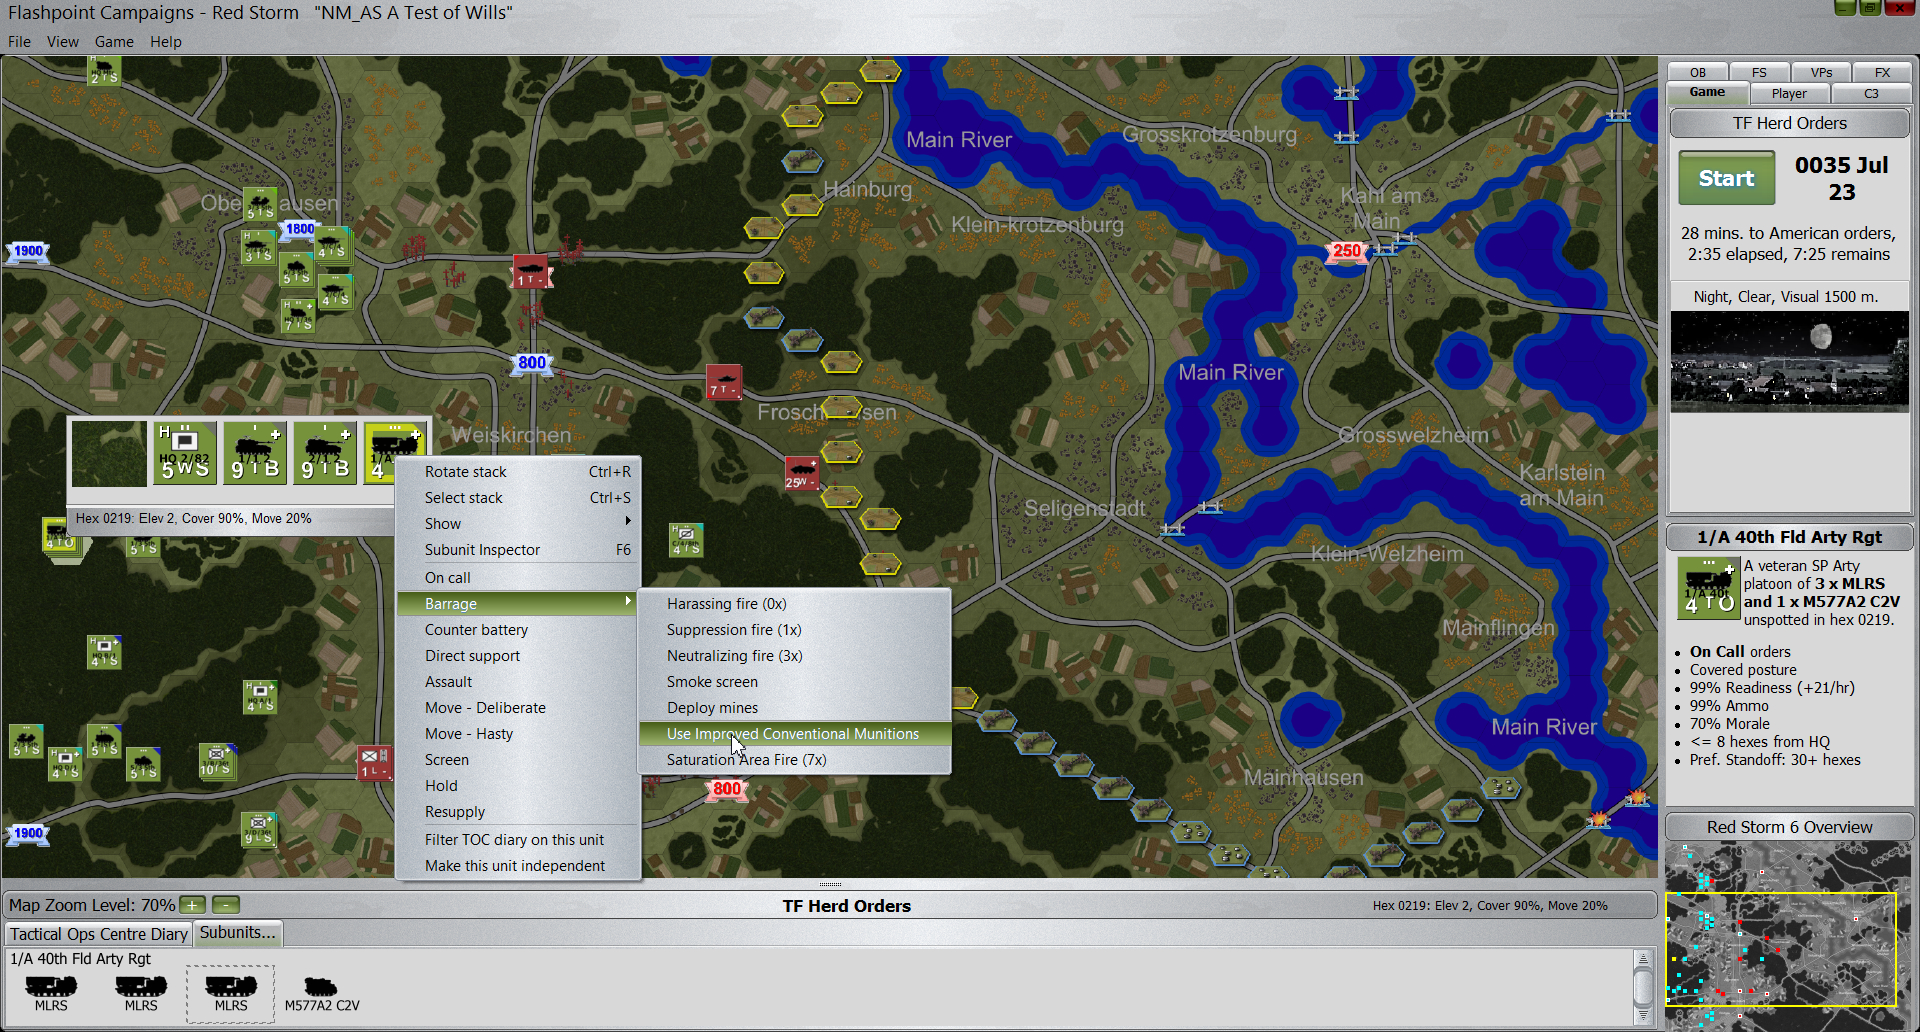
The question is whether I should hold the ground I have, or get out there and move. Usually I have good luck weathering the storm. But I really dislike getting pounded by Soviet artillery. Speaking of artillery, I check on my MLRS. It’s not restocked yet so I can’t use them. However, I do notice that there are four HQ units in the south. That isn’t a lot of units, but you know me – I’d rather degrade their command cycles and cut down the rest of them. So I order an artillery barrage on them.

Calling in artillery on some suspected Soviet command elements.
I’ll risk another turn not moving. Maybe I can bait some arty into showing up and I can catch them with my recce. I order the recce to move east and south. Maybe I’ll get lucky.
Turn 6 – 26 minutes elapsed
It looks like I’m still winning the decision cycles. I’m at 26 minutes, the Soviets are an estimated 35.
The mechanized troops to the west of Rodgau end up taking out the HQ units I had targeted with my artillery. Unless a Soviet unit makes the unlucky decision to enter that hex soon, the artillery will fall on an empty hex.

Boom, boom, boom, boom!
In the center my recce sights 23 units of mechanized Soviets while in the center we pound the Soviets. My luck won’t hold much longer. The Soviets learned to bring lots of artillery during the Second World War and they have never forgotten that lesson. Pain will come soon.
Sure enough, my artillery strike falls on an empty hex. But good news arrives. I get notification the MRLS is fully resupplied! The fun, it seems, won’t stop.
Meanwhile in the south the Soviets make a push west. Multiple stacks of units with about 20 units each push into my mechanized infantry and their fire eats the Soviets alive. They are dropping like flies and I’m loving it.
Finally the Soviets draw blood. I lose two Bradleys in the south.

The Soviets finally manage to draw blood.
More troubling is in the north. It appears as though two units of 18 tanks have arrived to take on my engineers. This is bad. I will need to bring some serious artillery to bear on them. I instruct both M109 batteries to pound the tanks up north with neutralizing fire. I then order my MLRS to fire improved conventional munitions at the tanks hiding in the woods in the middle of the map.
Despite my superior numbers this is a bad matchup for me.
The MLRS again to the rescue.
Two and a half hours have passed and so far it’s gone badly for the Soviets. My luck may be about to change. They have a lot more troops coming.
Turn 7 – 28 minutes elapsed
As I feared the tanks taking on my engineers wreaked havoc. They wiped out the M113 right off the bat. However, my double strike of artillery on those tanks took them by surprise. One strike took out eight vehicles. The other took out ten! The improved munitions strike on the suspected HQ only inflicted one casualty. Not what I wanted but better than nothing.

The crosses to the east of my engineers is a testament to the power of the MLRS. Unfortunately the Soviet armor has now closed with some of my units…
Then things get bad up north again. The remaining tanks close to within the same hex as some of my engineers. That’s a fight they’ll win. Worse is the fact that more tanks are on the way. Next turn I’m going to have to move out of my central location and send my Abrams north to teach them a lesson. A liberal dose of artillery won’t hurt either.
The engineers to the north flee one hex only to be pursued by the tanks. They take more casualties. They exit that hex for another. Then the long expected Soviet artillery arrives and starts killing more engies. Those guys are in serious trouble. Meanwhile my recce team starts moving, first north then south as it finds itself boxed in. I had hoped they’d make their way through the woods and gave them waypoints to stay in the woods. However, they’ve started shooting again at both HQ units in the north and a mystery unit in the center.
…and the results are not good.
In the south there is a lot of shooting but only a few Soviet units get taken out.
Then more Soviet artillery starts to fall. First on an empty hex where my recce units used to be, then in the south on real mechanized units. In fact several rounds of artillery fall in the south and I lose a Bradley, a Mk 19 unit and a Dragon anti-tank unit. Things just got real.
Then out of nowhere the engineers manage to kill off the last of the Soviet tanks that were on top of them. It seems like a miracle. But I still am facing more Soviets interested in them and this could get worse.
More Soviet artillery falls on the engineers and more units fade away. Then some good news. A recce platoon moves out of a hex just moments before three Soviet artillery barrages hit it. Then, plucky as always, they move right back into that hex to keep eyes on a Soviet unit near them – that they have shot at. It’s probably a Soviet recce unit, but we’ll have to see.
Up north it looks like the tanks have decided to move south to try and dig out my Abrams. I’m confident that the mechanized units can handle them with some supporting artillery.

Some Soviet tanks disengage from my engineers and probe south.
So now, should I push to move the Abrams to the south? Or should I push them east in the hopes of catching some Soviet command units unaware? I know there are some lurking just east of the middle objective, and I’d love to catch them flat footed.
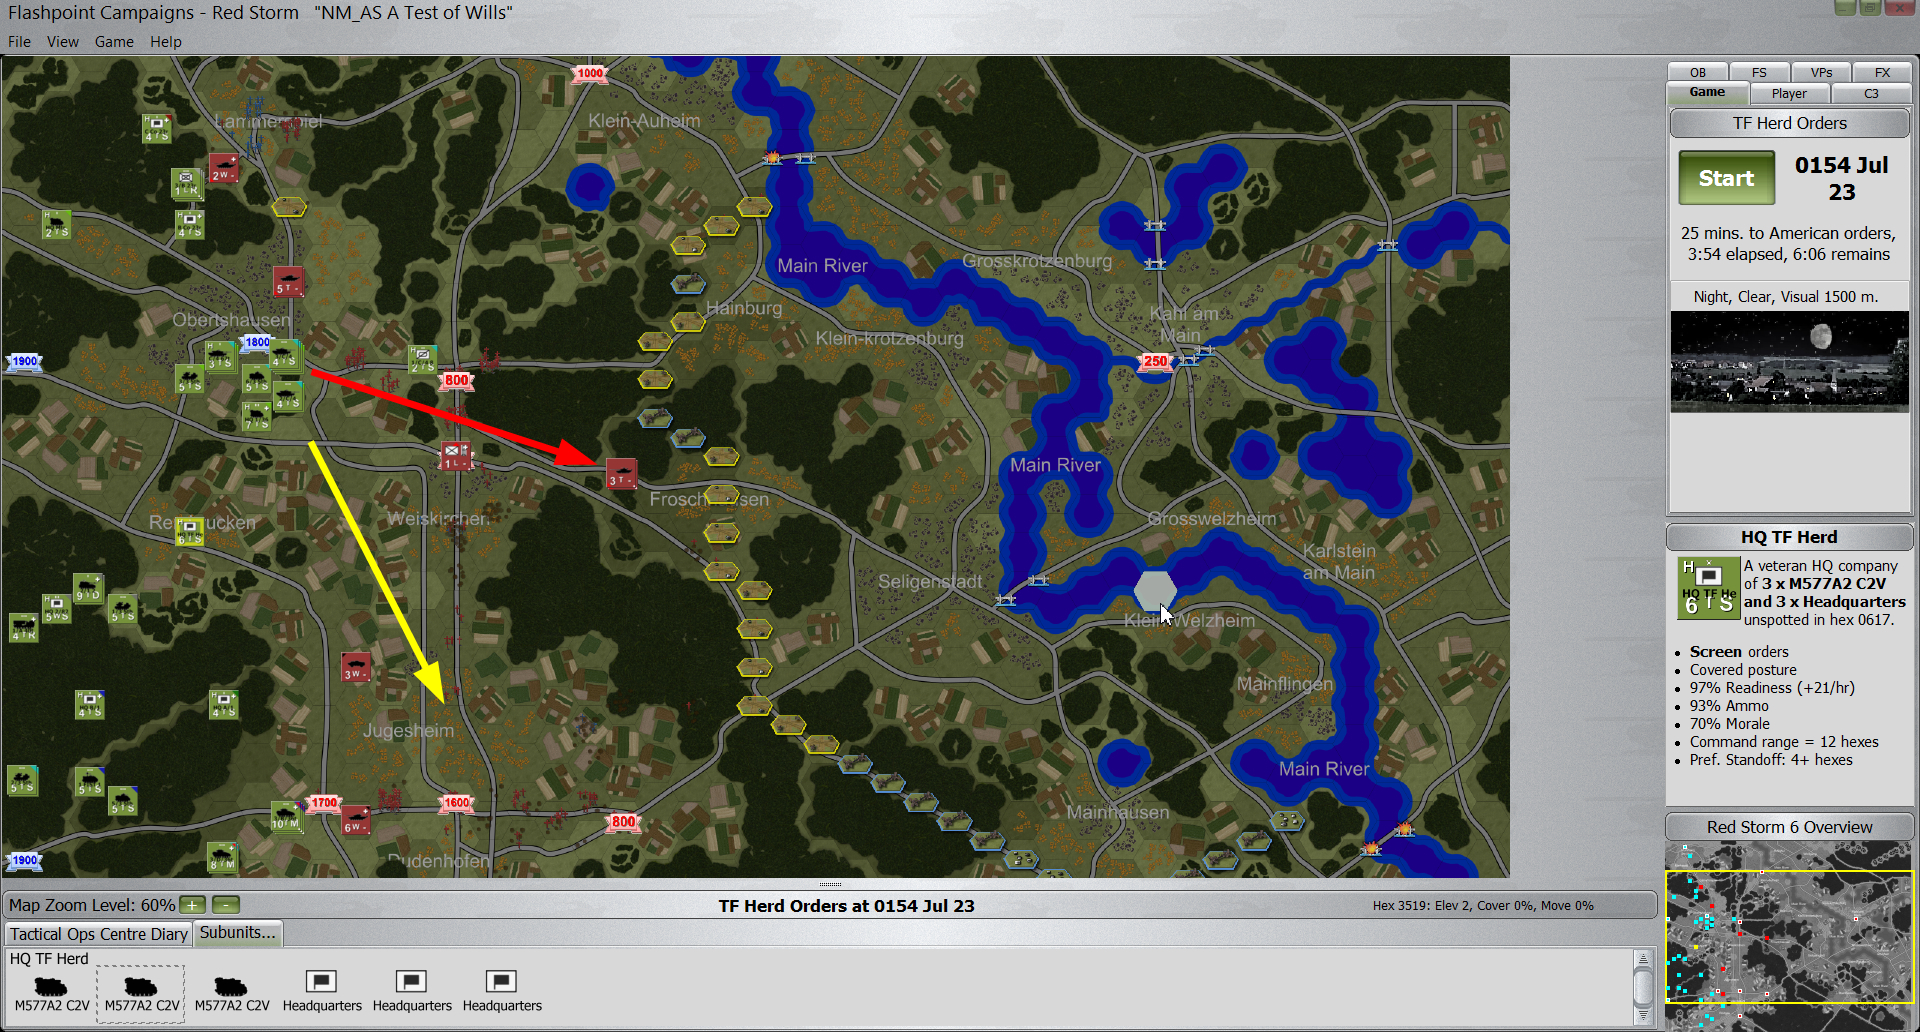
What to do? Should I move my Abrams east (red arrow) and try to catch some Soviet HQ units unaware? Or should I push south (yellow arrow) to catch the Soviets on their flank?
Check back soon to find out what my next move will be!

Leave a Reply