
Allied Corps – AAR Part 3

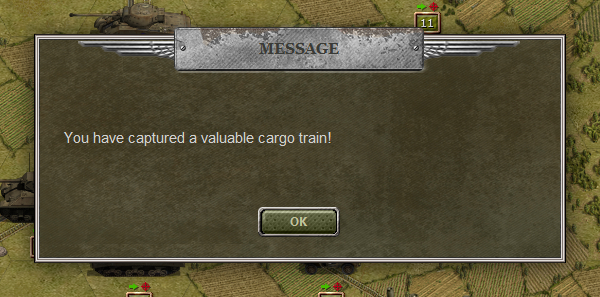
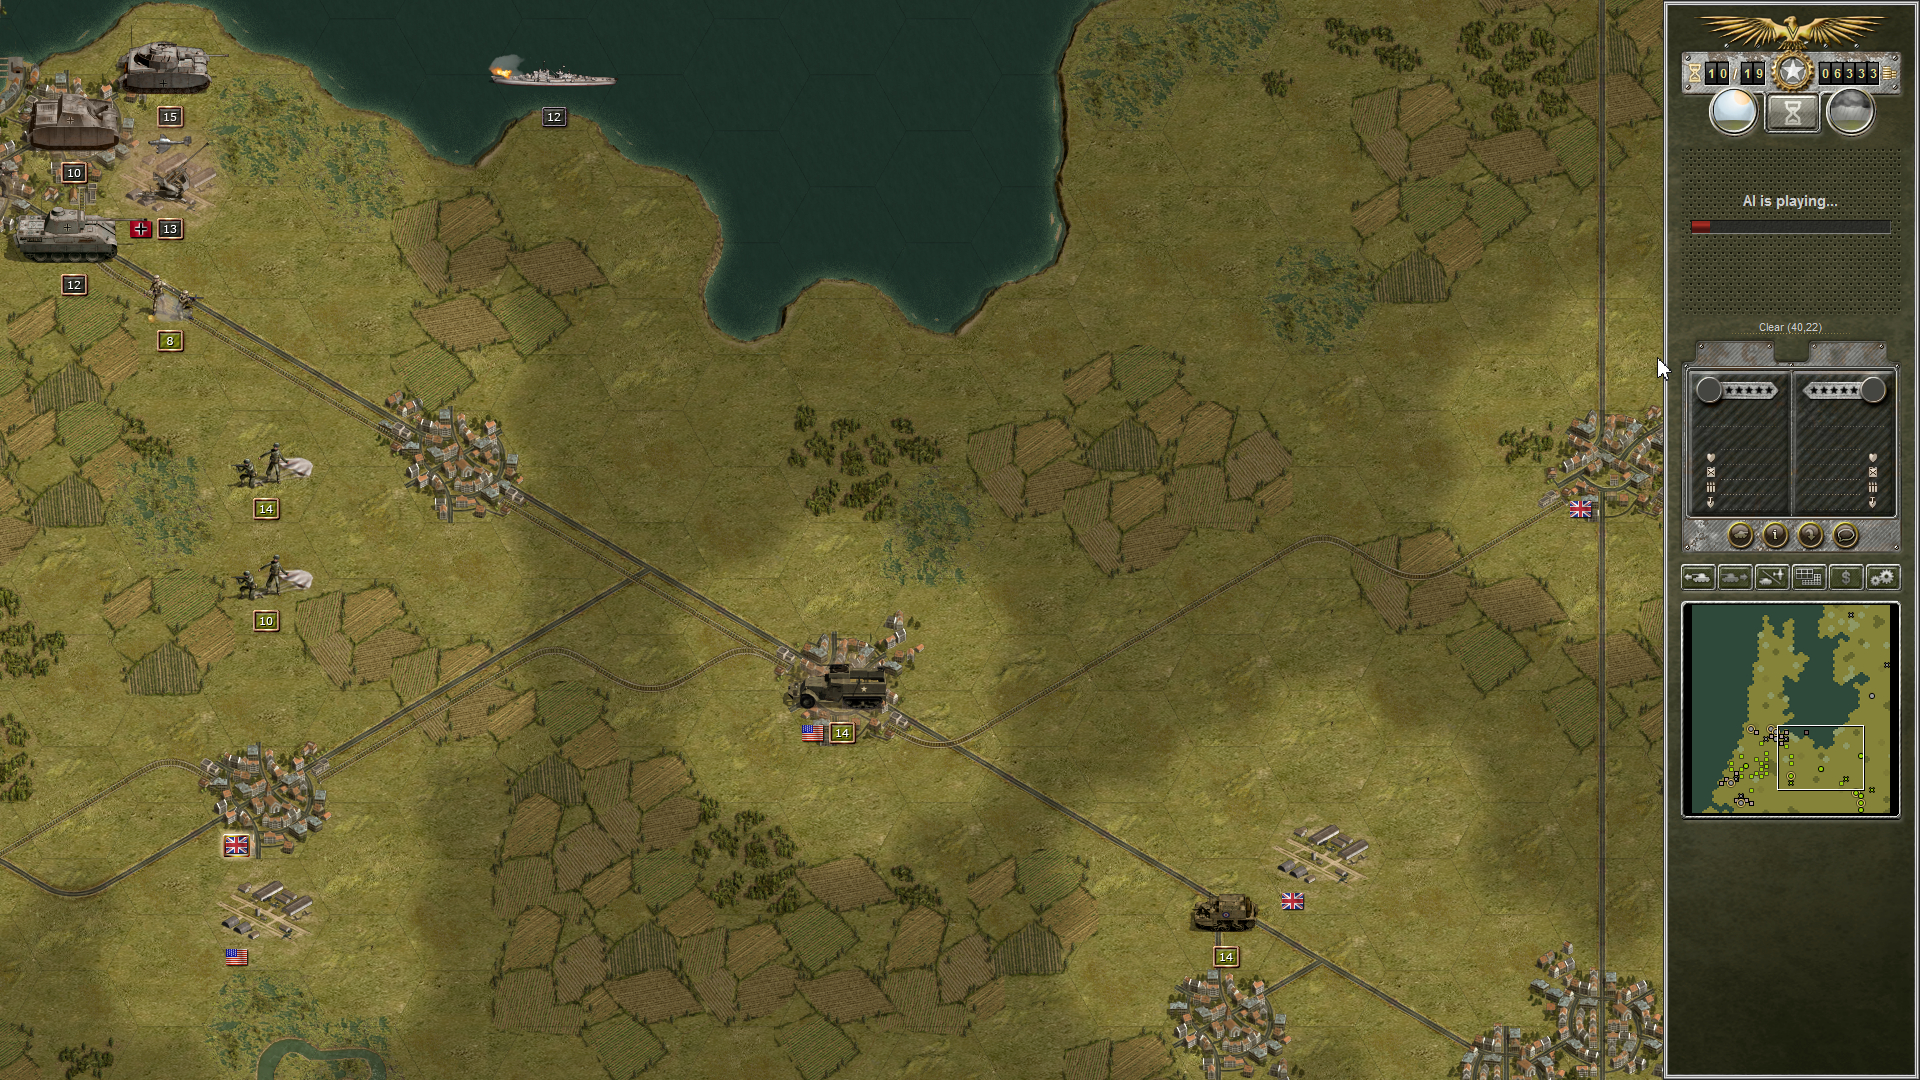
When we left off with Part 2 of this AAR the Germans had pulled out everything but the kitchen sink. There weren’t a lot of German forces, but what we ran into was quality. Neberwerfers, tank-busting aircraft, Tigers, V-2s…the list was pretty long. Almost every piece of high-tech equipment the Germans could field late in the war had made a showing and I was the guy having to beat it up. As you may recall, dear reader, I was pushing my way into the Netherlands. I had to take objectives in the north, west, and south. Thus far I had chosen to focus on the west and south, leaving the north until later. Through some kind of luck – simply having troops occupying some rail hexes, I inadvertently captured a train with some hot cargo. That was a pleasant surprise.
With that, let’s pick up the story at Turn 9.
Allied Turn 9
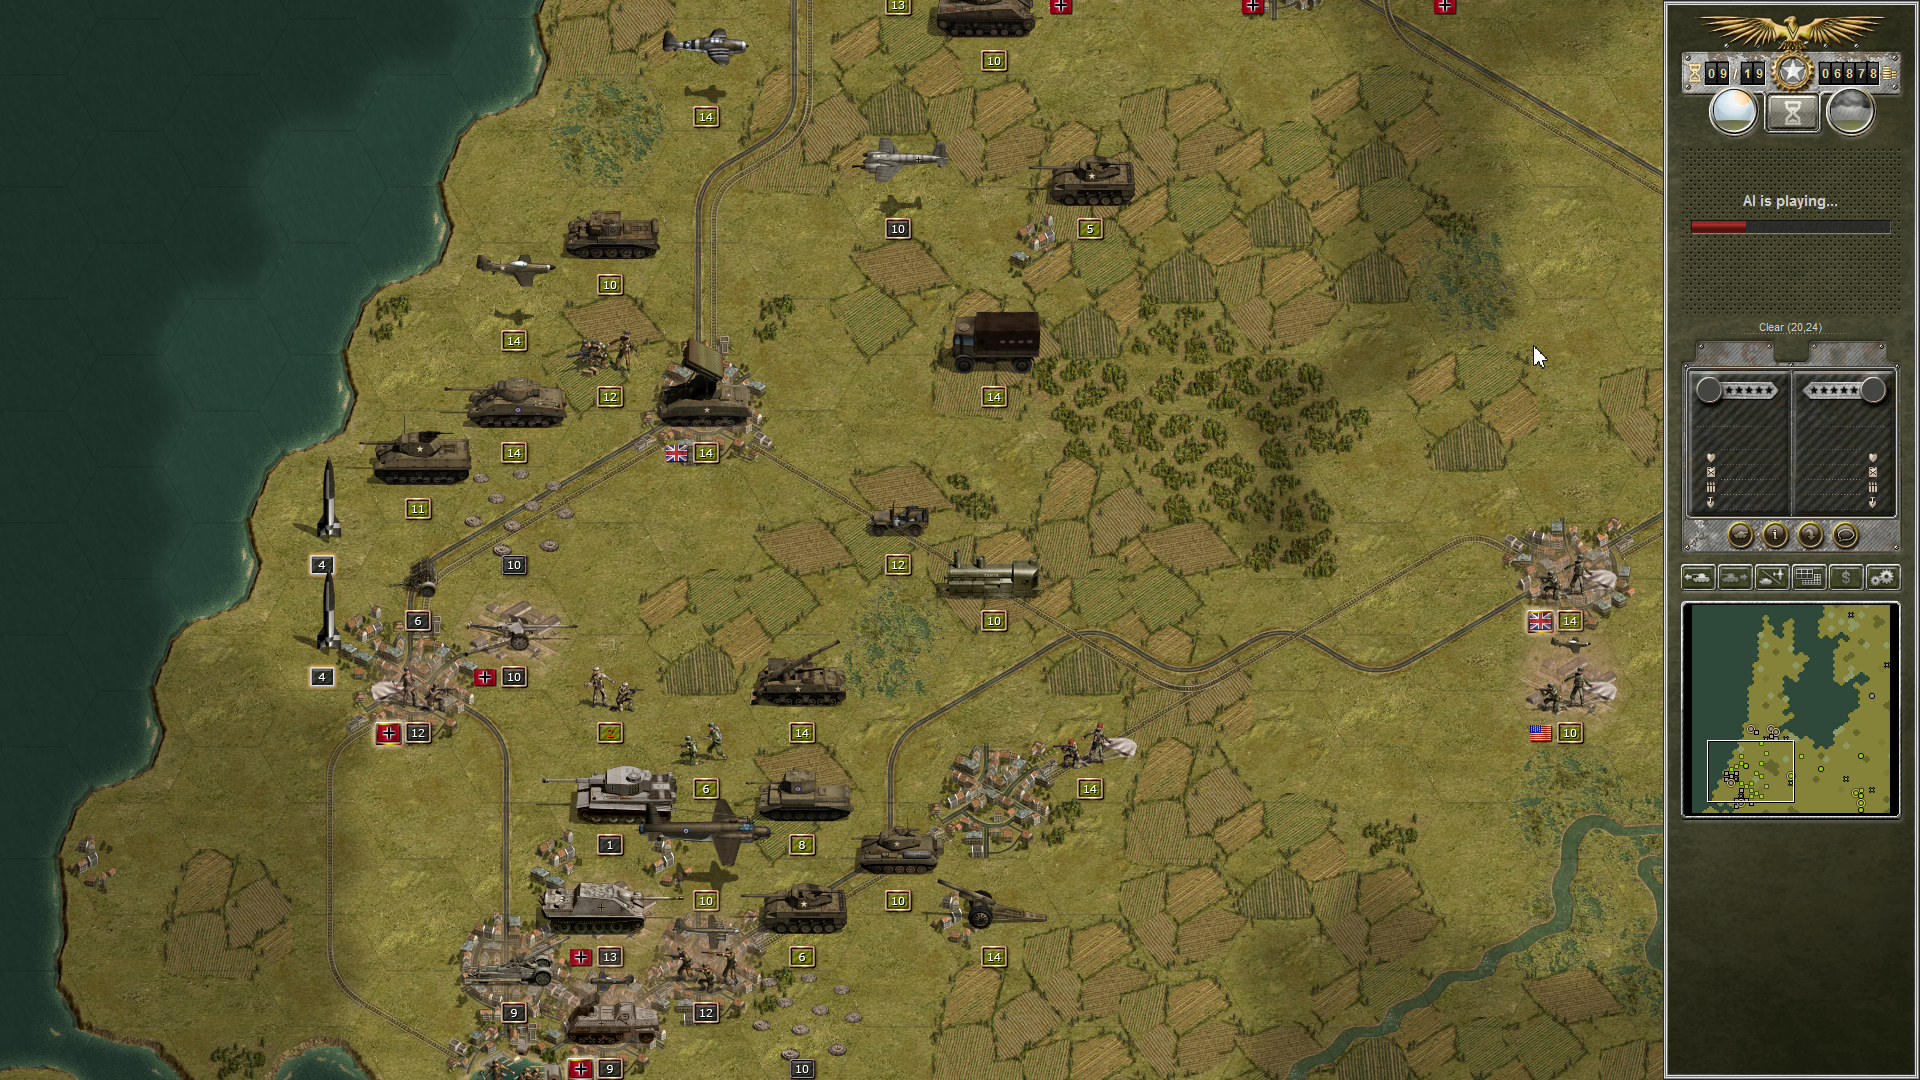
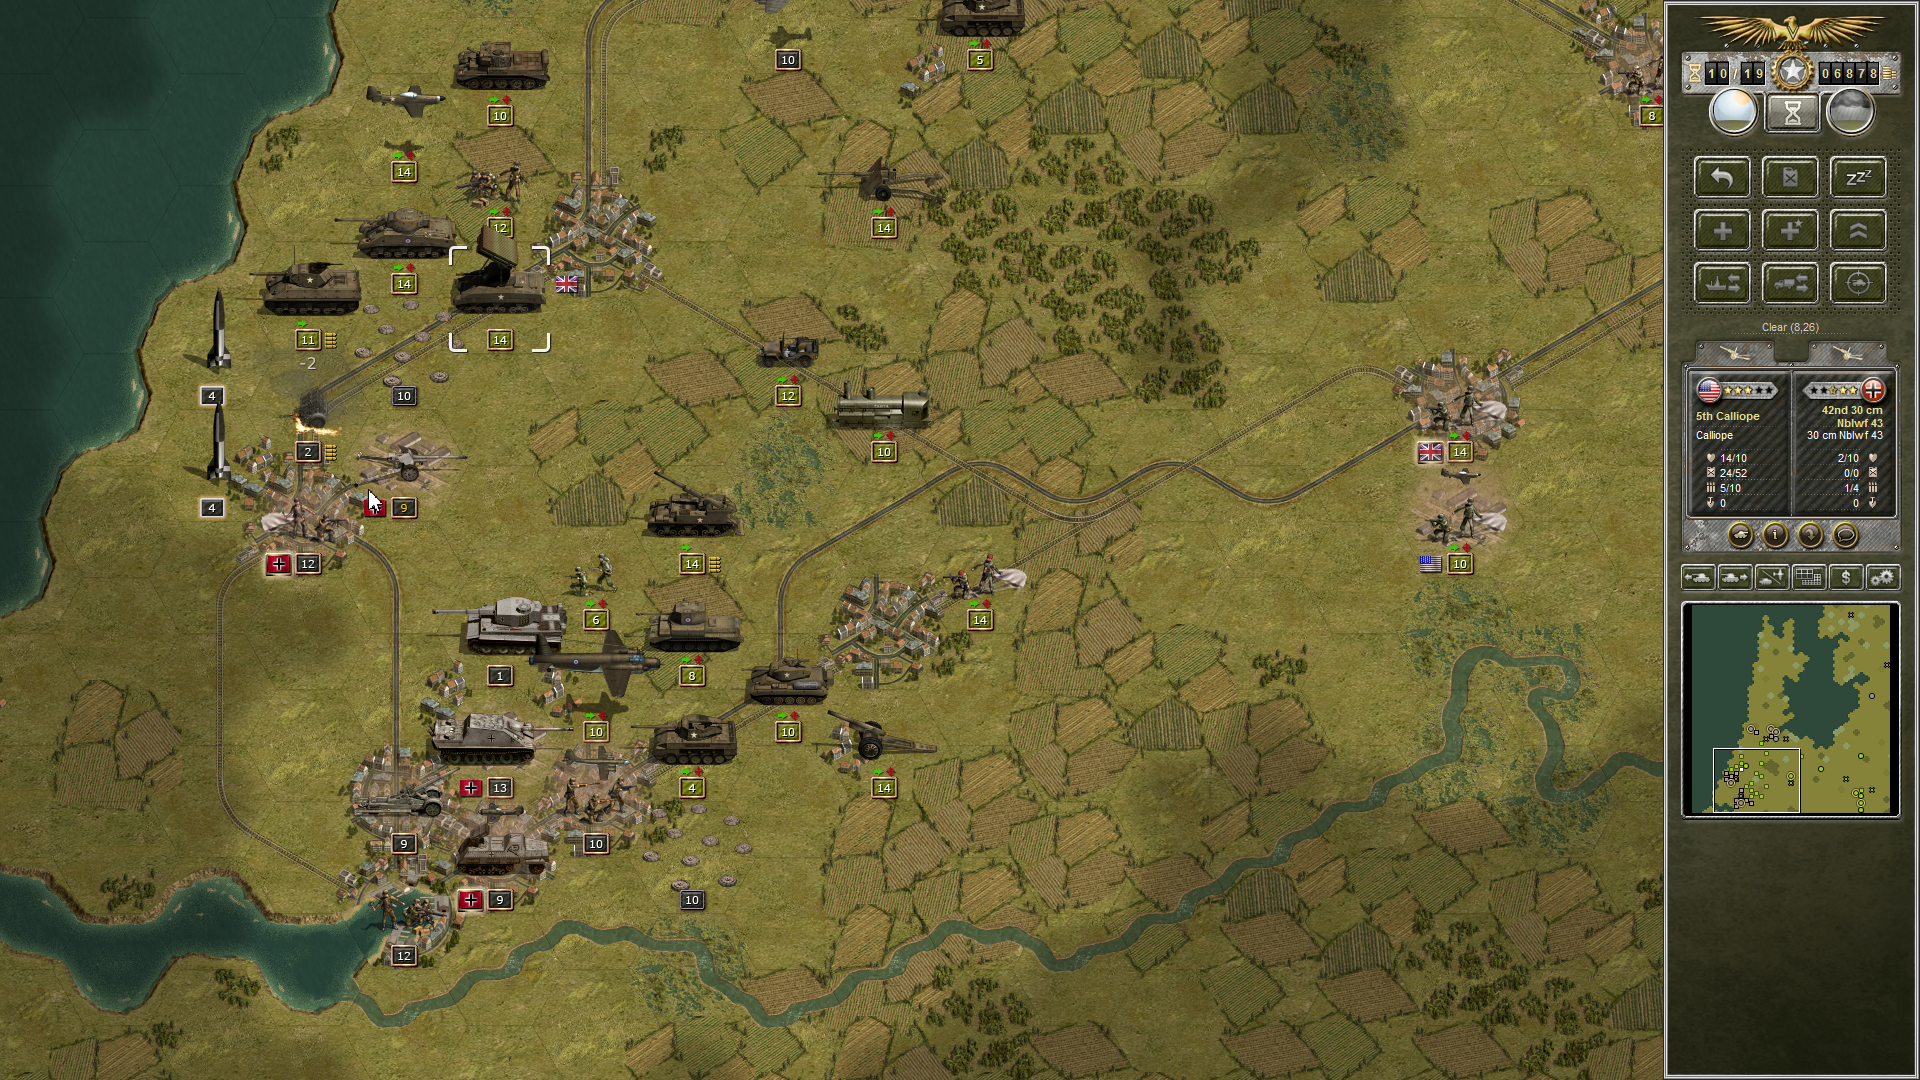
I start by hammering on the troops around Leiden. I don’t need to attack them as I hold the objective, but I take them on for good measure. Note the captured train next to my jeep in the middle of the screen:

Then I move to attack the Nashorn. My Sherman 105s gives it a good shot and inflicts some decent hurt. Then my Hellcats move up and attack some more. The Nashorn drops to a single point left. I send my Sherman 76s to finish it off. They do.

German Turn 9
The Germans put up a fight across the board. In the north a Flak gun fires on my P-47 and does two points of damage. In the south an SAS unit gets concentrated fire from a number of sides and gets wiped out.
And another Hs-129 appears from nowhere and takes out the remaining point of Hellcat. He will pay for that, though.
Allied Turn 10
As I size up my starting position I realize I’ve spread myself out. Leiden has all but fallen. I don’t absolutely have to take Rotterdam, but there are enough troops and tanks in it to make my life uncomfortable if I ignore it and turn north. Most of the German AI has been unresponsive. Can I take the chance to ignore them now? I’m not sure. I’m also not looking forward to tangling with a Jagdpanther.
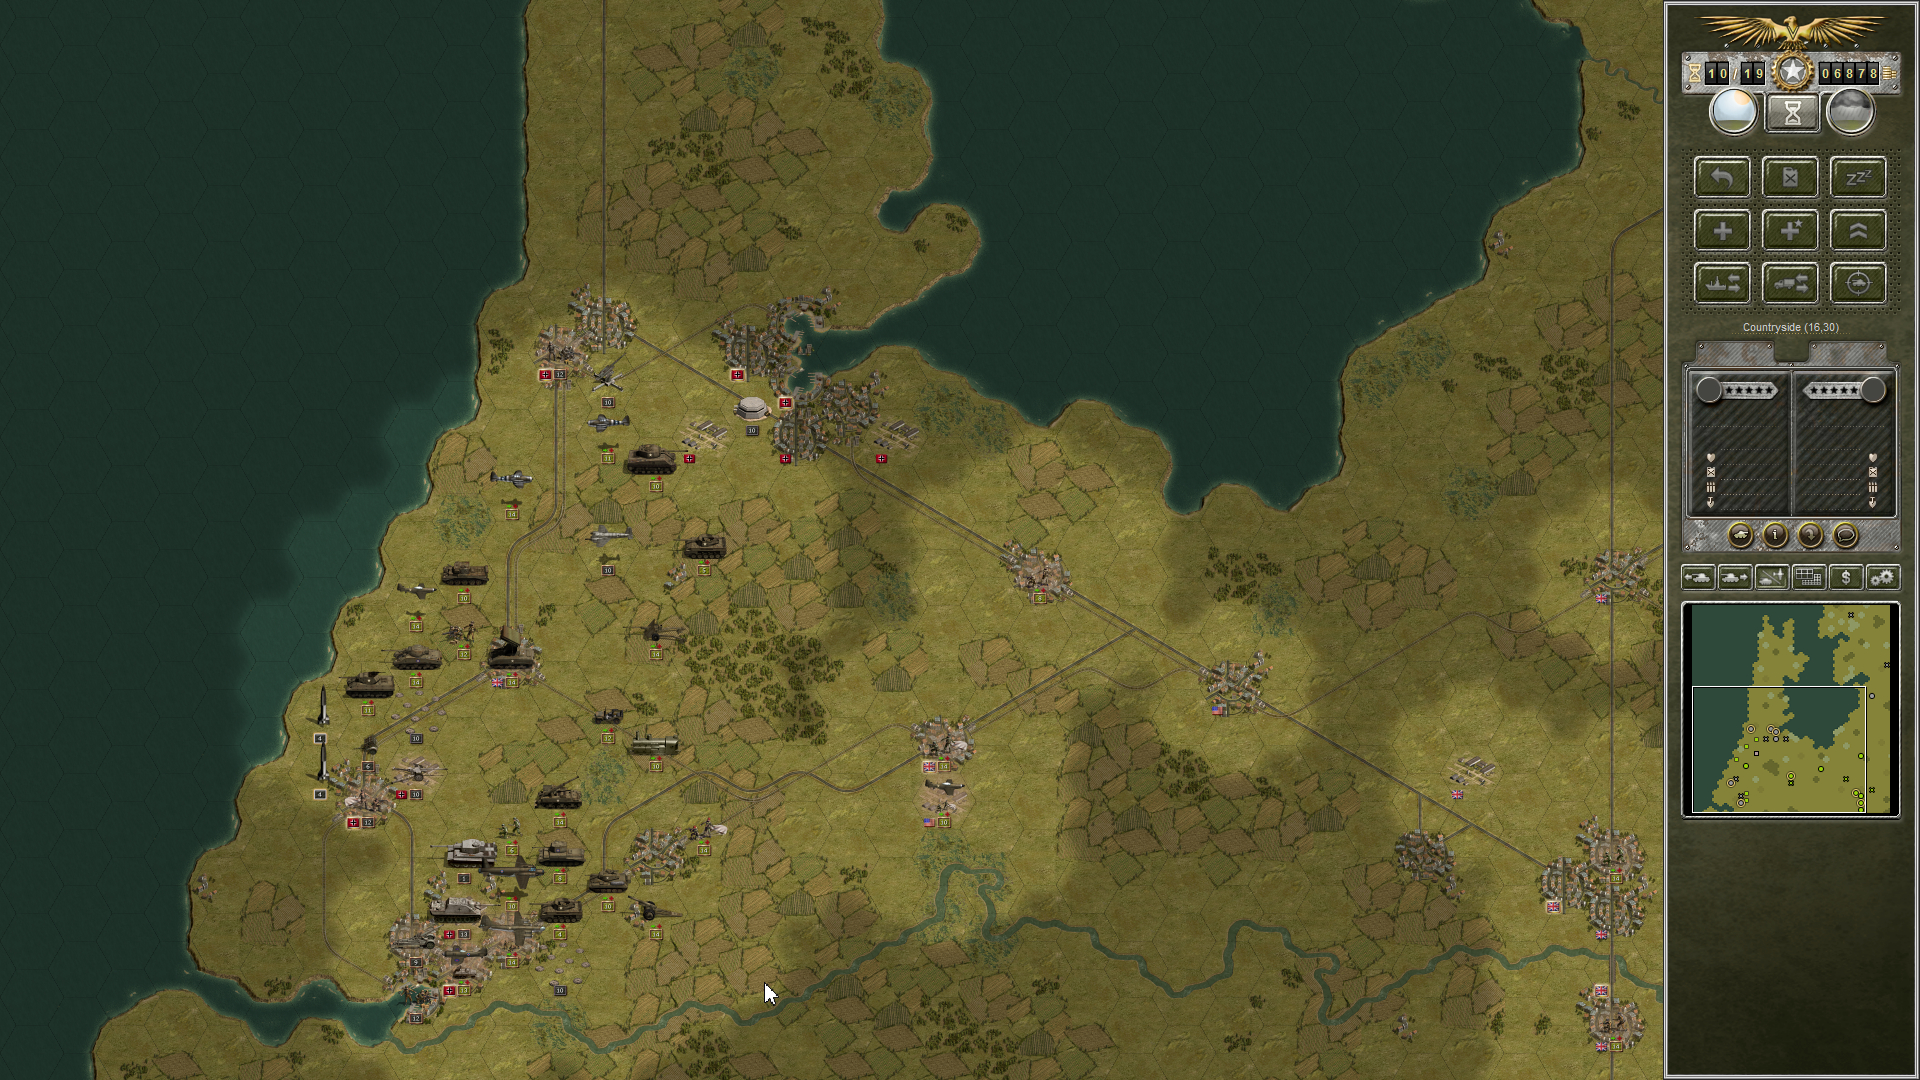
At a minimum I have to take Den Haag, just to the south of Leiden. Once that’s done I should be in a better position to decide if I’m going to really take Rotterdam. In the meantime, my troops are in front of Rotterdam. We might as well let the Germans know we’re not here to sightsee.
I start with a barrage from my 155 on the PaK around Den Haag. A mouseover predicts I’ll do two points of damage but when I click it’s only one. These things happen – it’s the randomness of the game and I prefer some uncertainty in my wargames.

Infantry is the best force to move against that AT gun – it’s suicide to move armor against it. But I don’t have much infantry in the area. Wait! I have 12 points of British Heavy Weapons infantry in range. This is exactly what I need. Only problem is that Nebewerfer, which will automatically defensive fire unless I deal with it first. Fortunately, armor is the perfect cracker for that little nut. Interestingly my open top Wolverines receive counter fire from the Nebelwerfer but to no effect.
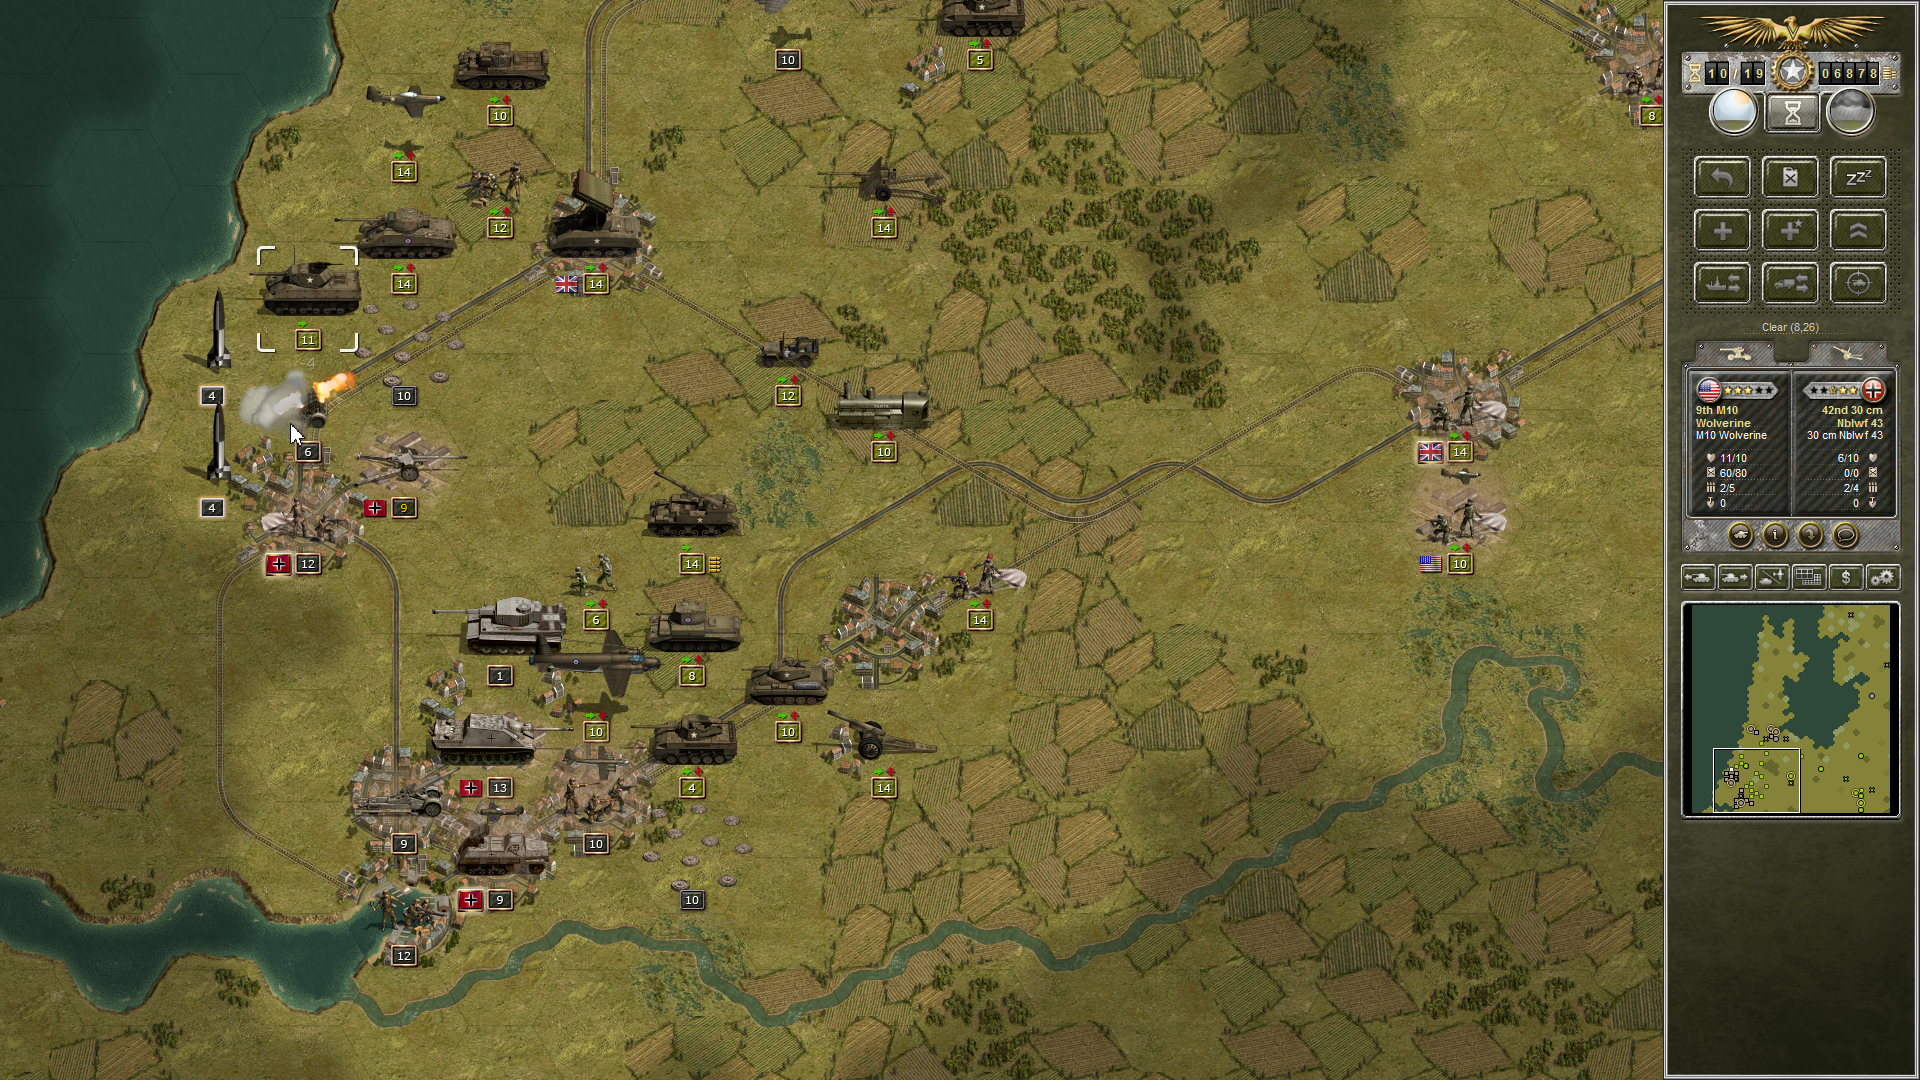
We deal four points of damage. Then my Calliope fires on the remaining two points of Nebelwerfer and destroys it. No we can get to work on the 88mm PaK. The PaK does a couple of points of damage, but the Heavy Weapons unit makes a solid dent. This is good.
At this point I think I’m going to give Den Haag a rest. I don’t want to move any other troops to fight there; a minefield will be a major slowdown to anything but engineers, who are presently outside of Rotterdam. Now I turn my attention to them. They’re facing a one point Tiger, but I need to get them refitted back to full strength, so I pull them back out of danger in preparation to heal next turn.
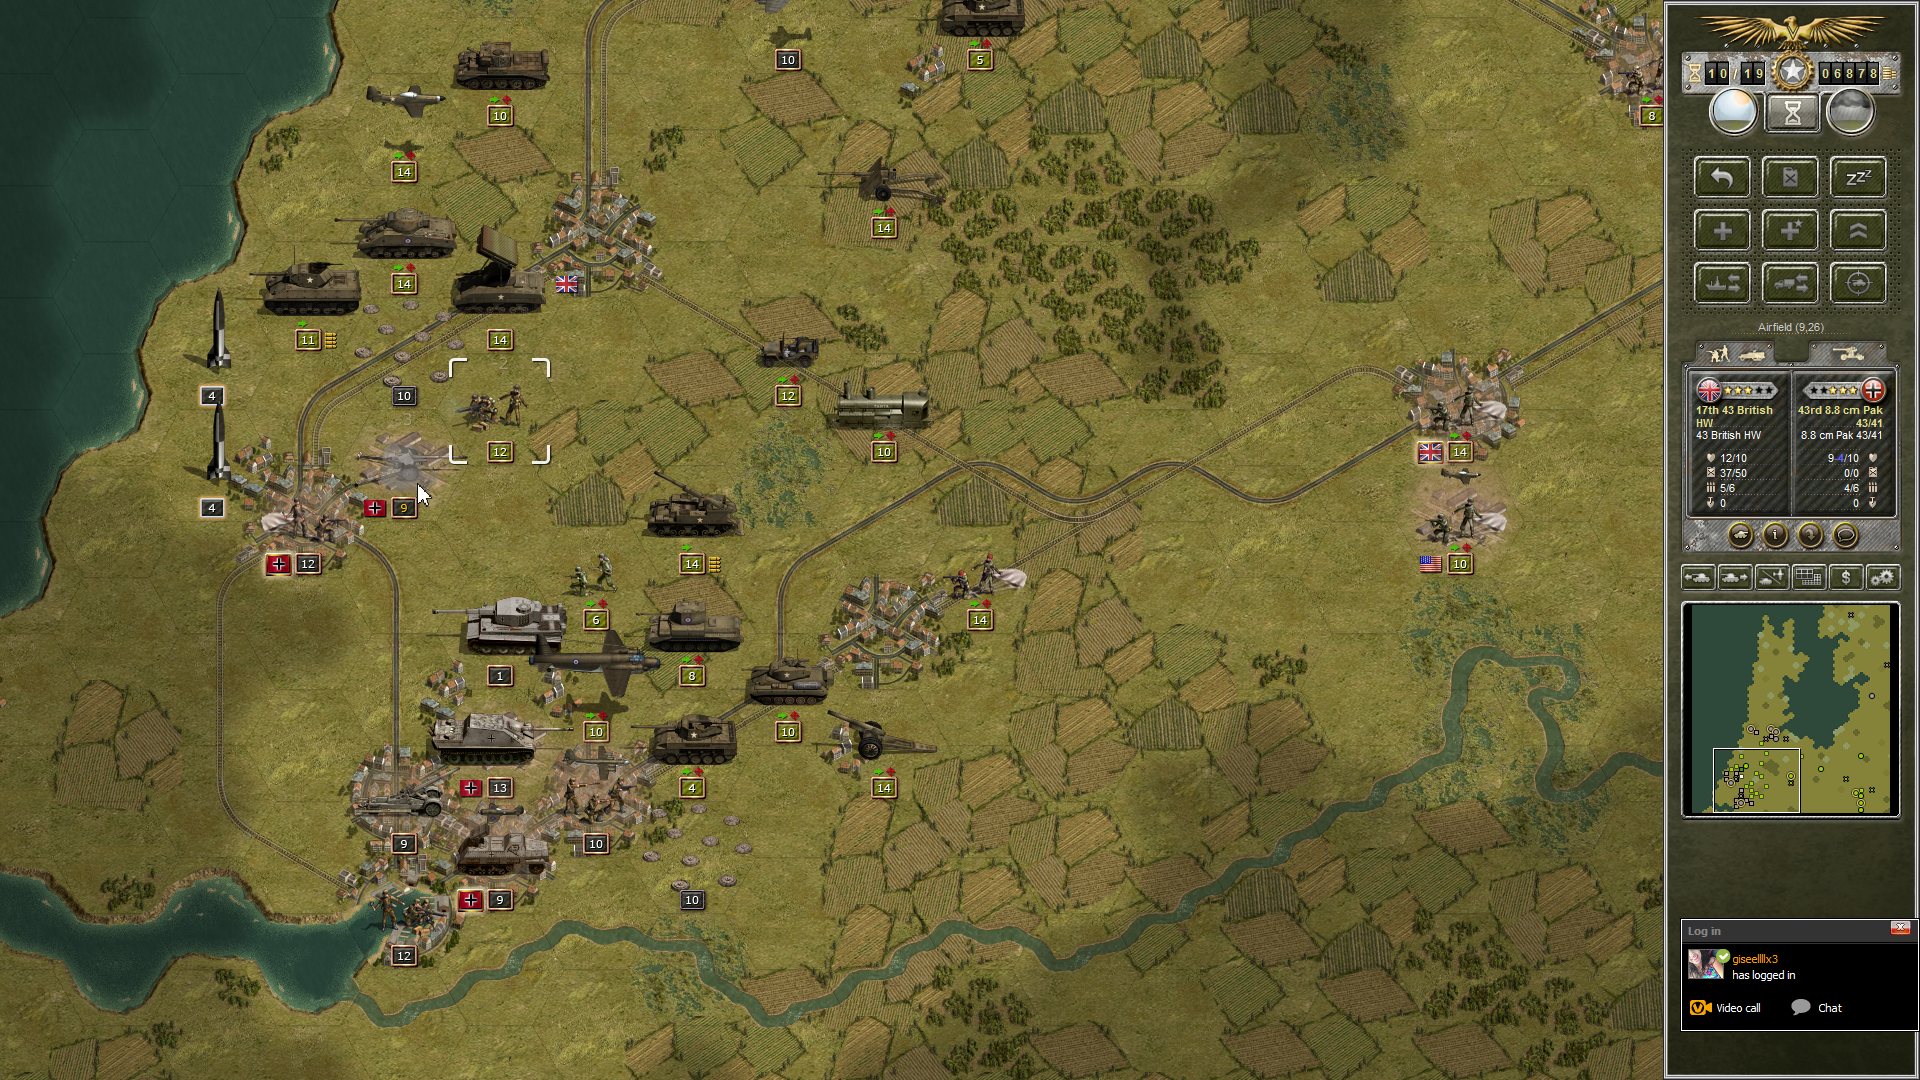
My Wellington bomber doesn’t have any current assignments. Normally it only does about one point of damage to anything it hits. In this case, that Tiger unit is only one point. This is a good use of resources, and I move it over the Tiger, release bombs, and the Tiger evaporates in flames.
As I search around the map I see two units of engineers sitting quietly in Arnhem. I order them into their vehicles and advance them. If we make it to the north I’ll need their skills to get inside of the defenses around Amsterdam.
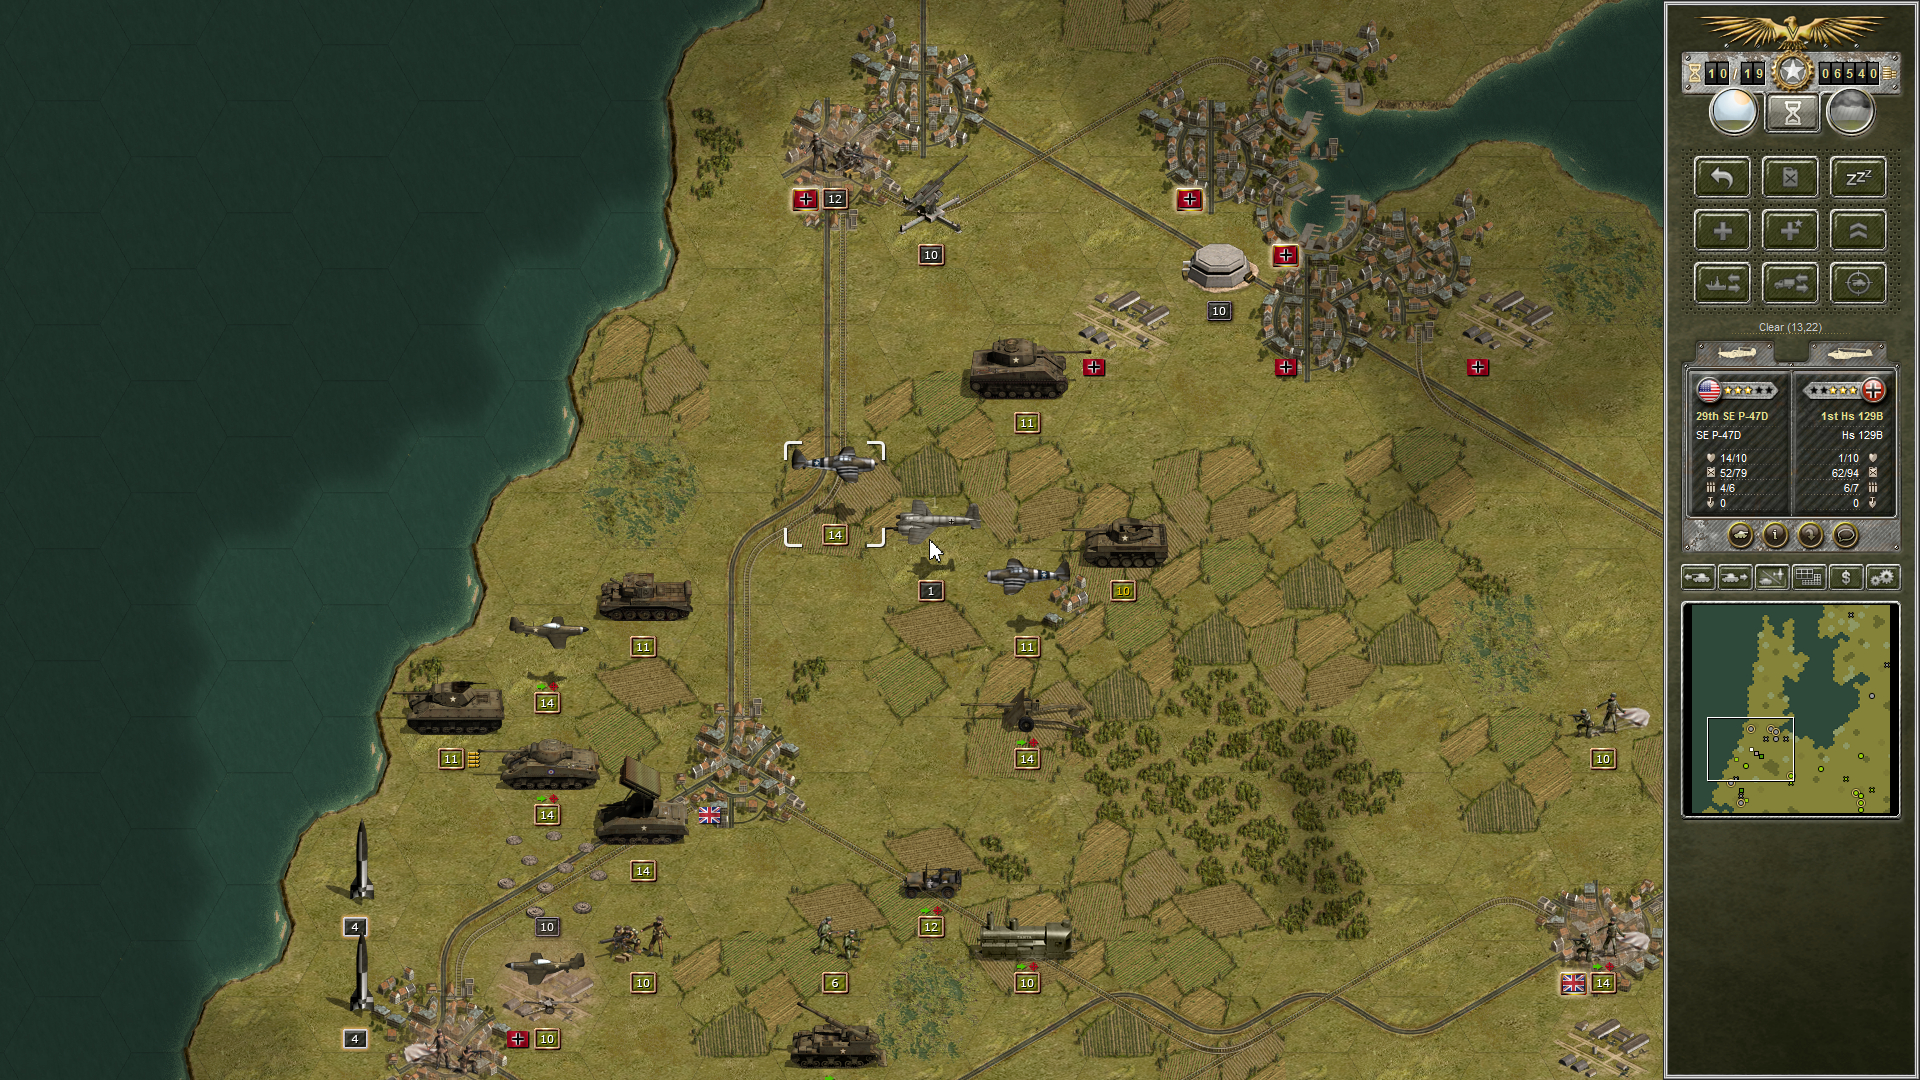
I move a refueled P-51 over the 88mm PaK. After I order an attack I realize it’s over an airfield. But – bonus – it does two points of damage. Maybe strafing works better than bombing for airfields? Could be.
As I look up north a P-47 is too close to a Flak defensive position. And I have need to rid myself of that pesky Henschel 129. It moves in and does eight points of damage. Another P-47 then swoops in to finish the job. Henschel down.
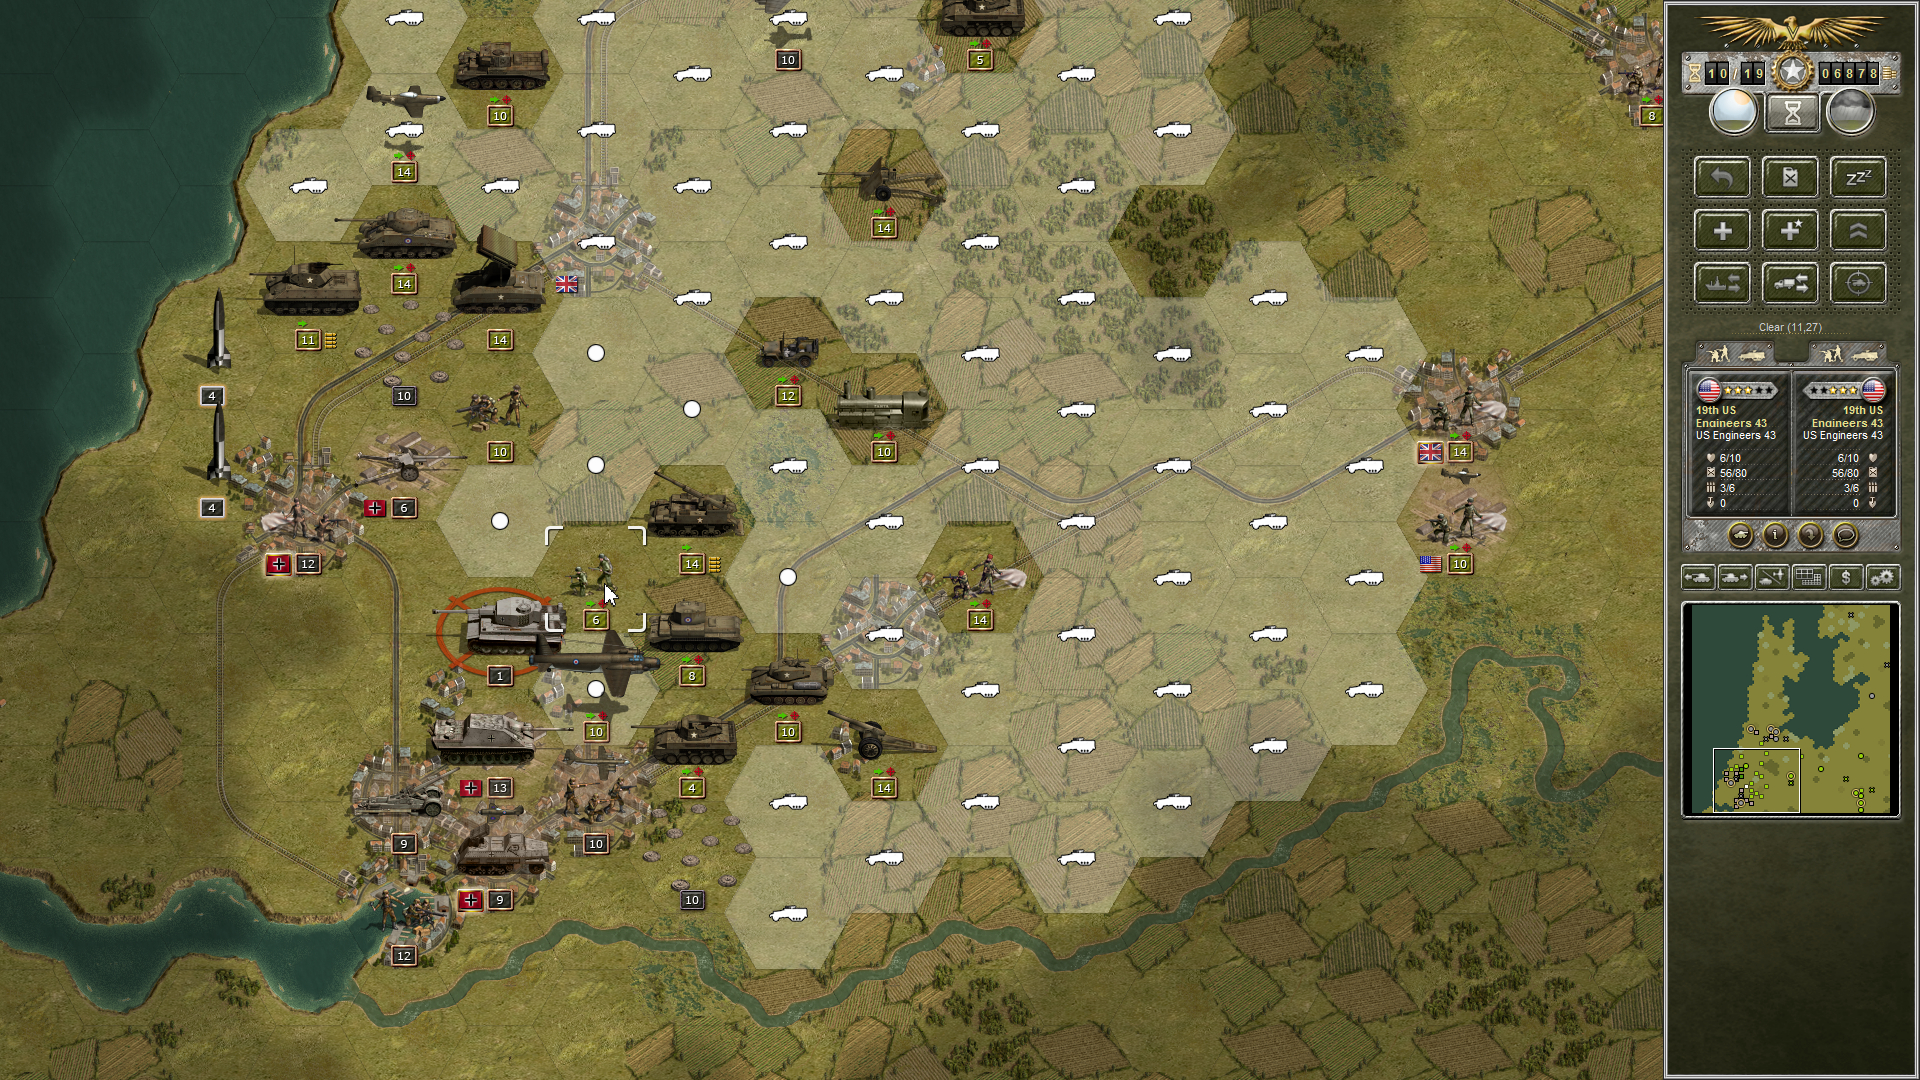
Now is a good time to refit a number of units. Since a number of units around Rotterdam fit this description my decision as to whether to attack it becomes easy. Most are in contact with German units and cannot refit when in contact. So I pull them back. And If I have to pull them back, why not get them as close to Amsterdam as possible? I need to hit it and I’ll only have eight more turns. Decision made, we move north.
When everyone is moved and refitted, I turn it over to the Germans
German Turn 10
The German cruiser makes another appearance, and an infantry unit I’d moved up to scout the area gets destroyed. On the plus side, I’ve discovered a Fw 190 and now have a new target for my fighters.
Allied Turn 11
It’s a tough fight with the Fw-190. My P-51 takes six points of damage while inflicting five. But a second P-51 rolls in and finishes it off. We’re in range of another Flak cannon though….
We now push hard on Den Haag. Strafing from a P-47 loosens the 88 PaK up a bit. A hard hit from the Heavy Weapons unit brings it down to one point and it retreats. Then the Tempest strafes it and it is destroyed. Next I roll up a Cromwell and a Challenger to take on the Fallshirmjägers holding the town. They’re a tough bunch and I don’t make much progress.

With that I move more troops up, refit a few, and move a couple of aircraft back to base for preparation to move on Amsterdam. Then it’s the Germans’ turn again.
German Turn 11
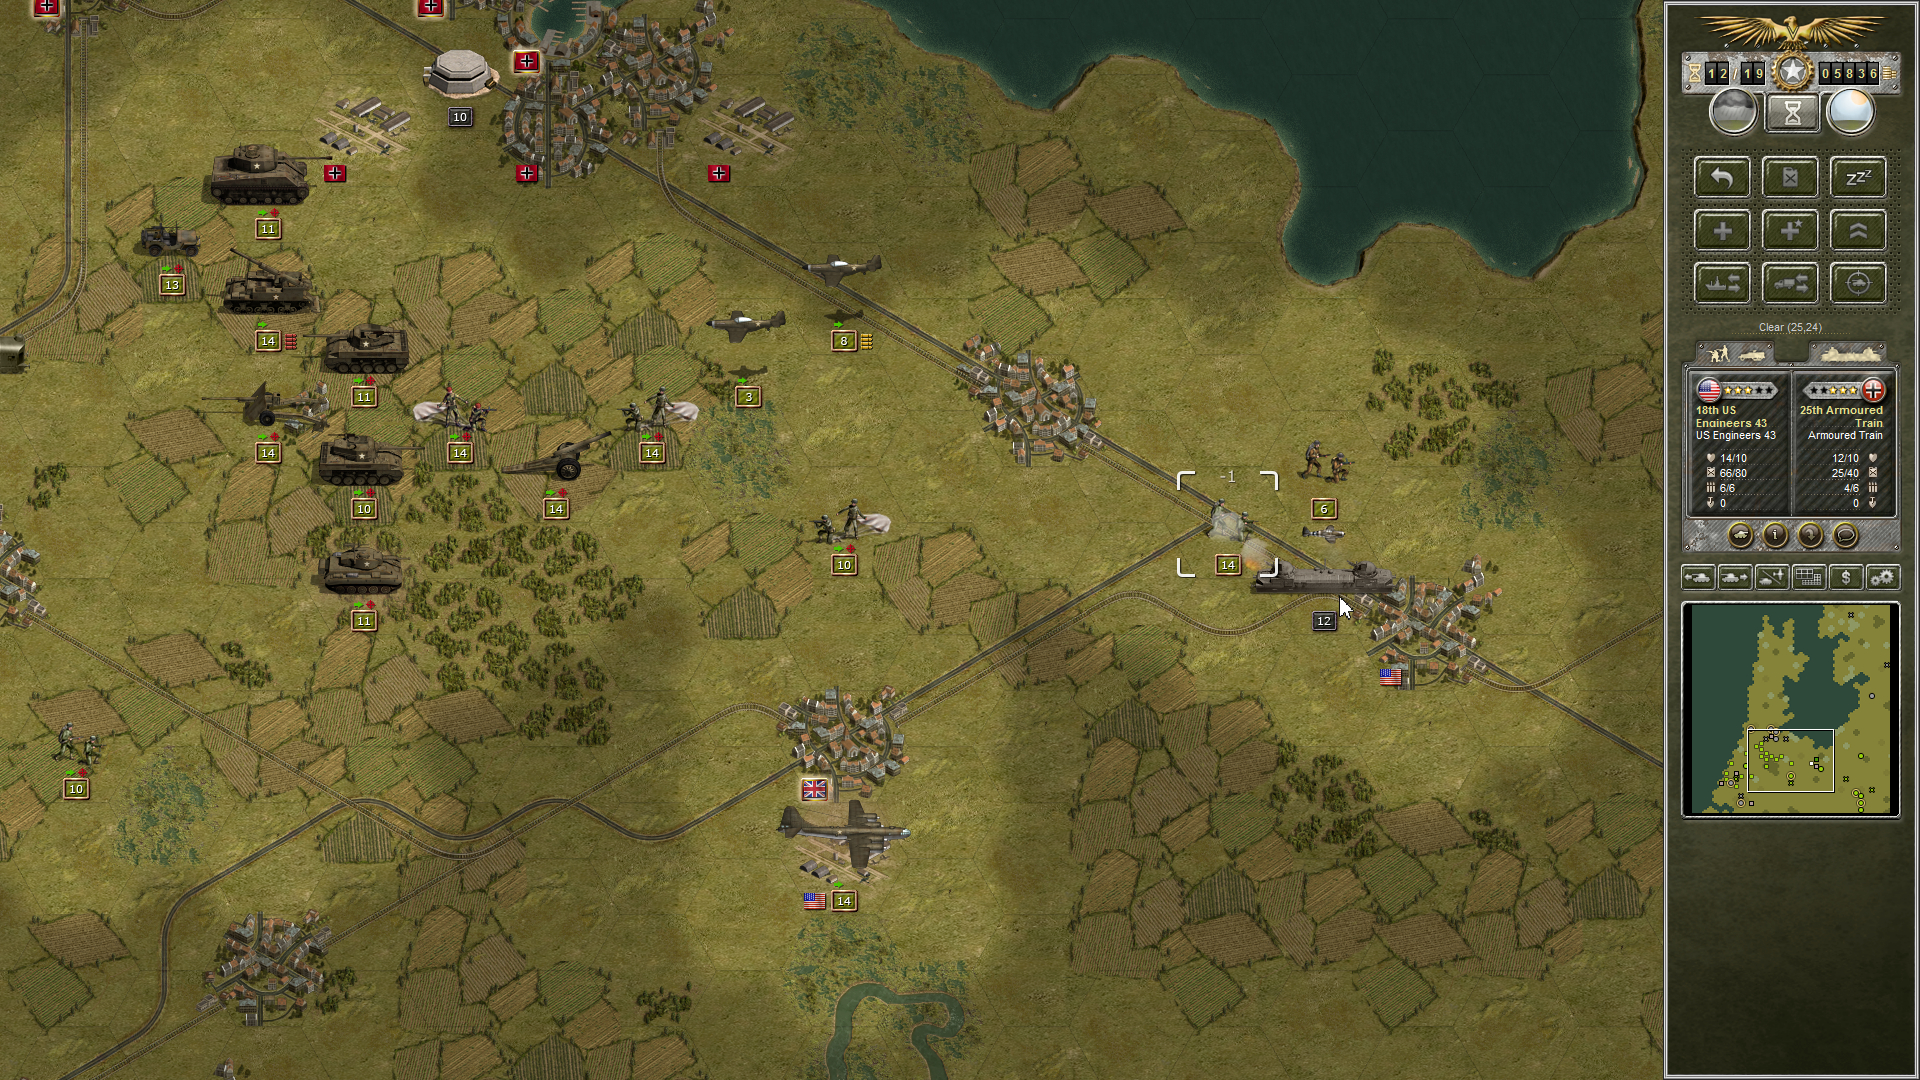
Now this is fun – the Germans move up an Armored Train! I feel like I’m playing Flames of War now. It fires on some engineers I’d been moving by vehicle. They take some damage but are still good for a fight.

Allied Turn 12
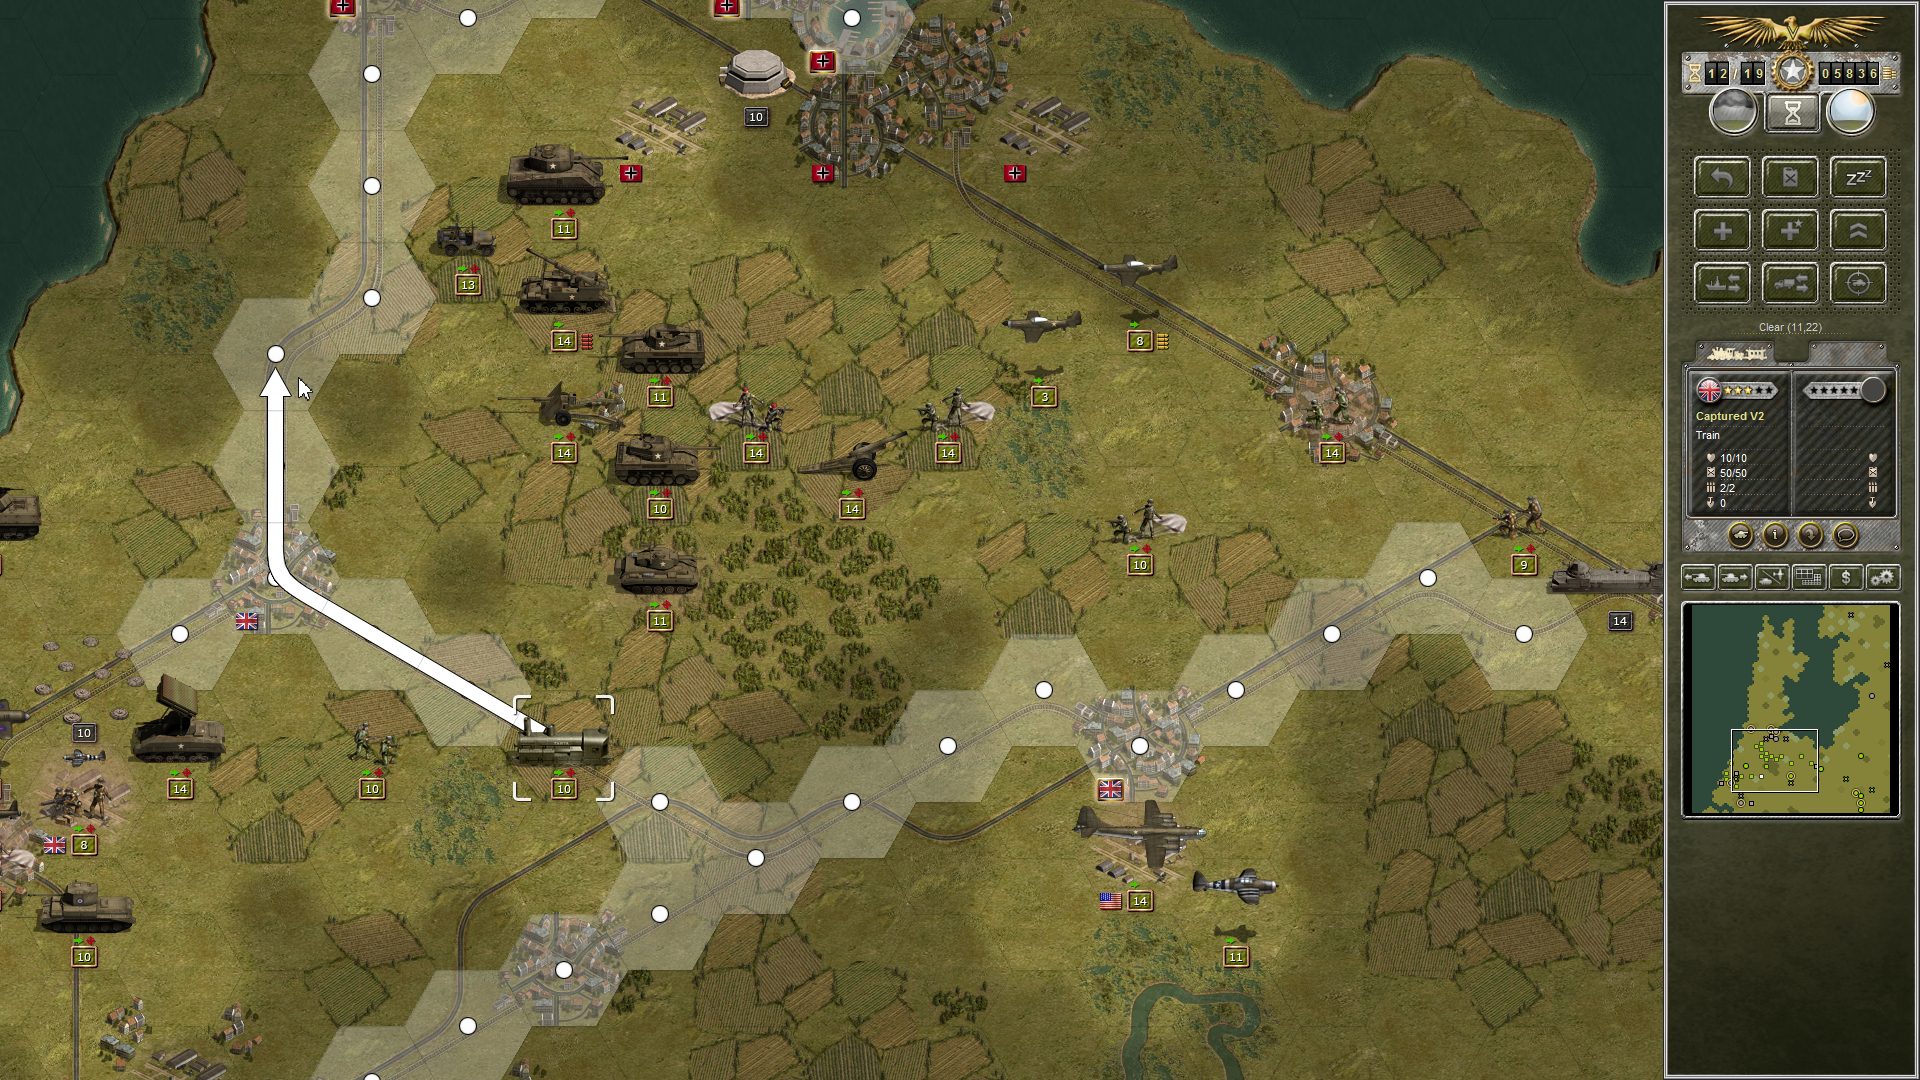
The first thing I do is decide to get my captured V2 train off the tracks. I had just been letting it sit on the rails not sure what to do with it. But now it’s clear the Germans might be able to capture it back. I move it up where I can protect it with some troops – just in case that Armored Train becomes too feisty.
The British Engineers that ran into the Armored Train fire at it, inflicting two points but taking three. I move a P-47 to strafe the train but can’t get a mouseover for combat effects. Maybe it can’t attack the train? It doesn’t make sense. So I move the British unit out of the way and instead bring up some US Engineers. They do five points of damage while taking only one. It would be nice if I could box in that train.
I start my move on Amsterdam in earnest. There are a number of hidden German units that I had previously seen that didn’t appear until I got more units up around the town. I kept thinking they couldn’t have moved, but I couldn’t spot them. This is going to be some tough fighting but I’m game. I move my Chaffee east to Utrecht in case that Armored Train decides to make a break and help the fight further west. If it moves back east I would love to chase it but may have to just let it go so I can take Amsterdam.

Then it’s time to finish off Den Haag.
Got it! First I shell it with my Calliope. The next best move is the Heavy Weapons squad. It takes a point of damage but deals a bunch out. Then I send in the Challenger tanks, which knock it down to one point of strength and put the paratroopers low on ammo. Then my Firefly finishes them off and moves in to take the victory point. This is how it’s done. For whatever reason none of my aircraft were able to target the Fallshirmjäger. Maybe a bug? Who knows? Anyway, it’s done and I move the rest of my units north.

German Turn 12
The German Armored Train tries to move east but cannot because it is proximate to the US Engineers. It can only move one hex. Heh. The Germans start putting up a fight.
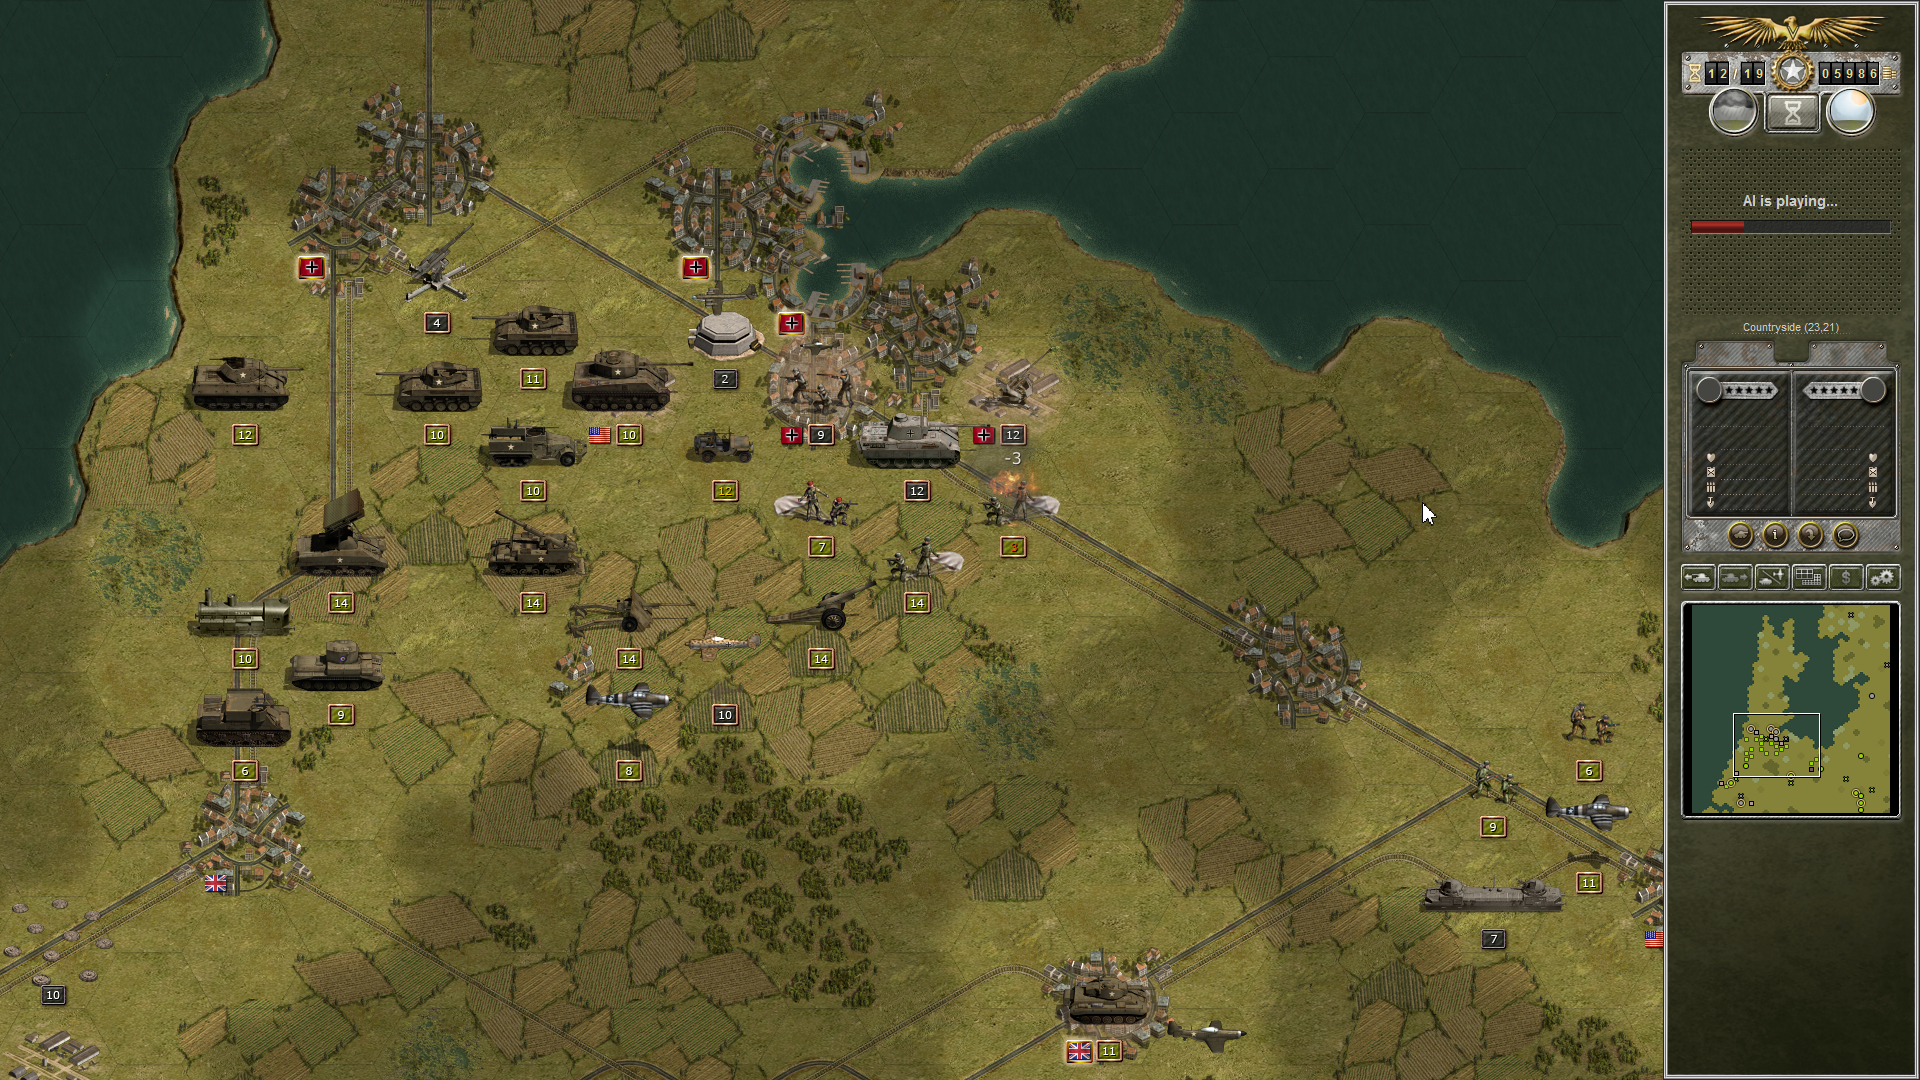
A field howitzer, the Cruiser, and some infantry all gang up on one of my infantry units and pound it to nothing.

The Flak 88 proves why it was such a formidable weapon by leveling its guns and firing on a Hellcat, reducing its strength from 12 to six.
With that, let us conclude Part the Third. Stay tuned for the fourth and final part as my forces go hurtling toward Amsterdam to liberate it.

[…] now we arrive at the fourth and final part of our Allied Corps AAR. Readers may recall that Part 3 left off as I made a mad dash to capture victory objectives in the Netherlands. I had successfully captured objectives due west around Leiden, decided not to try and crack the […]