Consulate Crisis! Part 2 – A Command: Modern Air Naval Operations and Combat Mission Shock Force AAR
H-HOUR
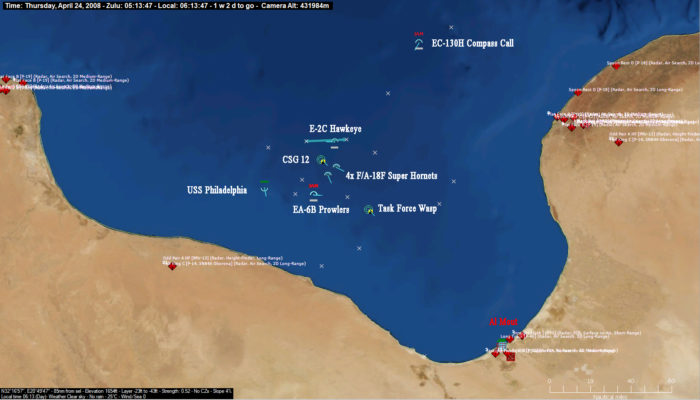
Carrier based AEW is in the air, as is a patrol of Prowlers performing EW and 2 flights of 2 F/A-18F Super Hornets providing CAP. Additionally, the EC-130H Compass Call is coming on station and is conducting active jamming. This jamming coupled with the Prowlers will hopefully be enough to frustrate the Regime radars. Speaking of which, all Regime radars, including illumination and fire control radars are active. The white text next to enemy radar and SAM sites shows the pulses of energy from these active radars. They clearly know we are coming and are combing the sky trying to find my aircraft.
By: IICptMillerII,
With air units on station or arriving on station, it is time to initiate the first Tomahawk land strike. This strike will come in 2 primary waves. The first wave is designed to strike enemy ADN assets and government/military targets in Al Mout. The second strike will be aimed at radar sites and any remaining ADN assets that survive the first strike.
SAM sites are capable of targeting and shooting down incoming Tomahawk missiles. To combat this, constant jamming will make it difficult for their radars to find and track the incoming Tomahawks. If they are able to fire at the incoming Tomahawks (which is likely) there will be 5 assigned to each SAM target to insure that at least a few are able to get through. All other targets (radar sites, government/military targets such as buildings) will receive 2 Tomahawks. This is to ensure maximum damage against these targets while insuring against weapon malfunction.
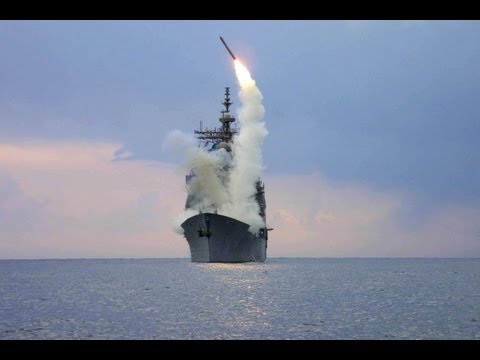
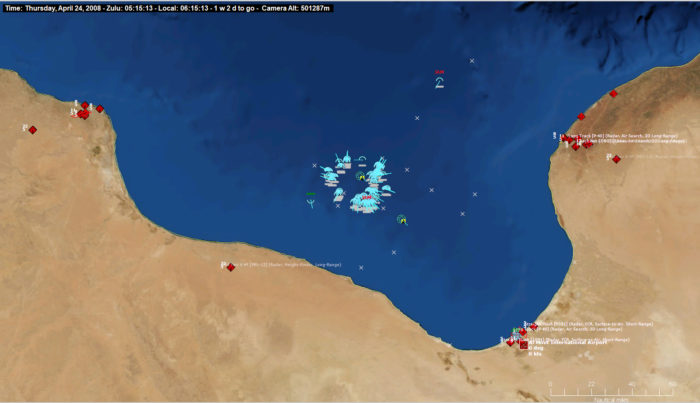
The order is given, and the ships of CSG 12 fire their Tomahawks at their designated targets.
111 Tomahawk missiles are launched in this first salvo. Nearly half of the total number of Tomahawks the allied force has on hand. A strike like this gives a visual example to the term “shock and awe,” which, rhetoric aside, is a very real thing.
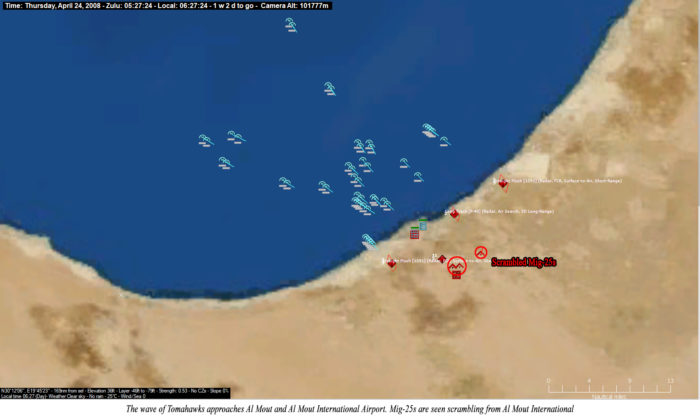
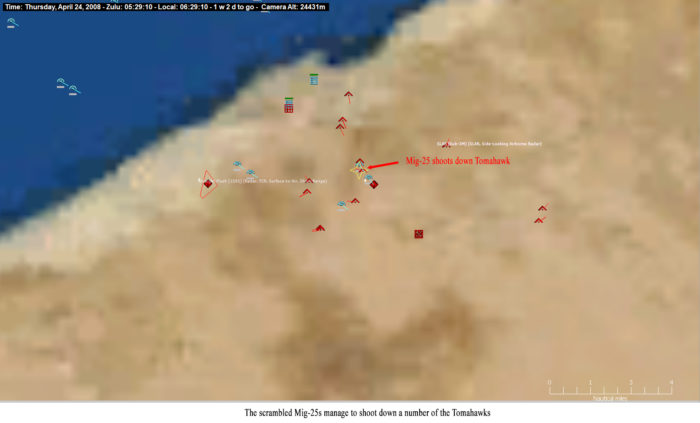
As the Tomahawks approach the coast (10-15 minutes after being fired) they are detected by enemy radars. Fire control radars from the SAM sites try to lock on to the incoming missiles, but cannot cut through the jamming until the Tomahawks are very close to their targets. Some SAM sites manage to fire missiles at the incoming Tomahawks and knock a few down, but the majority of the Tomahawks are making it through and striking their targets. A few of the weapons malfunction, but the majority perform as advertised.
In response to the Tomahawk strike, the Regime appears to scramble aircraft from Al Mout International. Multiple bogies are quickly detected climbing into the sky. The bogies are quickly identified as Mig-25’s, first by the E-2C and then visually by the F/A-18F’s Forward Looking Infrared (FLIR) camera designed to spot, identify and track aerial targets out to 100nm. The Migs begin to chase down and engage the Tomahawks striking targets in and around Al Mout. They are able to shoot down a number of the relatively slow moving, non-maneuvering Tomahawks.
Tomahawk Strike Battle Damage Assessment (BDA):
The strike was largely successful. Most of the Tomahawks made it to their targets with only a few malfunctions. Most of the SAM sites that were targeted are either completely destroyed or heavily damaged. In Al Mout, all strategic targets were hit except for the government complex. However, one of the SA-6 SAM sites is still active. Additionally, the SA-2 site still appears to be active, but its radars are not emitting, which likely means they were destroyed. These two SAM sites pose a direct threat to air operations over the city and will have to be reengaged before the Marines begin landing operations.
A second Tomahawk strike, primarily targeting enemy radar sites and priority targets in the vicinity of Al Mout will commence shortly. In order for the second Tomahawk strike to be successful, the enemy Mig-25s will have to be dealt with. A group of 8 appear to be heading out to sea towards my aircraft and ships, while a second group appears to be forming up over Al Mout International. This has the makings to be a pretty big air battle.
FIRE IN THE SKY
Initially, there are 4x F/A-18F Super Hornets in the sky split into 2 flights. Each Super Hornet carries 6x AIM-120C AMRAAM’s, which is an extremely good air to air missile. It has a range of 60nm, datalink capability, and once fired will guide itself to its target. This is important because it means that my aircraft can fire missiles at targets and then turn to maneuver defensively without the missile losing its lock. Enemy radar missiles do not have this capability, they must be guided in all the way to their target. This means that if the enemy is able to fire radar missiles at my aircraft, all my aircraft have to do is force the enemy plane to maneuver and the enemy missile will “go stupid,” or lose its lock and become harmless. Additionally, the Super Hornets can track, target and engage multiple enemy aircraft at the same time.
For up close and personal dog fighting, the Super Hornets are equipped with the AIM-9X Sidewinder. This is a heat seeking missile that is highly maneuverable but has a short range of only 10nm. It is designed for dog fighting. Specifically, the weapon seeker head can be linked to the pilot’s helmet heads up display, known as a helmet mounted display, or HMD. This means that all the pilot has to do is look at the enemy aircraft, and the Sidewinder will lock onto it if in range. Even more impressive is the AIM-9X’s ability to be fired at “off-boresight” targets. This means that the Hornet does not have to be behind an enemy plane to fire at it, the enemy plane could be directly to the left or right, above or below, and the AIM-9X can still be fired at it.
The Super Hornet and its armaments are very capable.
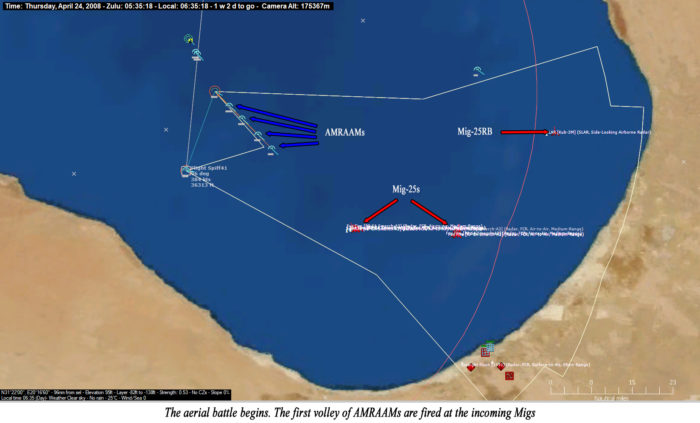
I quickly order 2 more flights of Super Hornets into the air, bringing a total of 8 aircraft airborne (4 flights) which gives me a total of 48 AMRAAMs. Plenty to shoot down the incoming enemy aircraft with change left over. The Mig-25s quickly close with my Hornets, which begin lobbing AMRAAMs at a range of 50nm. Firing at less than maximum range will give the missile more energy to work with if it has to pursue a maneuvering enemy aircraft, increasing the chance of a kill against a plane trying to dodge the missile.
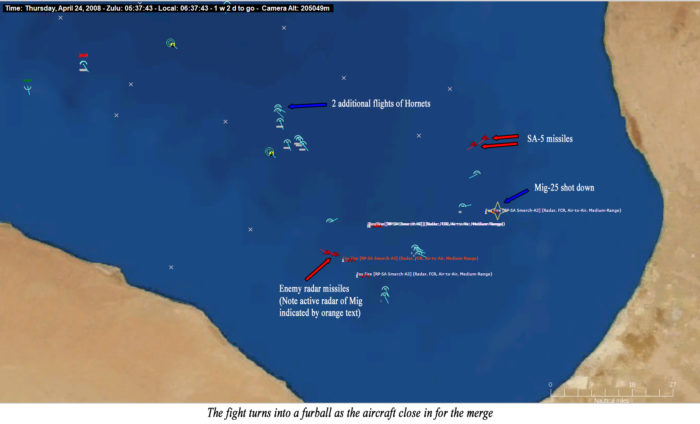
The firing is not one sided. One of the SA-5 SAM sites struck by the first wave of Tomahawks is still functional and fires off 5 missiles at a flight or Hornets. This is a problem, but not a hopeless one. As long as the Hornets stay far enough away from the SAM site, a combination of defensive maneuvering and jamming should defeat the incoming SA-5s. The first volley of AMRAAMs closes with the Mig-25s. A number of the Migs are splashed (shot down) though many manage to dodge the incoming AMRAAMs. The Migs get a few missile shots of their own off, but these missiles soon fail to track as the Migs are forced to maneuver.
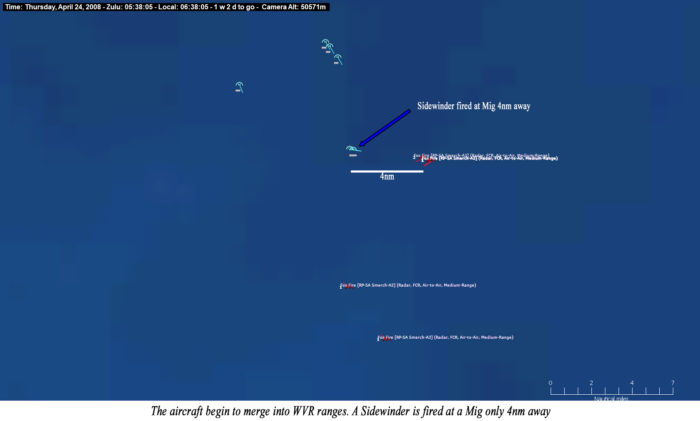
The aerial battle is fast and tense. Aircraft quickly merge, and a fight of lobbed radar missiles shot at targets beyond visual range (BVR) quickly turns into a knife fight of within visual range (WVR) combat.
The above image shows the fight developing. Note the range scale in the bottom right. The aircraft going head to head are only 4nm apart, practically on top of each other as far as air combat is concerned. The Sidewinder is an excellent missile, and at short ranges such as these the chances of dodging the incoming missile is very low. The only real chance the Migs have at defeating the Sidewinders is by spoofing the sensors by popping flares. However, the AIM-9X’s sensors are designed to recognize and ignore aircraft-deployed countermeasures such as flares, which is precisely what happens here. The Migs pop flares, but the Sidewinders still find their targets, splashing 3 Migs in quick succession.
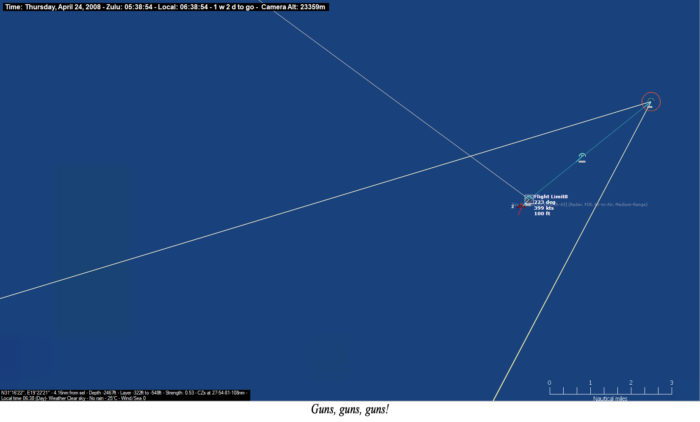
One of the dogfights that develops is so close that my Hornet is able to get directly behind one of the Migs and fire his guns at it. The maneuvering Mig is able to dodge the volleys of 20mm cannon fire, though this success is short lived. A moment later, an AMRAAM fired by the Hornet’s wingman slams into the Mig, splashing it.
Approximately 3 and a half minutes after the air battle started, its all over. 12 Mig-25s have been shot down, and an additional 3 Mig-25RB reconnaissance aircraft were also shot down. For me the cost was (thankfully) only the taxpayer. 23 AMRAAMs were fired and 4 Sidewinders were fired. This is a very satisfying missile to hit ratio, slightly below 2:1. Ammo is cheap, lives are expensive. I’ve managed to come through this first direct battle with the enemy without suffering any casualties. I can only hope the rest of the operation goes this well.
The first volley of SA-5s fired at my Hornets were defeated, but a second volley is fired. This time, the volley is coming from two different SA-5 SAM sites. While this is still manageable, it is a threat that needs to be dealt with. I order the USS Bainbridge DDG, part of Task Force Wasp to immediately engage these two SA-5 sites to knock them out for good.
No additional aircraft are seen launching from Al Mout International. It is possible that the airfield is now too heavily damaged from the Tomahawk strike to launch aircraft. It is equally possible that the Abbudin air force has discovered discretion to be the better part of valor. Either way, I still plan to strike the airfield again, conducting an alpha strike with VFA-86 to make sure the airfield is out of operation.
The Bainbridge fires off a volley of Tomahawks at the two active SA-5 sites. Meanwhile the destroyers of CSG 12 prepare to engage radar installations and additional strategic targets in the vicinity of Al Mout. These strikes, coupled with the alpha strike against the airport, will hopefully clear the way for the Marines to land in Al Mout.
Hang on to your butts…Part 3 to follow!
Chat about it below, or in our forums, or hit our FaceBook page >>


