 |
Keep Calm and Grog On! |
|
| Home | About Us | Article Index | Forums | Dice | GrogShop | GH ON FACEBOOK | GrogNews |
Let Your Grog Flag Fly!Recent ArticlesGARPA 17, 4/26/13 SimCity AAR Part 1, 4/25/13 Announcing MayViation, 4/24/13 Second Look at Wargame AirLand Battle, 4/21/13 First Look at Wargame AirLand Battle 4/19/13 AAR of Dark Age Minis Battle, 4/18/13 Video Review of Zulus on the Ramparts, 4/14/13 GARPA 16, 4/12/13 Crusader Kings II AAR Part 16, 4/11/13 Book Review: Ninja: 1000 Years of the Shadow Warrior, 4/10/13 Review of Bioshock INfinite, 4/7/13 Review of XFX PRO650W Core Edition PSU, 4/5/13 Civilization V AAR, Part 13, 4/4/13 Fire with Fire, 3/31/13 GARPA 15, 3/29/13 Civilization V AAR, Part 12, 3/28/13 Wheaton INterview, 3/27/13 March Mayhem Winner, 3/25/13 Warlock Multiplayer AAR, 3/21/13 WWII PTO Alternate Histories, 3/20/13 GARPA 14, 3/15/13 Crusader Kings II AAR, part 15, 3/14/13 Civilization V AAR, part 11, 3/7/13 Prezcon Convention Coverage, 3/2/13 Civilization V AAR, part 10, 3/3/13 |
Federation Commander AARBy Jim Zabek, 29 September 2012Zabek's back in flight, in his element, with a Star Trek AAR.Click images to enlarge Amarillo Design Bureau makes some of the coolest games in the Federation, and I don’t make that statement lightly. My latest encounter with my buddy Matt is based on the rules from Federation Commander. For this game we wanted to try out a scenario where there is a space station, a Federation War Destroyer defending it, and a Romulan War Eagle Cruiser. The victory conditions were fairly simple: the Romulan player had to destroy either the Federation ship or the starbase. The Federation player had to destroy the War Eagle.
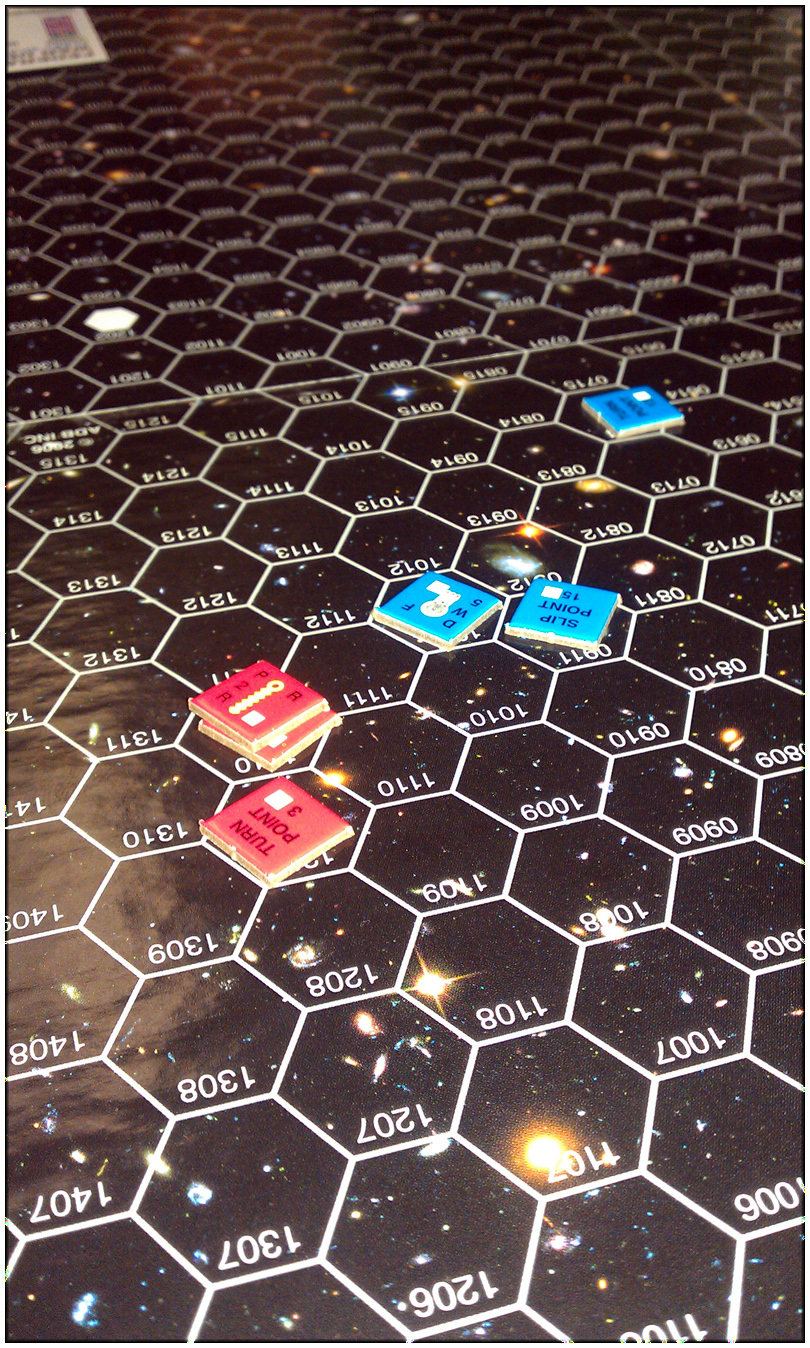
Matt and I both have a healthy respect for the Romulan plasma torpedo but in our game last week he managed to outrun it by pouring all his extra energy into additional acceleration. On this day we actually played a round before this AAR was written in which again we set up a War Eagle and War Destroyer, and again, although I got reasonably close to him before firing, he still had enough power to outrun the plasma torpedo until it fizzled to two points of damage, at which point his shield absorbed it and we decided to call the game as a draw. In the games played thus far it is clear that the War Eagle and War Destroyer are extremely well balanced and neither of us has managed to gain the upper hand. This time, with a scenario in place, we’re hoping to see if the dynamic gets a bit more interesting. To be in the interest of full disclosure, I didn’t take notes on this game as it was rather uneventful until the very end. The scenario calls for six boards to be placed in a 3 x 2 layout. In the upper left the Federation space station sits, while the War Destroyer enters the game in the lower left and the Romulan player enters on the upper right. Throughout the game I made sure not to venture within effective range of the space station and for the course of the game it was of no consequence. So once again Matt and I found ourselves in a classic ballet of Federation Commander where we angled for the best shots and tended to exchange these at medium range. I found myself spending a lot of energy on powering my cloaking device and pouring energy into my plasma torpedo. The War Eagle can only sustain a modest speed while powering both devices whereas the War Destroyer seemed to have power aplenty to outrun my plasma torpedo at all but blank range. So this time I decided to use my more extensive experience with Star Fleet Battles to catch Matt flat-footed. Although he owns the only copy of Federation Commander between the two of us (a situation that I expect to be remedied by purchasing a copy at my local game store by the time this article is published) I have played enough of Star Fleet Battles to generally be familiar with the concept of the rules that I glanced at while looking through his copy. The implementation might be different, but overall concepts remain the same. So as Matt and I were angling our ships around, I found myself at the start of a turn with him pursuing me at a distance of about three hexes. He was on my six, as they say, and it was clear that (because it was the start of the turn) all our weapons were powered up and ready to go. I was about to take a beating on my rear shield unless I did something dramatic. Casually asking Matt if I might glance at his rulebook for a moment, I quickly read up on Federation Commander’s take on the High Energy Turn.
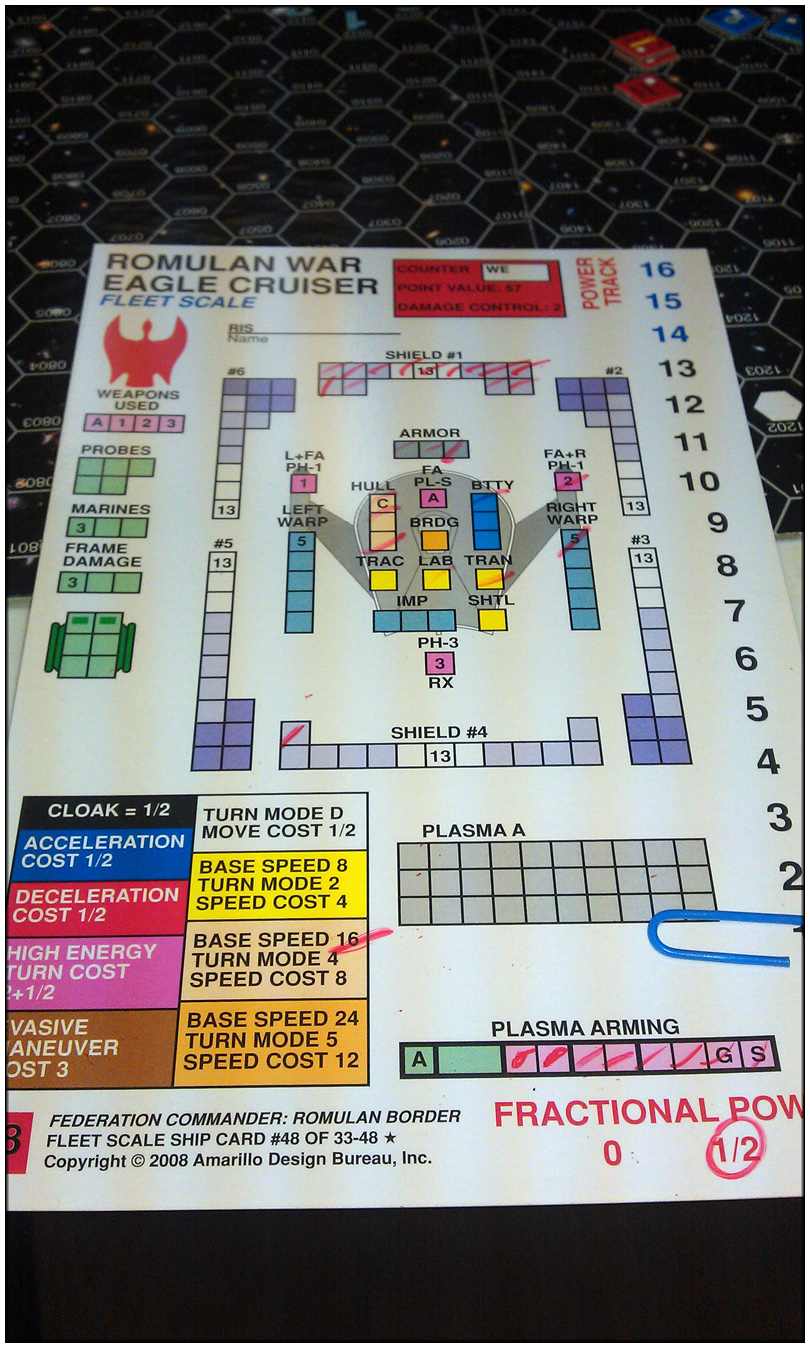
Actually, this was a friendly game. Matt did have plenty of power to pull his own HET and try to outrun it. However since both of us are still coming to grips with the rules he decided to take the hit and see how bad it could be. And, not wanting my quarry to suddenly bolt and run, I decided that rather than hitting him with the full plasma torpedo I would instead convert the energy to a plasma bolt, which functions as a direct fire weapon and would hit him immediately. So it was that the exchange was messy on both ships. The initial exchange of fire brought down both of our forward shields and all three points of armor on my War Eagle (see the following image). It also took out one of my batteries, my lab, my transporter, a hull point, and my starboard phaser 1. And he still had both phaser 1’s primed and ready. But in his own sudden surprise move (because both of our forward shields were down and my transporter was down) he decided to send over some Marines to try a hit-and-run strike on my plasma torpedo. Luck wasn’t with them this time, he rolled poorly and his hapless Marines perished at the hands of my own Romulan Marines. It was, however, a rather tense moment. If he had conducted a successful raid it would have changed the entire game. My turn came to unload on his ship with my plasma bolt. Even at roughly half damage (compared to the plasma torpedo) it kicked out a whopping 16 points of damage. Matt and I carefully went down the damage list to ensure we accurately applied the correct amount of damage. It was not pretty. At that point we decided to call the game a draw. He still had his photons with which to pummel my already damaged War Eagle, but it seemed obvious that both of us wouldn’t have much left of either of our ships at that point. What was clear was that, as the Romulan player, I had done exactly what I was supposed to do: I caught the Federation player at point blank range and hit him with everything I had. However, the Federation had returned the favor. Most of the damage done to my ship wasn’t too critical, but my forward shields were shredded and I had lost one of my two phaser 1’s. Matt hadn’t unloaded his phasers yet, either. Two ships at full strength (or nearly so as we had only chipped a couple of points off of each other’s side and rear shields) that meet head-to-head will end in no good outcome. Both of us have come to learn some respect for the HET. It’s not likely that we’ll so closely pursue a ship with a strong forward firing arc. Following too closely clearly opens up the opportunity for the prey to become the hunter. As we refine our tactics we’ll become better at determining when to take a tactical risk. Personally, I need to learn to more patiently hold my fire with my plasma torpedo. Simply holding it can discourage close pursuit, and I’m eager to see if Matt’s tactics evolve given this knowledge. |
Please support the folks that support GrogHeads
|
Copyright ©2012-2019, Grogheads, LLC. All rights reserved in the United States and throughout the world. All other products and copyrights mentioned on Grogheads, LLC are the property of their respective companies, and Grogheads, LLC makes no claim thereto.
GrogDice - Refresh the screen to roll a new set!
Or go here to roll a LOT of dice

