
Allied Corps – AAR Part Four

So now we arrive at the fourth and final part of our Allied Corps AAR. Readers may recall that Part 3 left off as I made a mad dash to capture victory objectives in the Netherlands. I had successfully captured objectives due west around Leiden, decided not to try and crack the nut to the south in Rotterdam. But that meant I had to walk into the teeth of the German defenses around Amsterdam and this was going to be a tough fight. By ignoring Rotterdam I was committed to capturing all of the objectives around Amsterdam. Go big or go home. So we open with Lucky Turn 13:
Allied Turn 13
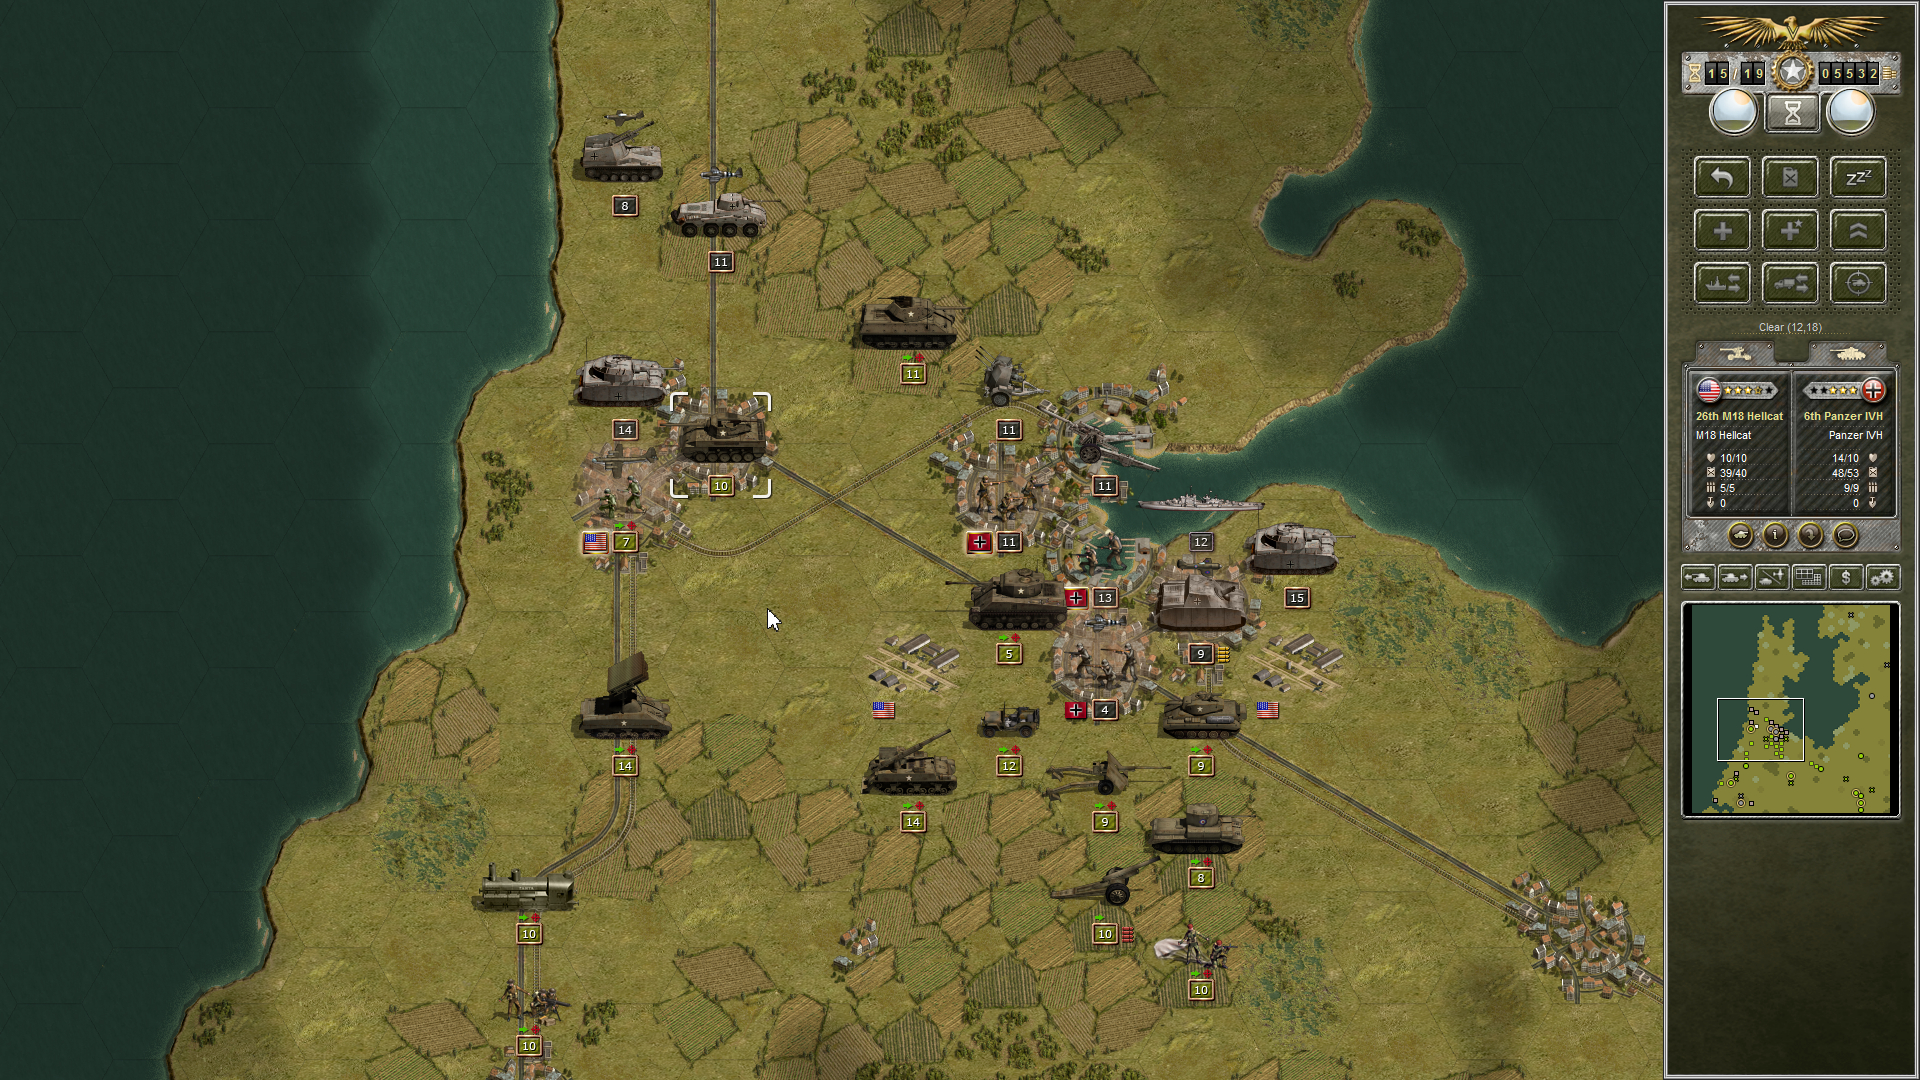
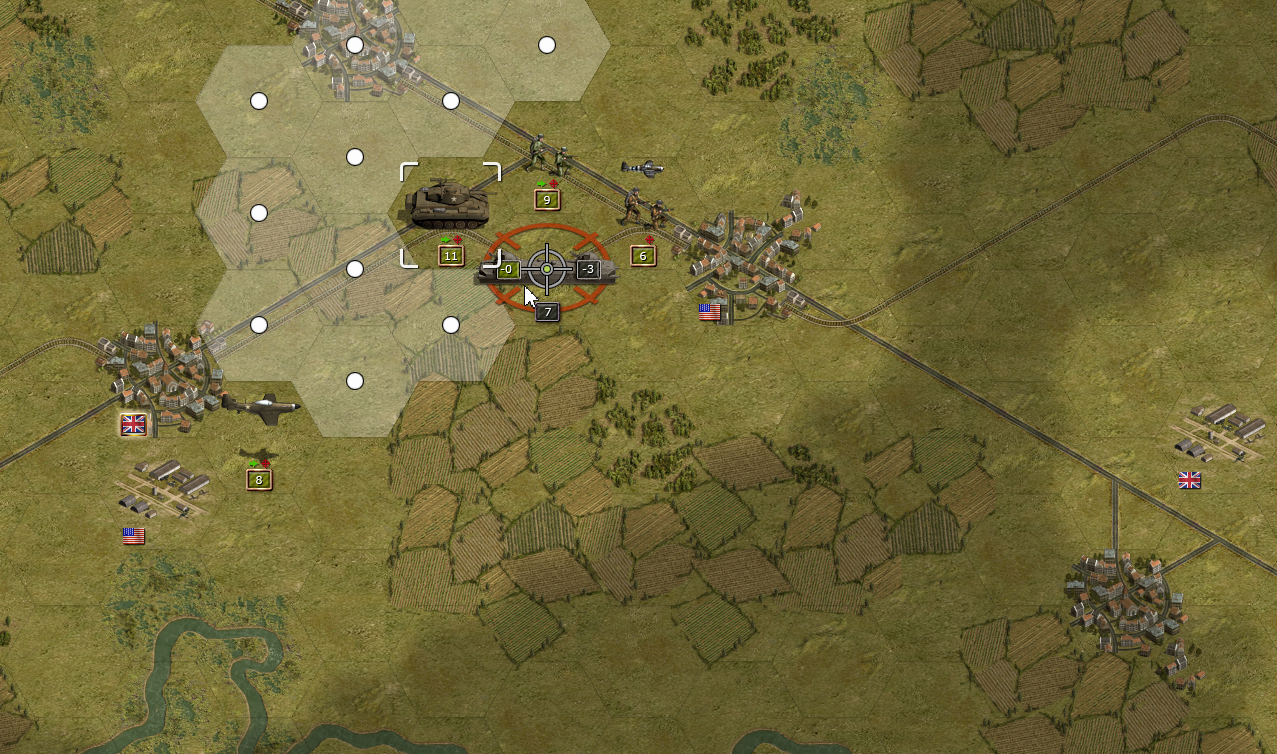 During Turn 12 I managed to box in an armored train to the west of my main force. Unable to move off the rails it had nowhere to go. Because it was at a junction boxing it in required three units. Two infantry units I could afford to spare, but the tank would be useful in Amsterdam. I didn’t need it yet, but the clock was ticking and I was hoping I wasn’t going to need that tank before I destroyed the train. Being armored it’s as tough as some tanks. To be safe I also had two aircraft loitering for extra fire power. That’s a lot of assets for one unit, but it was in my rear and I had no idea what kind of nasty surprise it might deliver if I left it to its own devices.
I first move the British Engineers behind it to block it from retreating any further. They don’t attack because they and the train are about the same strength and it won’t turn out well for the Brits. I move the Chaffee up from Utrecht and take it under fire. I inflict two points of damage and the train is now low on ammo. Excellent. US Engineers attack it and its strength drops from five to two – then, with nowhere to retreat, it surrenders! Perfect.
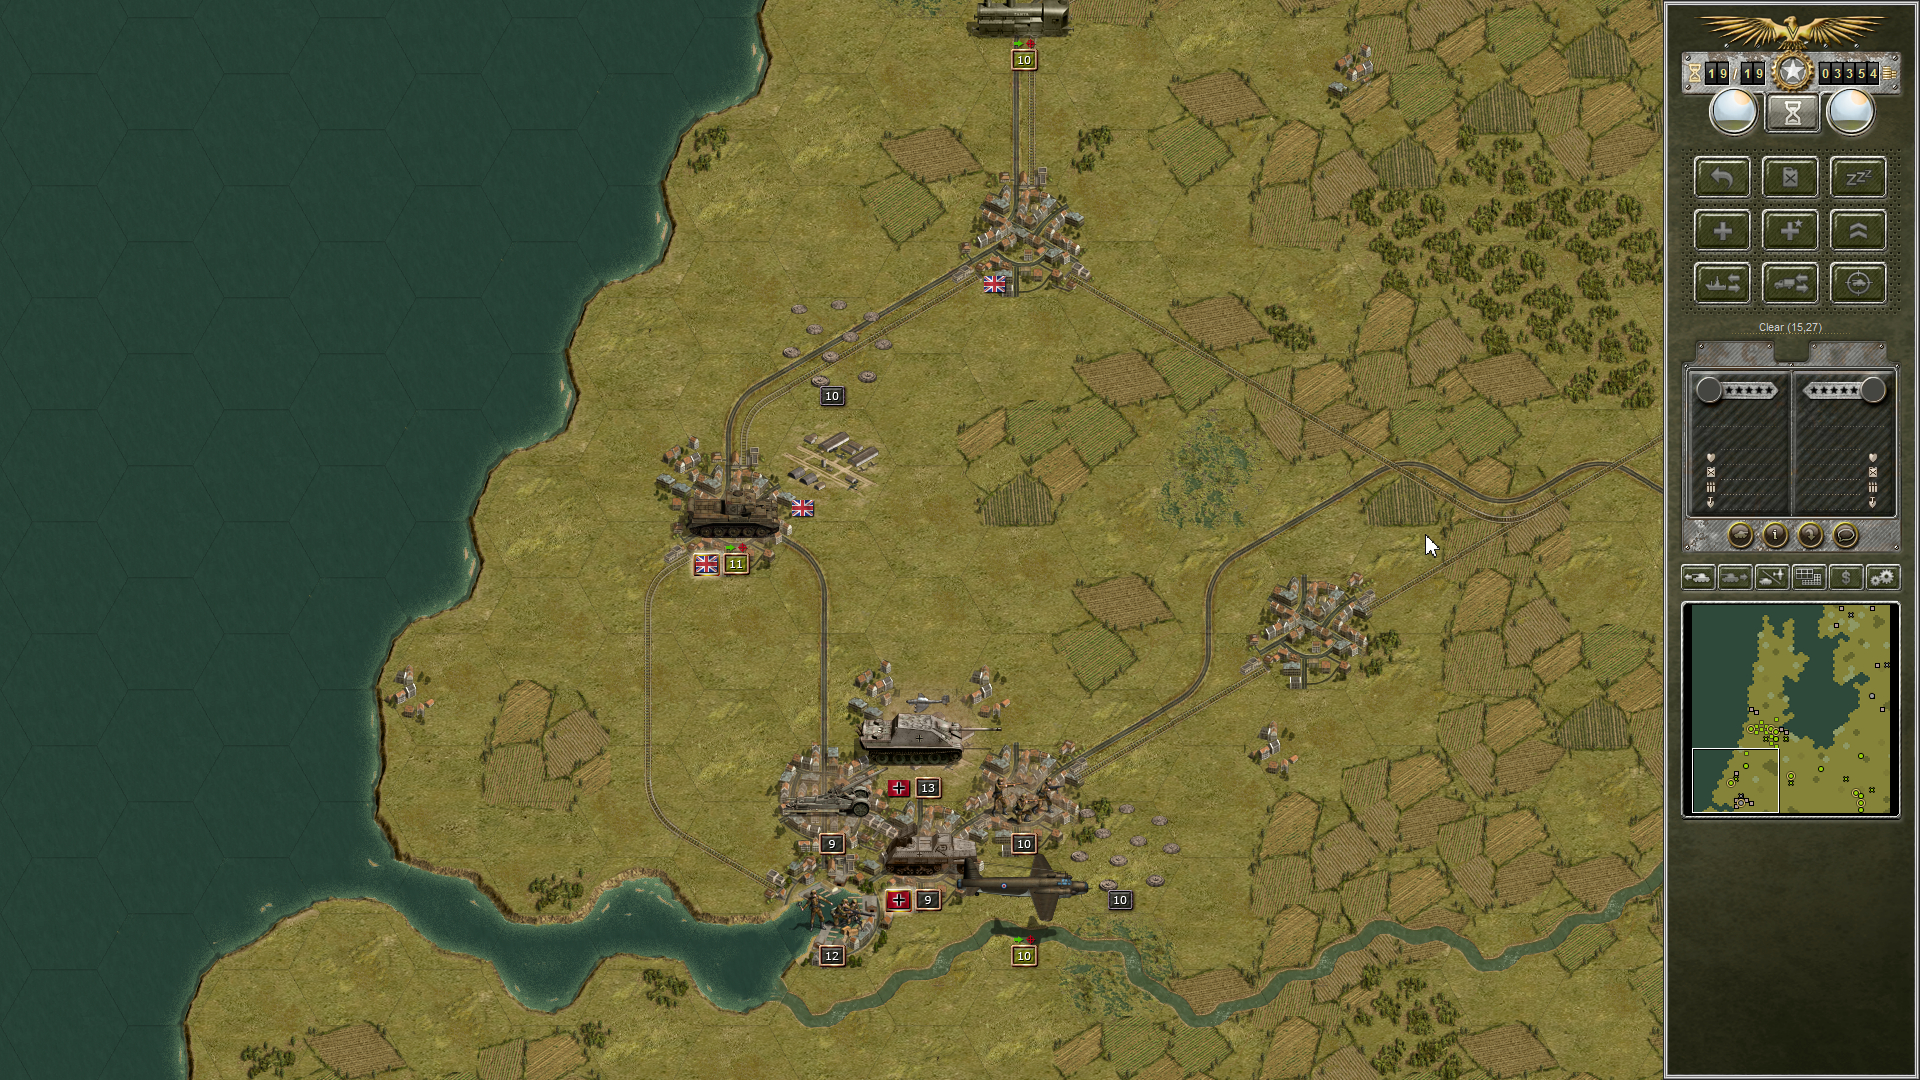
Down by Den Haag my Firefly needs to be resupplied so I do so and it rests a turn. The Cromwell fires in the V2 for fun and does three points. The loitering Wellington drops bombs and takes out the remaining point on the V2. I’m afraid I’m going to have to leave these tanks in Den Haag in order to prevent the Germans in Rotterdam from retaking it. The force I have up north will have to do.
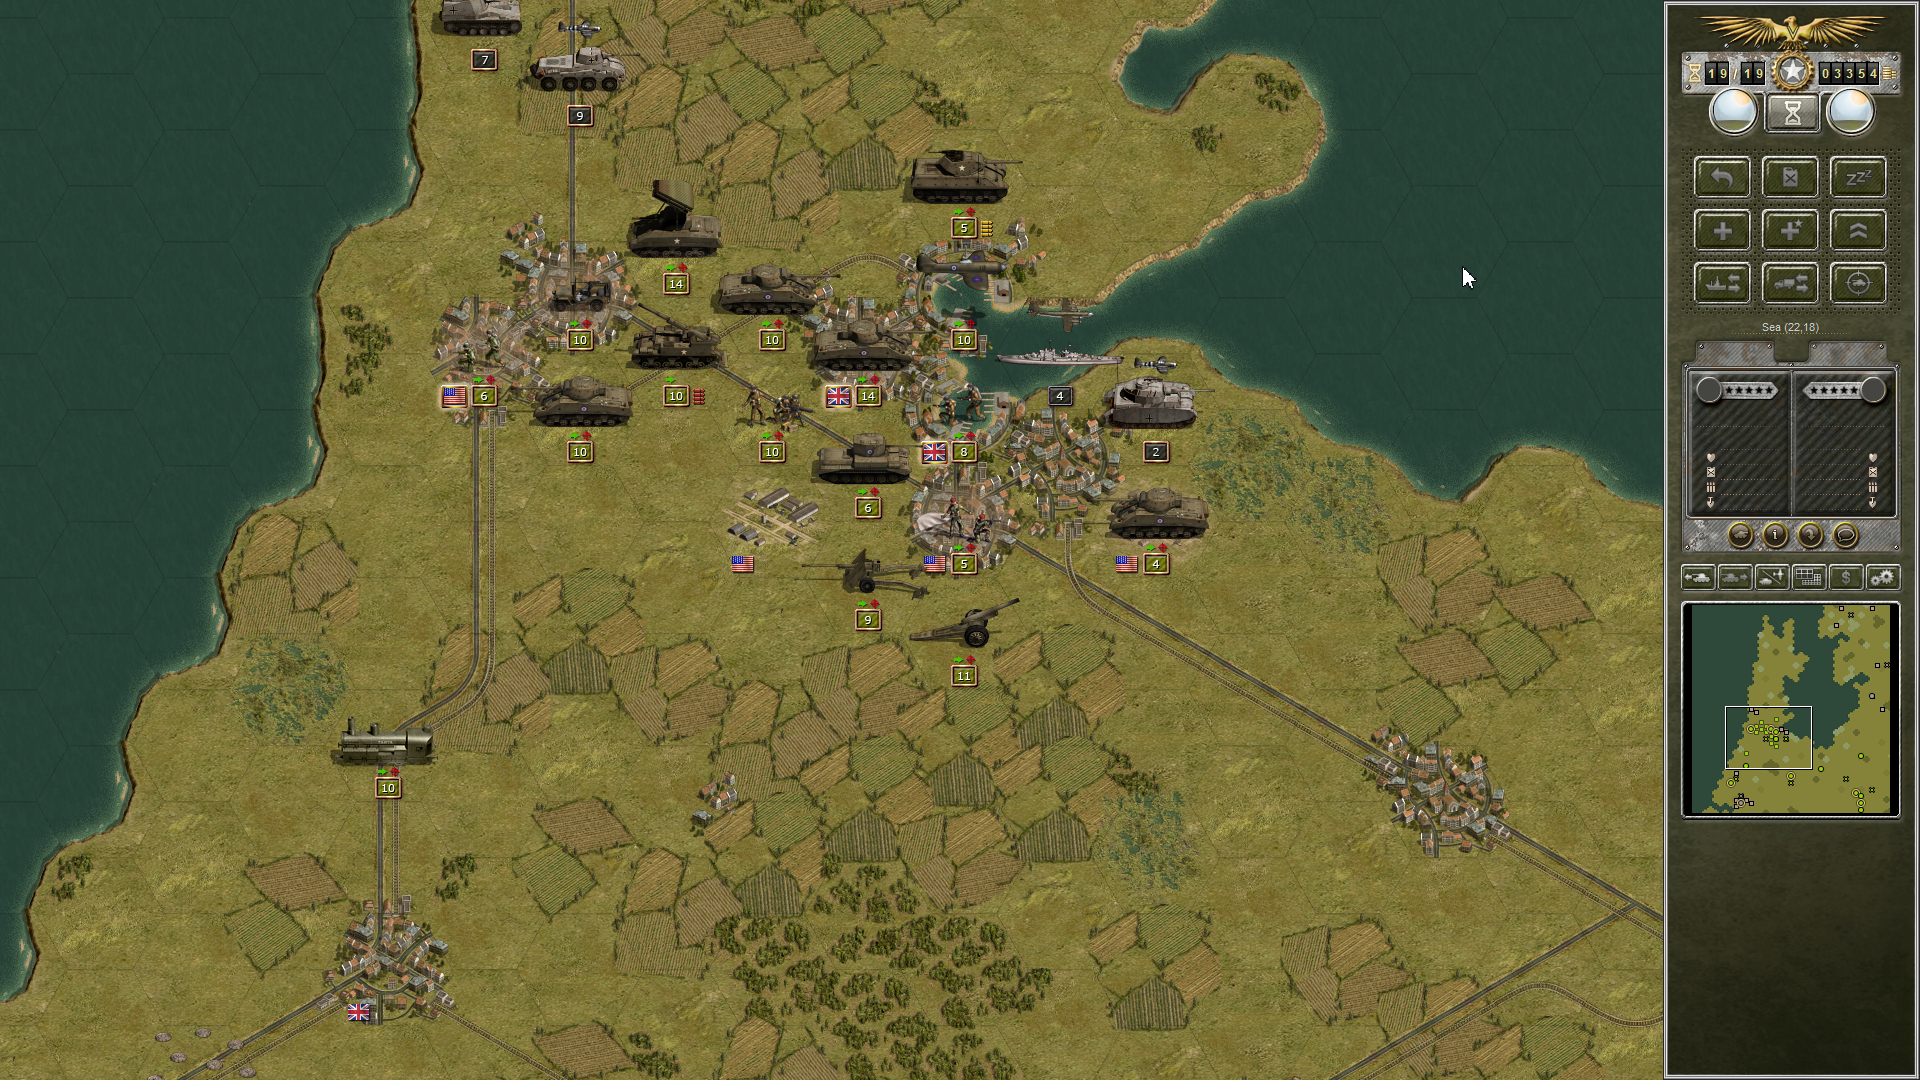
I have some 7.2 inch artillery shell a 37mm Flak gun protecting the airfield to the east of Amsterdam. Three points of damage!
I then move up air power to take in another Fw-190. It takes a P-47, a P-51, and then finally a Tempest to take it out. Tough little buggers. I move a Hellcat to engage the Panther and it gets shredded. There I have little choice. I need to start wearing away at it. To the west in Haarlem I have better luck. My 155 shells the Flak gun there and a follow up by a Hellcat destroys it. I then bring up infantry, a B-29, and a Wolverine to take on the infantry in Haarlem and we beat it down to four strength points and low ammo.
With that I turn the round over to the Germans
German Turn 13
The light cruiser makes an appearance in Amsterdam’s bay. It fires on my Hellcat with one point left to no effect, but eventually the Panther takes it out. The Grenadiers In Haarlem fire on my Hellcat and do one point of damage.
Allied Turn 14
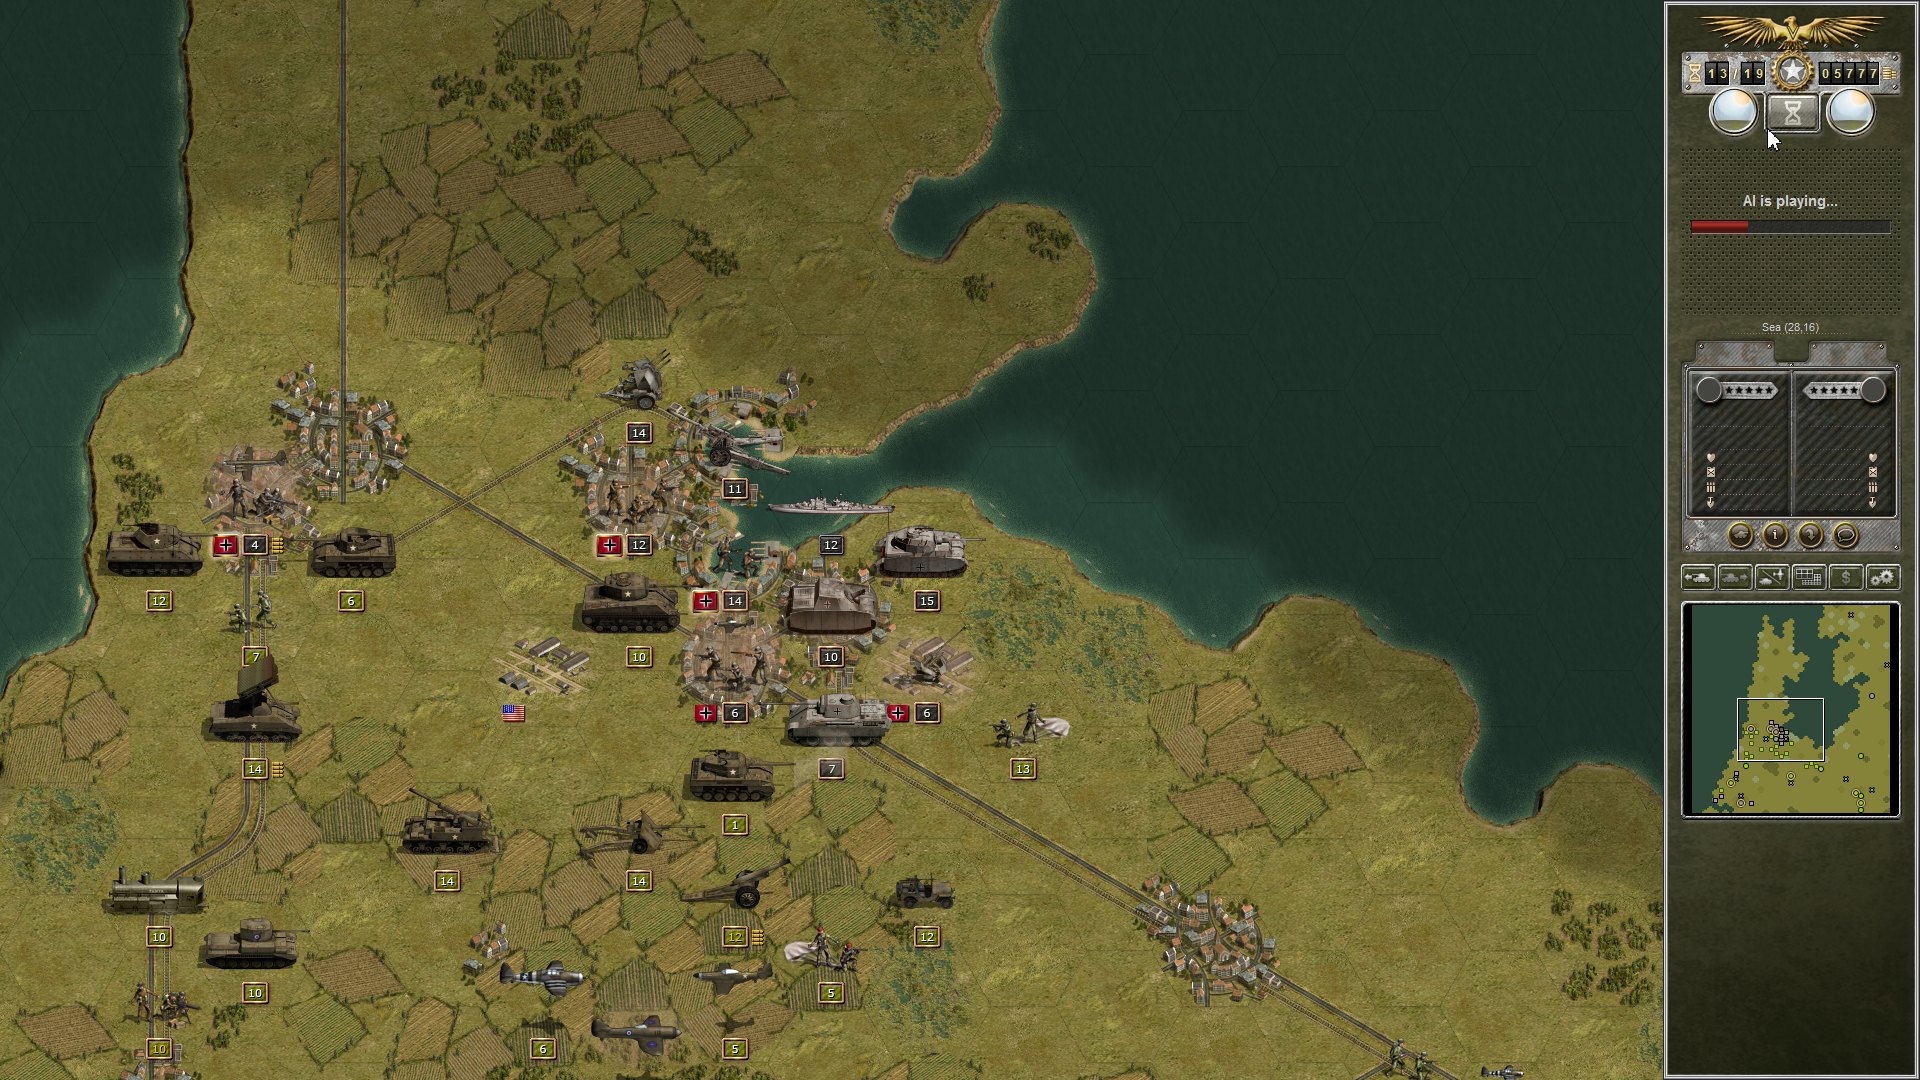
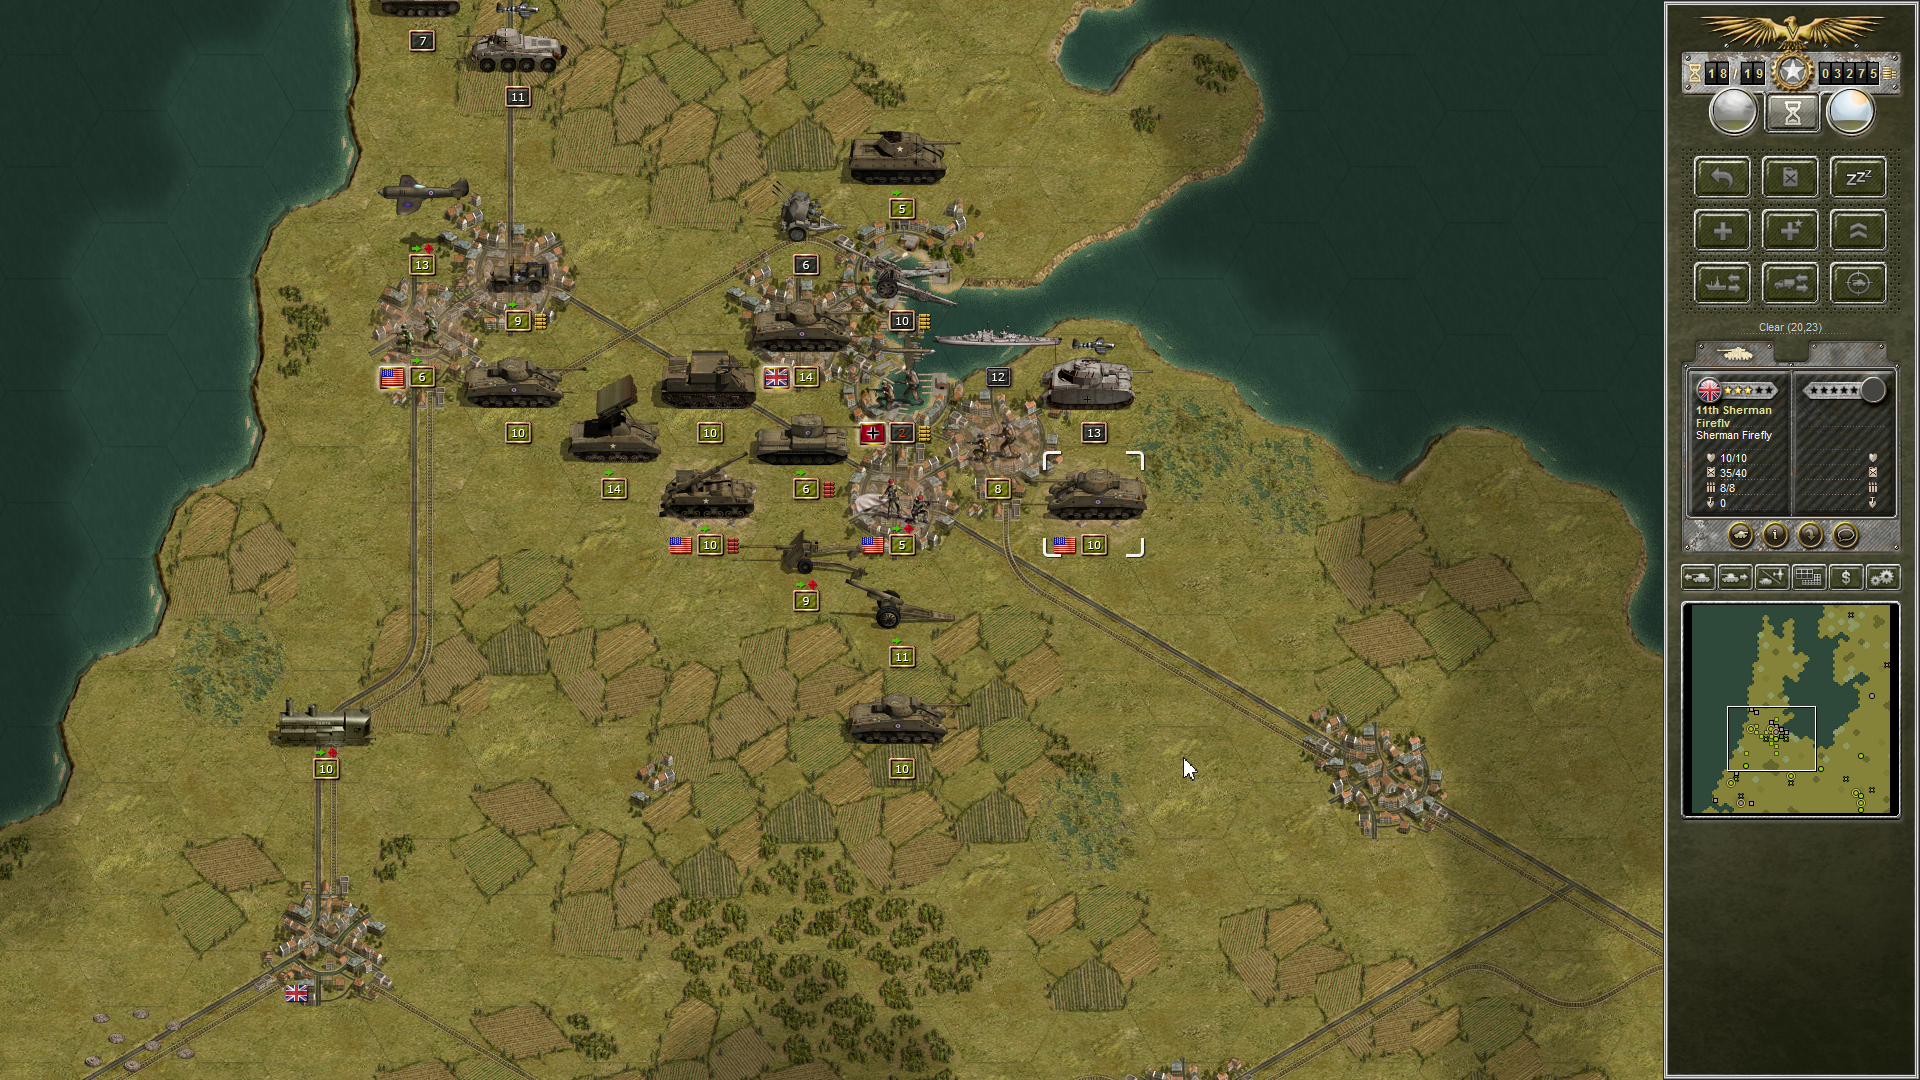
My Airborne unit fires on the 37mm Flak gun and they take some casualties from the supporting Brummbär and the Flak emplacement itself. But I’m wearing it down making it safer for my air units. I fire my 7.2 inch artillery at it and the Flak gun vanishes. My airborne then move in to take the airfield.
Then I move up a 17 pounder AT gun to take on the Panther. It does some damage which brings down the Panther to three points. My Challenger then rolls up to finish off the job. Good.
I roll up my Chaffee and a P-47 to pound the Wehrmacht unit in Amsterdam, and then hit it with a Sherman 76 for good measure. It’s down to four points. Meanwhile in Haarlem my Engineers destroy the defenders and take that Victory objective. By my count I hold three of five, though Utrecht is currently undefended.
The Wolverine that had been besieging Haarlem moves to take on the Flak Vierling north of Amsterdam. This won’t be a fair fight and I’m happy to have it that way. I inflict three points of damage while taking one. Then I spot a 234/2 scout car to the northeast. Yum.

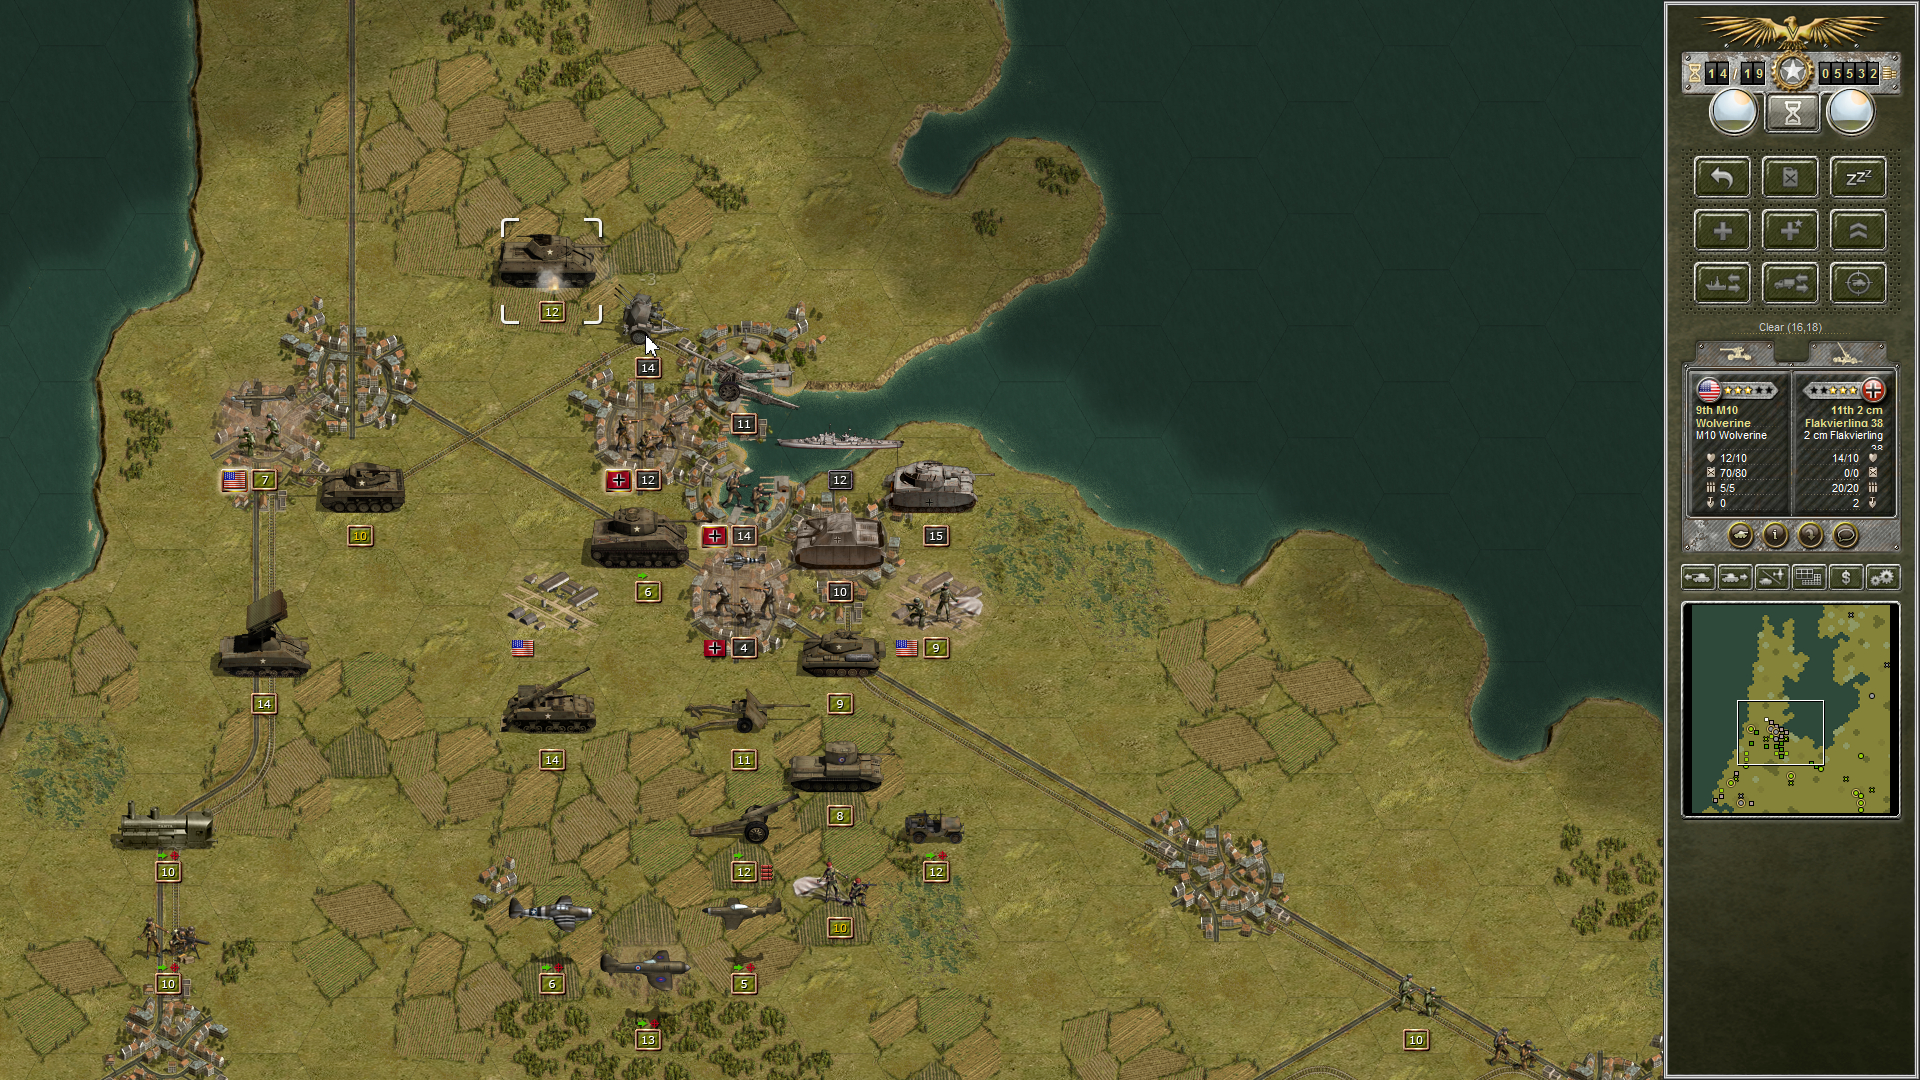
I send a P-47 to strafe the 234/2 and inflict one point of damage. But the plane spots a Wespe and now I have another target for my aerial angels to jump on. My P-51 zips up and does a couple of points of damage to the Wespe.
German Turn 14
The Germans really don’t like my 7.2 inch artillery. They focus a lot of indirect fire on it including the cruiser and bleed off a point. It’s now low on ammo.
The infantry in Amsterdam gives my Hellcat a thrashing, and an Panzer IV H appears from nowhere to give my guys in Haarlem a tough time.

Allied Turn 15
I move up a Hellcat to engage the Panzer IV and do three damage but take seven in return! That’s a bad exchange. I finally manage to wrest some of Amsterdam from the Germans but it isn’t the Victory objective I need. The fighting intensifies and I take heavy casualties in Haarlem.

Turn 16
Turn 18
Allied Turn 19
Yes, I fast forwarded several turns. My blood was up, and the Germans were on the run. Instead of taking notes I blasted through them as best I could, though the Germans didn’t make it easy.
Last turn I bought some reinforcements – three Fireflies. With their help I crushed the Germans in Amsterdam and have taken the requisite Victory hexes. Even after capturing the required victory hexes I’m never sure what the AI may have in store as a surprise. Time has expired. Will the Germans have some kind of spoiling attack to snatch victory from me? I hold my breath and submit the turn.
German Turn 19
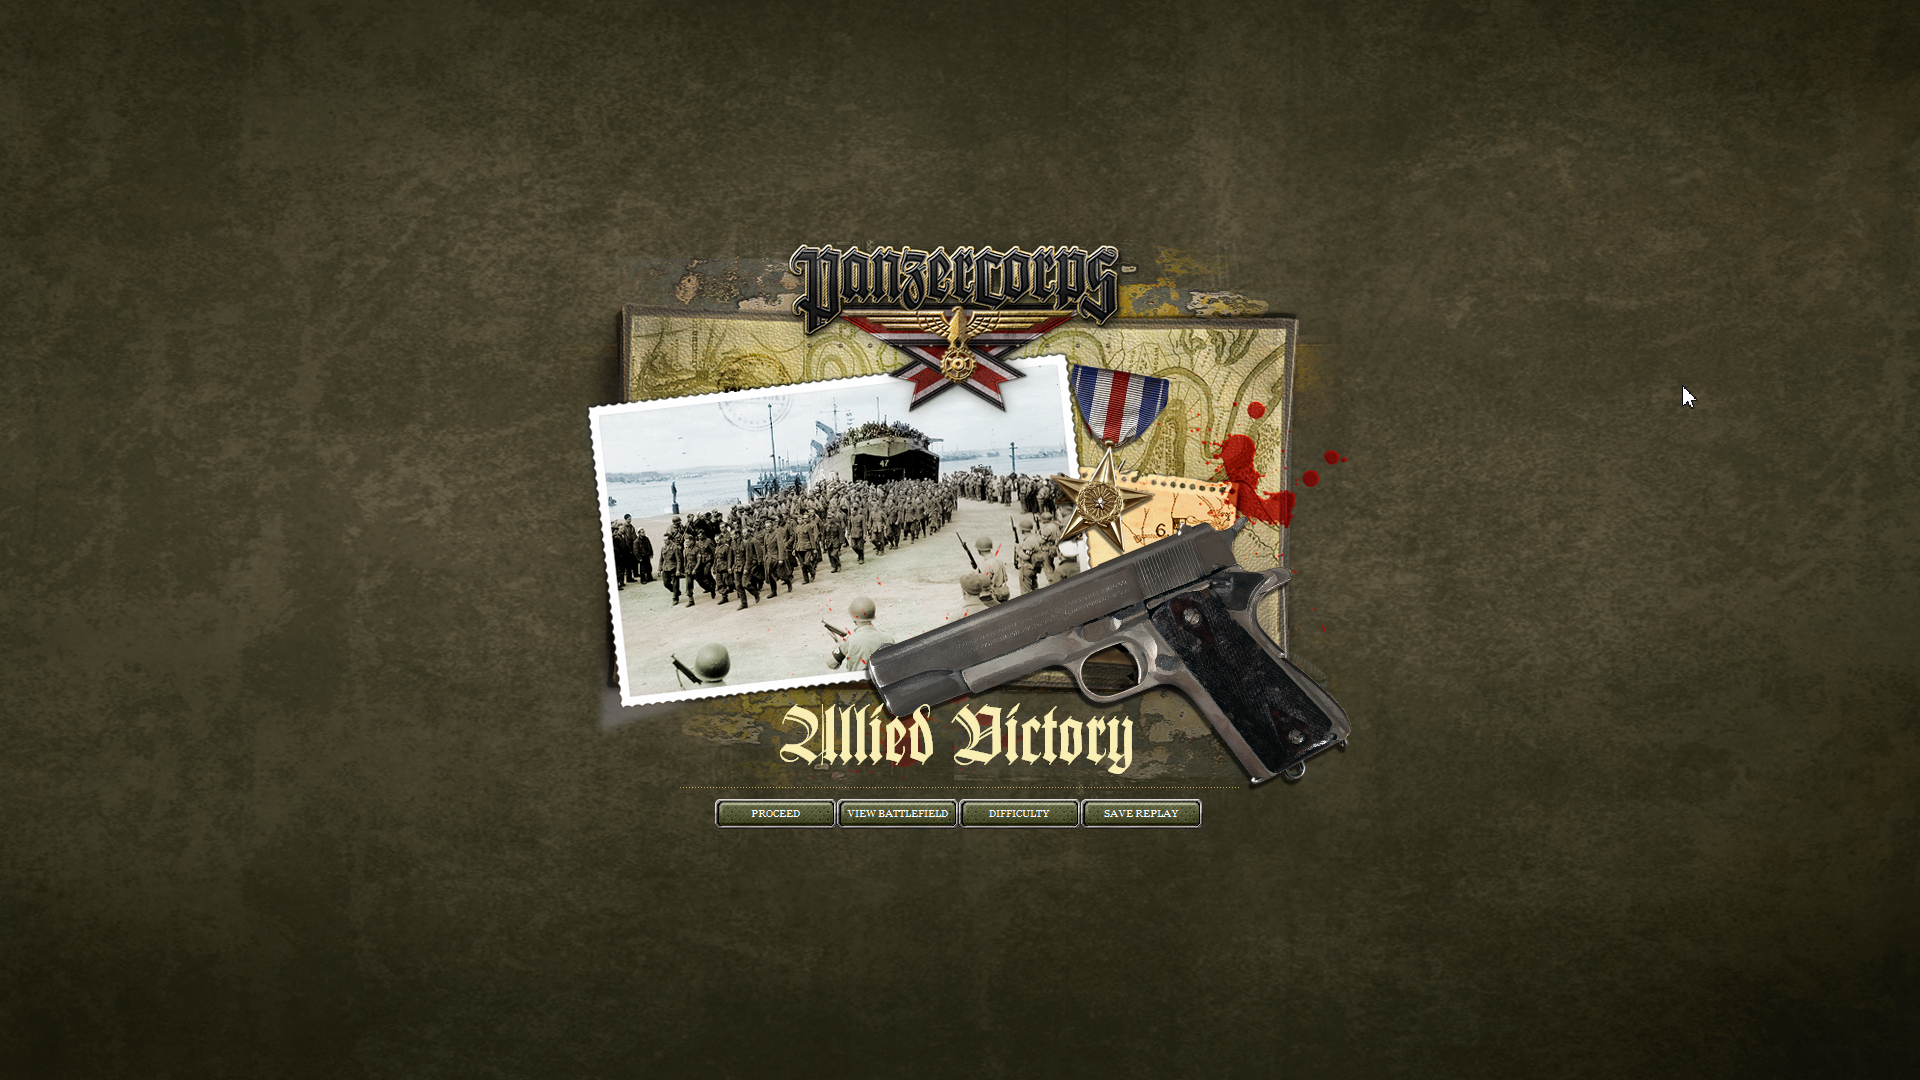
The German Pz IV fires on one of my armor units, but it is too little too late. I have won the game.
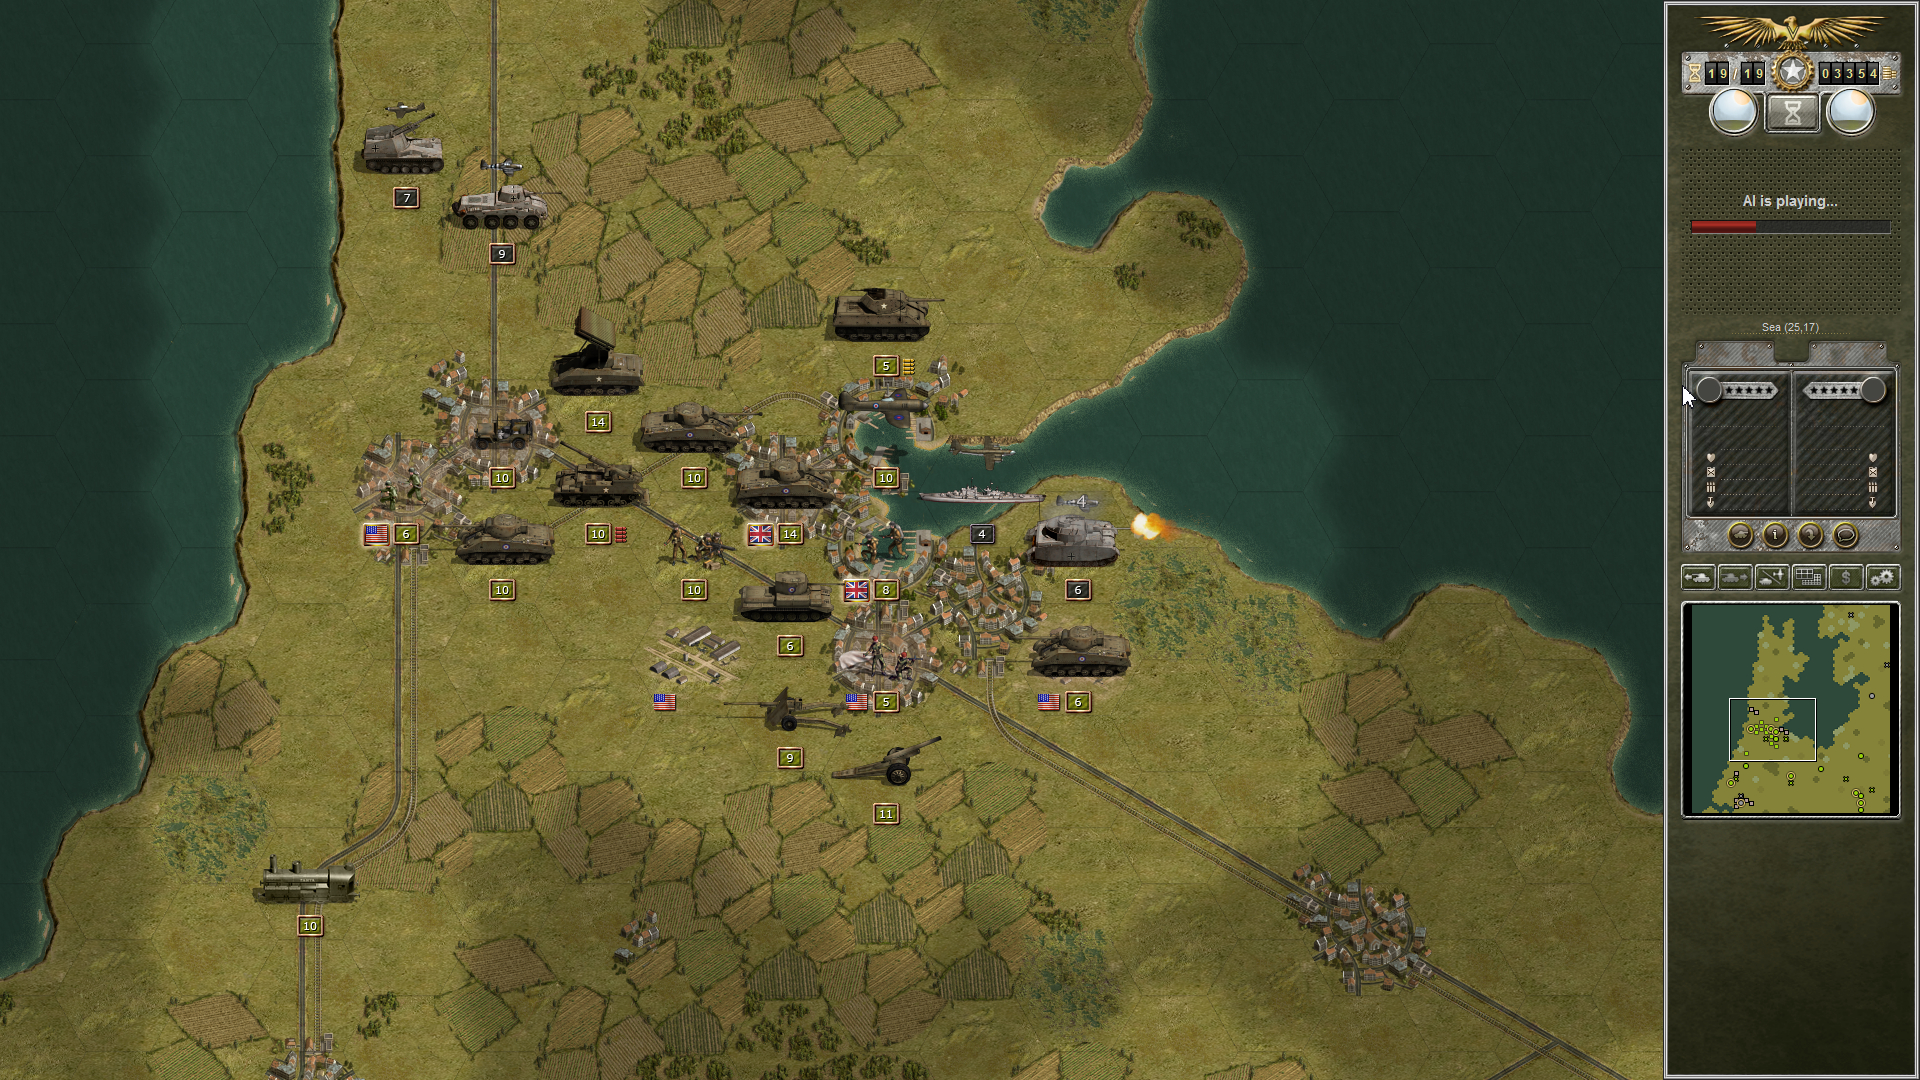
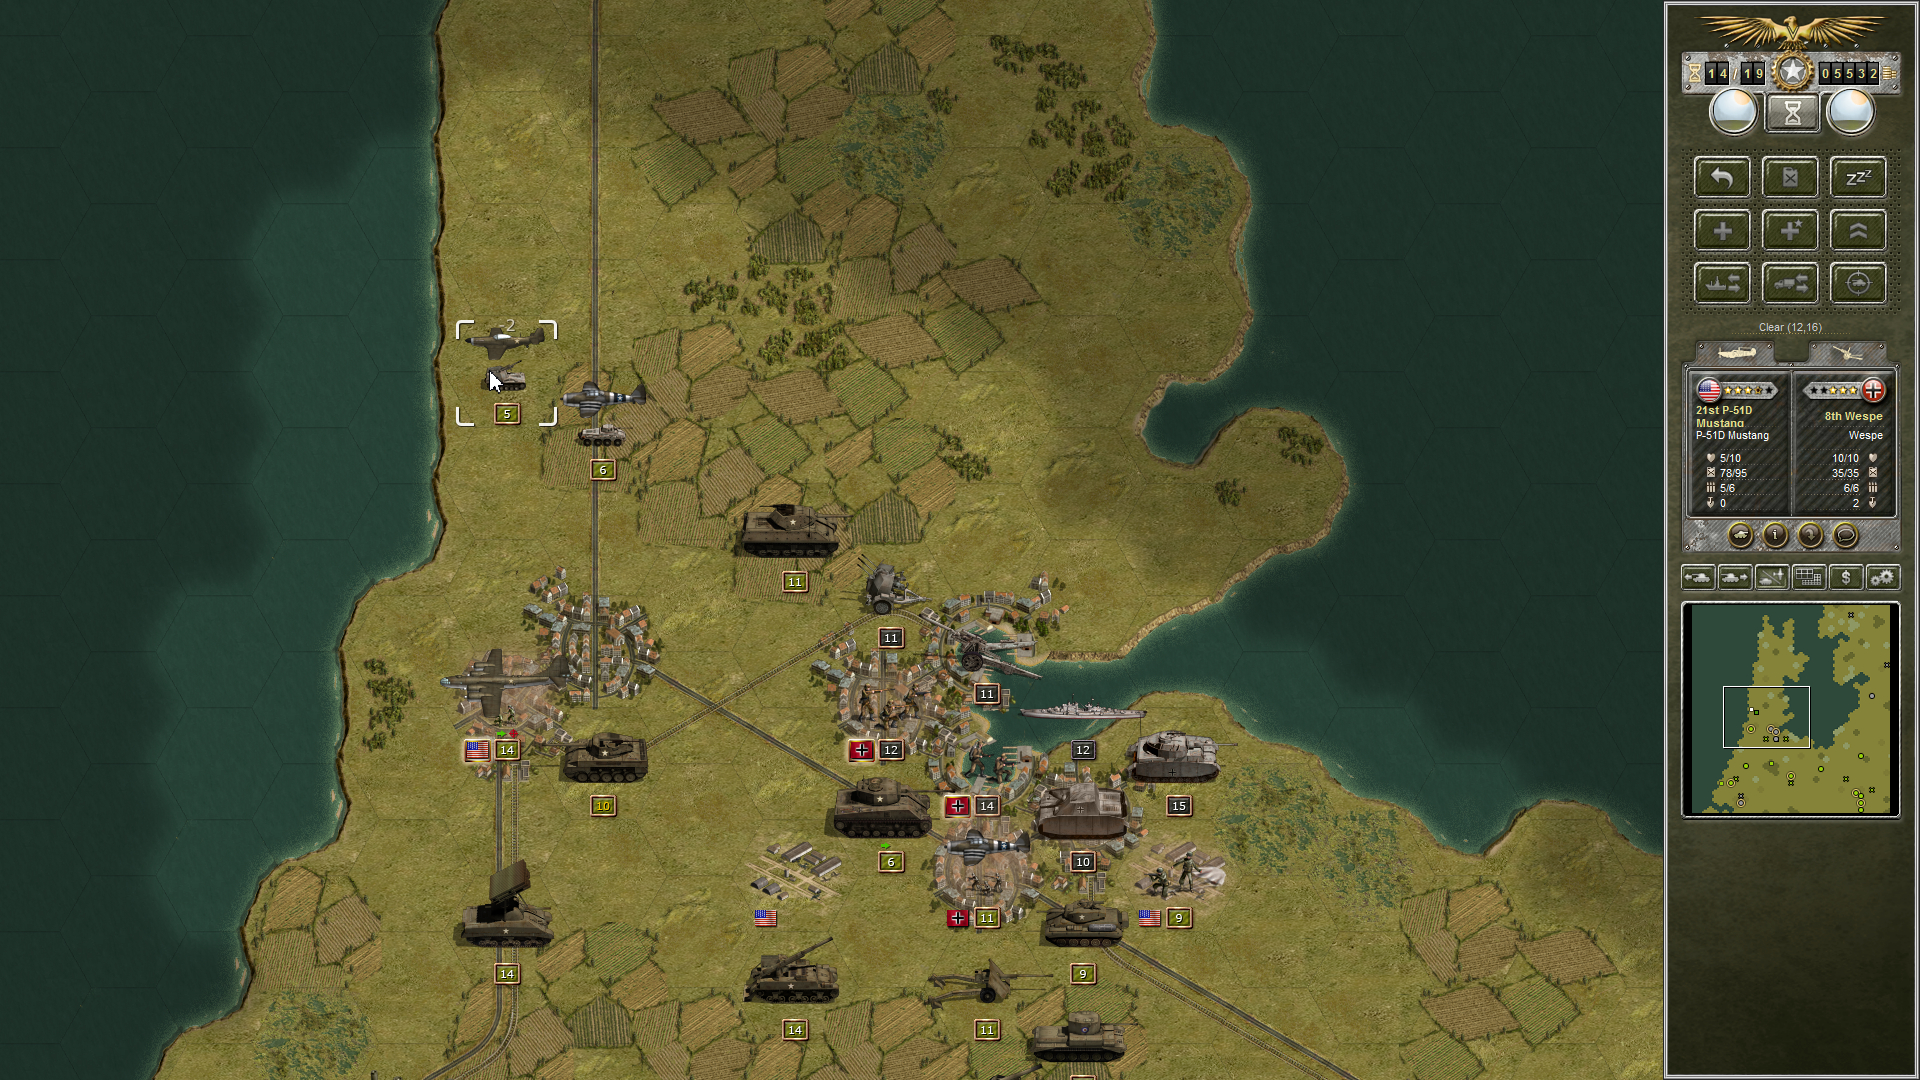
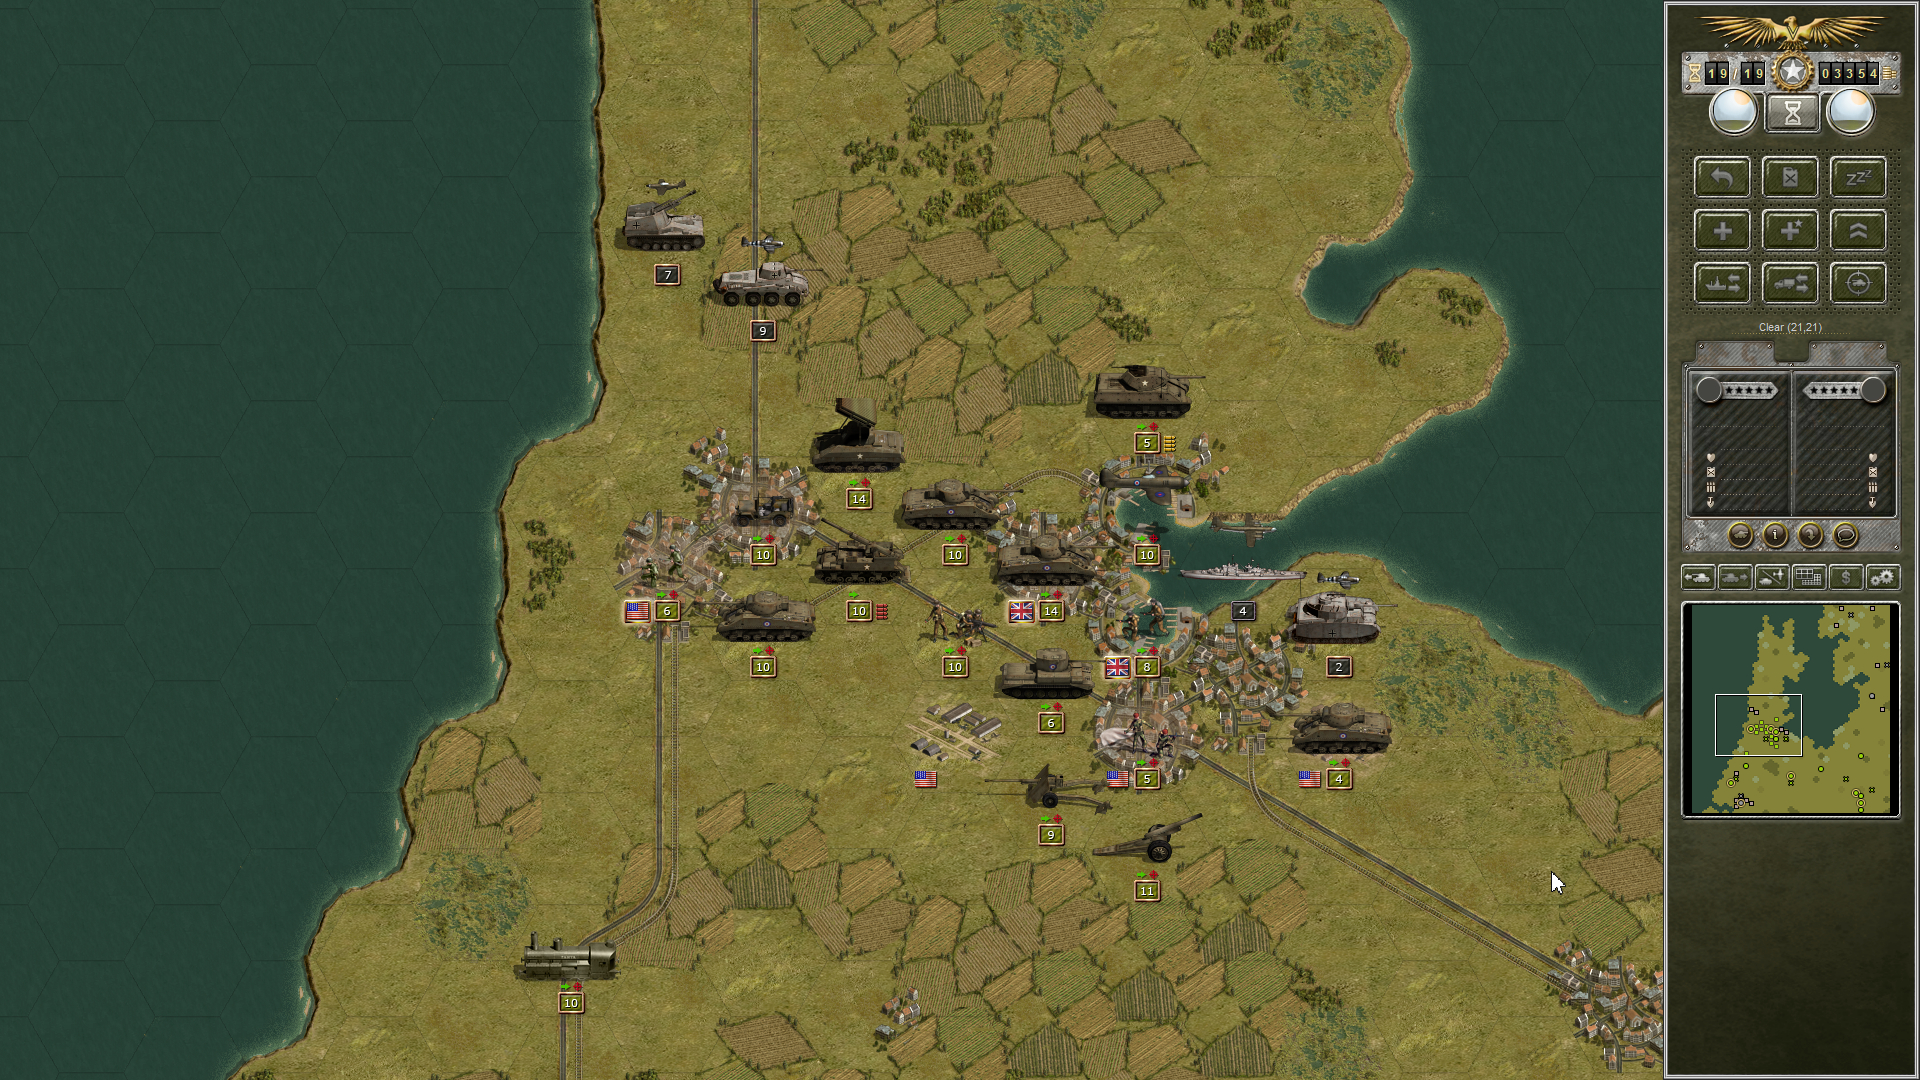
The final view of the battlefield reveals how little the Germans had left at the end. The have two infantry units up in the northeast corner, the units I had ID’d in Rotterdam, and some scattered elements north of Amsterdam.
Once again I have to marvel at the scenario design. The AI was virtually brain-dead in this game. Whether that is by design or not, I’m not sure. What I am sure of is that this was a fun, challenging game, but with so many prestige points available to me in the game I was destined to win if I simply called in enough reinforcements or rebuilt those troops that had taken a pounding but could be pulled out of harm’s way and refitted.
Nevertheless I had a good time.

Leave a Reply